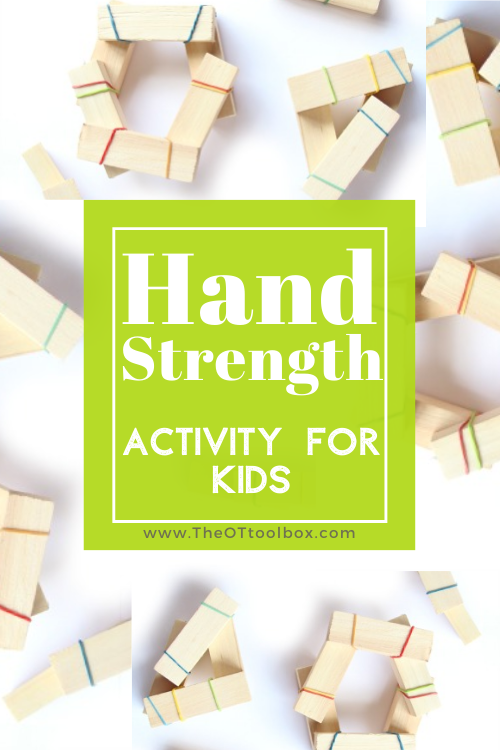
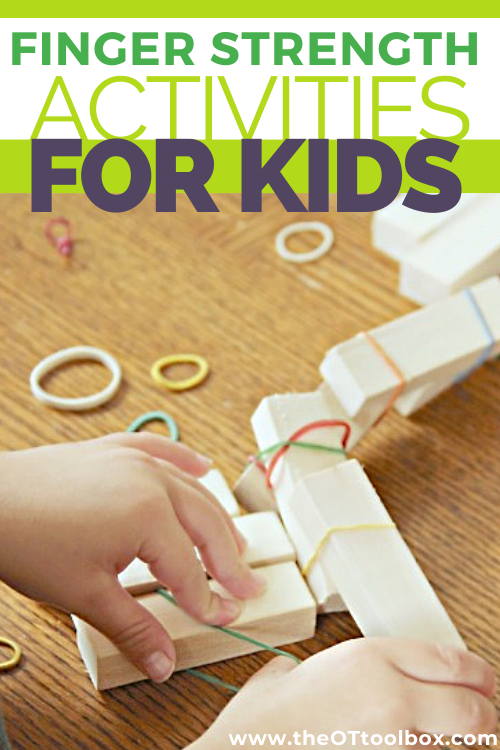
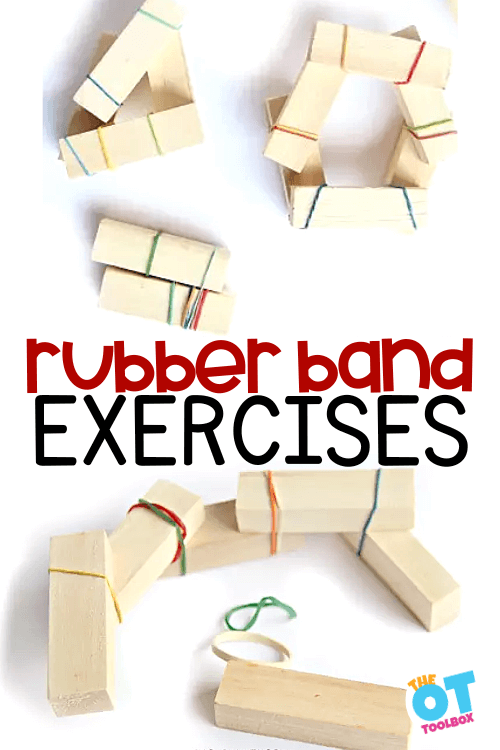
Kids and occupational therapists alike will love this hand strengthening activity for kids. It’s a powerful way to build finger strength and increase grip strength using everyday materials. This fine motor activity is an old one…it’s one that we came up with years ago here on the website. It’s fun to look back at this super easy rubber band activity because the hand strengthening activity is not just fun, but it’s a great therapy tool, too.
Rubber Band Activity
This rubber band activity is a no-prep activity that you can pull out on a rainy day, while waiting at a restaurant, or when the kids are itching for something different to do. This building activity is a fun STEM (Science, Technology, Engineering, & Math) activity that can be modified to meet the needs and interests of your kiddo.
I pulled this rubber band activity out one day when a little niece and nephew were over, and he loved building with something that was a little different than typical building blocks.
This is a great activity for Occupational Therapists use in their treatment, because we’re working on so many skills here: strengthening, bilateral hand coordination, motor planning, and eye-hand coordination.
This finger strength activity is part of our 31 Days of Occupational Therapy series, designed to help kids build skills through everyday items.
If playing with blocks is an engaging activity for the children you work with, be sure to check out our DIY cardboard bricks idea.
I’m including affiliate links in this post.
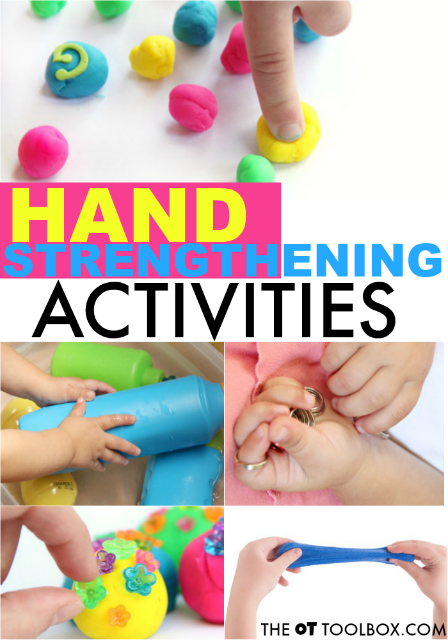
Hand Strengthening Activities for Kids
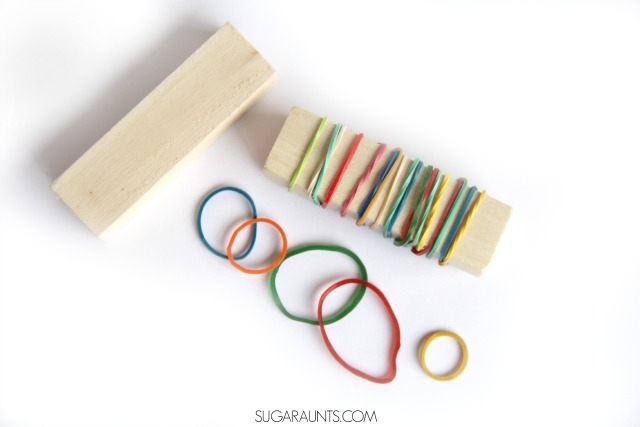
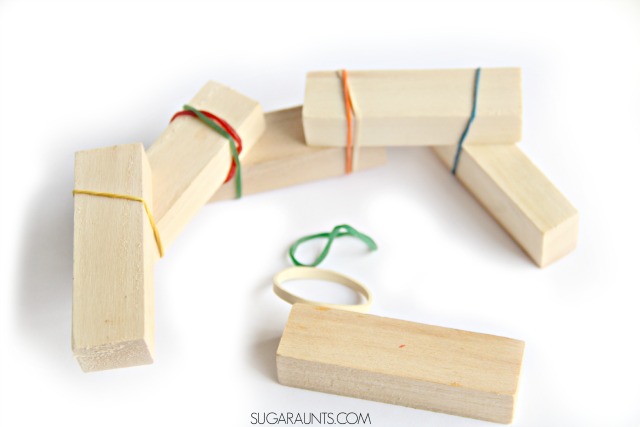
You’ll need just two materials for this activity:
- Jenga pieces
- A handful of rubber bands in different sizes. And that’s it!
How to set up this rubber band activity:
Creating a strengthening play activity or an opportunity for data collection using a specific number of repetitions with a rubber band exercise program is easy with just this one activity.
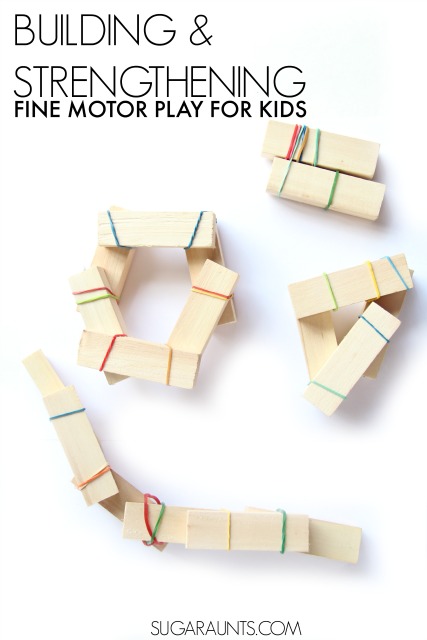
You can create an open-ended play activity by simply offering a box of Jenga blocks and a bag of rubber bands and asking the child to build anything. This provides an opportunity for creative expression and problem solving.
Or, you can set up an exercise program using a specific number of rubber bands and blocks and asking the child to complete certain exercises. (Read about these at the bottom of the blog post).
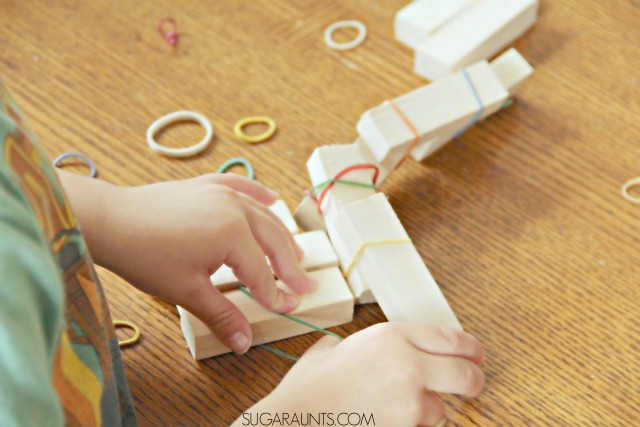
Show your kids how to wrap the rubber bands around the wooden blocks in different ways. Let them get creative with building and creating.
Finger Strength
My little nephew was so excited when I showed him this. Cool Aunt status! He sat and built creations for a long time. And watching those little hands building and working was fun for me! Manipulating the rubber bands is such a fine motor workout for kids. Intrinsic hand muscles are needed for so many functional tasks.
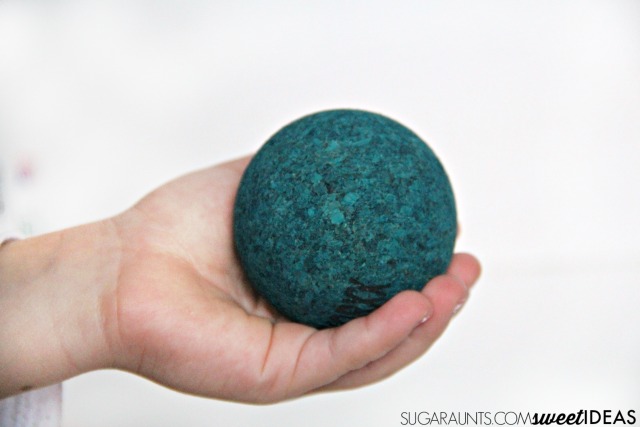
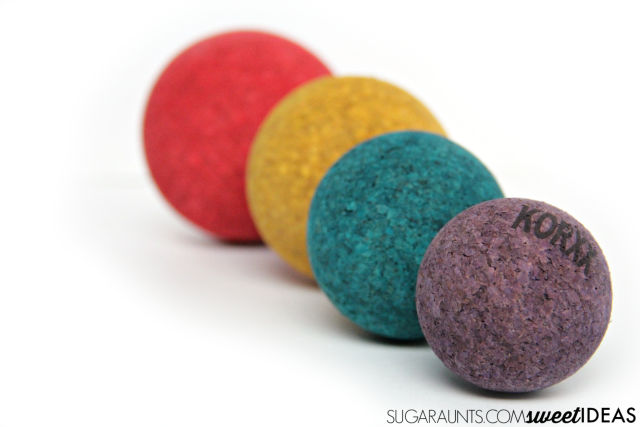
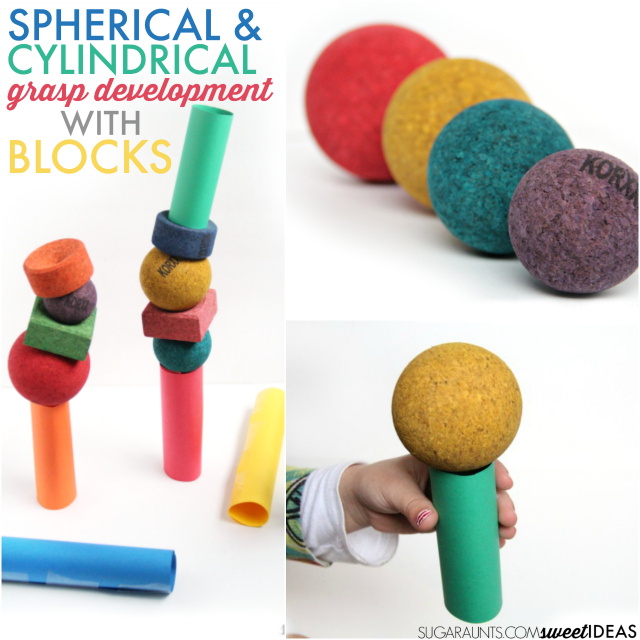
Hand and Grip Strength
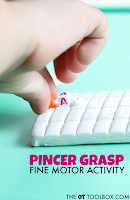
When kids have a functional finger strength levels, they are able to write and color with endurance. They are able to manipulate small items. Finger strength looks like the ability to open and close plastic baggies and other meal containers at lunch time in the school lunch room. It looks like the ability to manipulate clothing fasteners like buttons, snaps, and even the buckle on a car seat.
Finger strength can be tested to see if grip and pinch strength are at typical levels for the child’s age, but if you are noticing that activities the child should be accomplishing like managing items is hard, you can look into hand strengthening and grip strength exercises in more depth.
More signs of hand weakness include:
- Kids with weakness in their hands may have difficulty with coloring and complain that it hurts to color large areas.
- You might see them color or write using their whole arm instead of just their wrist and fingers.
- Hand weakness may be indicated by difficulty cutting a smooth line with scissors. Rather, you’ll see jagged snips.
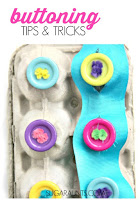
- Kids with hand weakness might have trouble managing a zipper or pushing a button through a button hole.
- Weakness of the hand is indicated by a poor pencil grasp. Kids with intrinsic muscle weakness will write with a closed thumb web space and will use their thumb to stabilize the pencil.
- And then, you’ll see poor hand writing.
- Hand weakness is indicated by light pencil pressure that is almost illegible, or very light coloring.
- Difficulty with manipulating small items and using in-hand manipulation in managing small parts.
- Trouble with grasping tools like utensils. scissors, scoops, tweezers, and eye droppers.
- Difficulty manipulating and grasping small toys.
Grip exercises for kIds
We know that kids primary occupation is play, right? Kids learn and develop skills through play! So when it comes to strengthening hands, improving grip strength, forearm strength, and pinch strength, the key is to use games and play!
Some other ways that are perfect for hand strengthening are toys and games that are typically recommended by Occupational Therapists. These are some of my favorites:

Toys and Ideas for Working on Hand Strengthening for Kids
- Squeezing water bottles to water plants.
- Therapy Putty
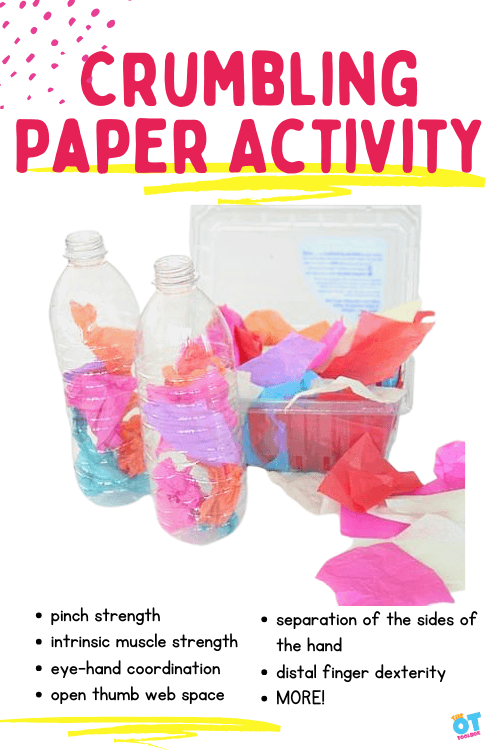
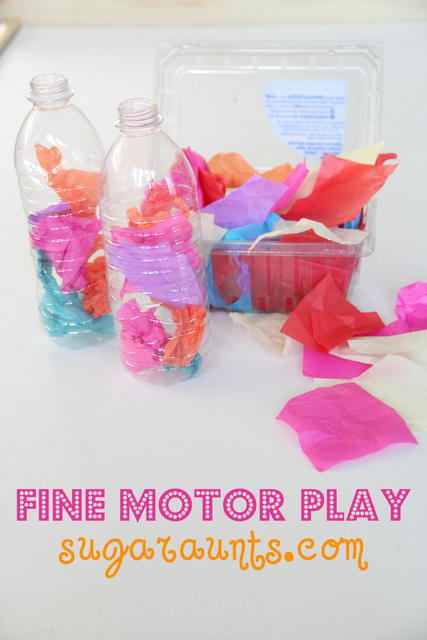
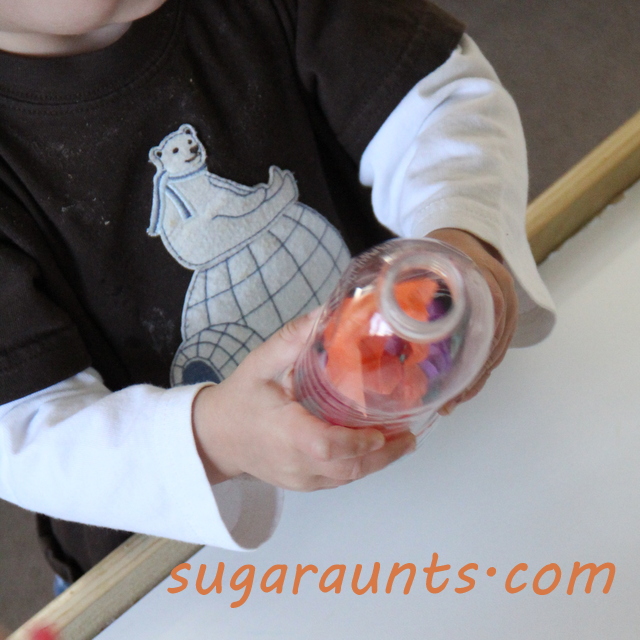
or play dough. Roll the dough into small balls. - Tear paper.
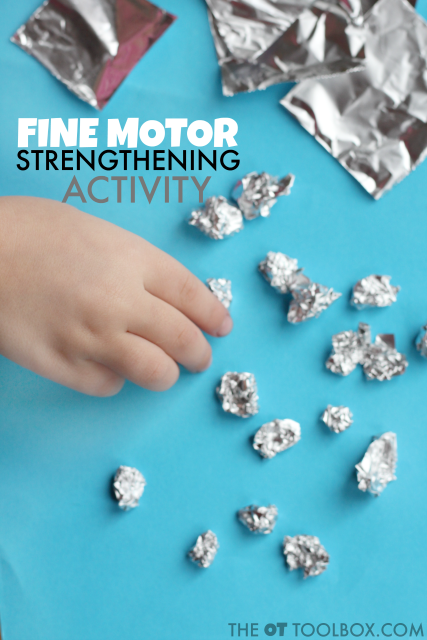
- Crumble small squares of tissue paper.
- Cut cardstock.
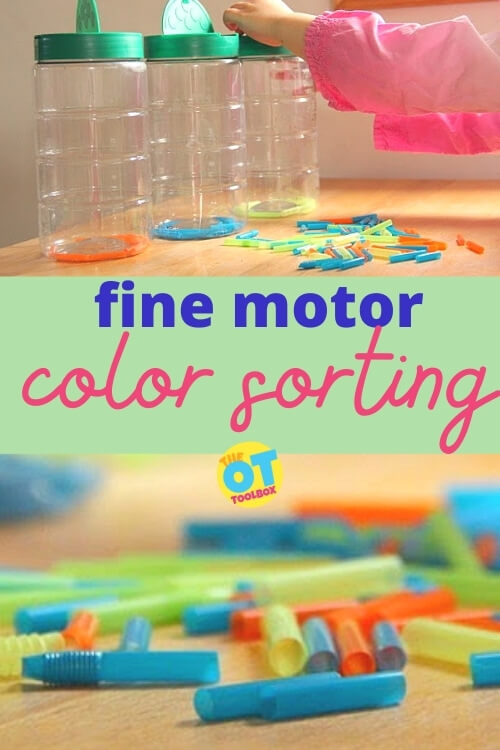
- clothes pins
to match colors in games and learning activities - Building toys like this Building Blocks Disks or a favorite in our house, ZOOB Building Set
- Squirt toys like these Munchkin Five Sea Squirts
to aim at targets in the bathtub, sink, or plastic bins. - Small blocks such as LEGOs
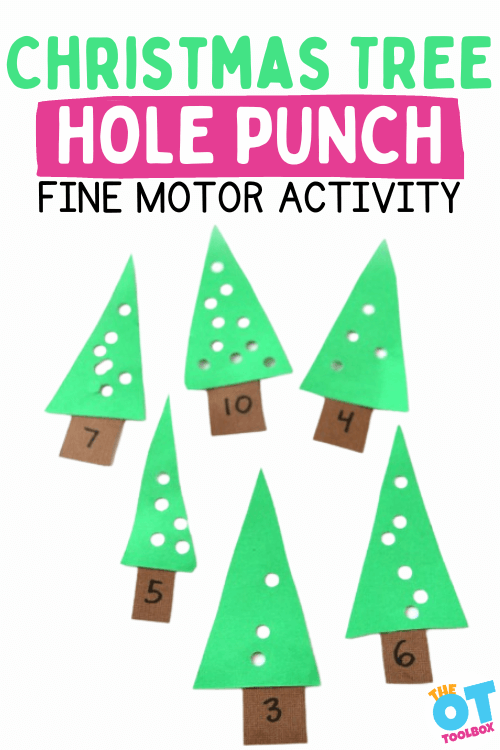
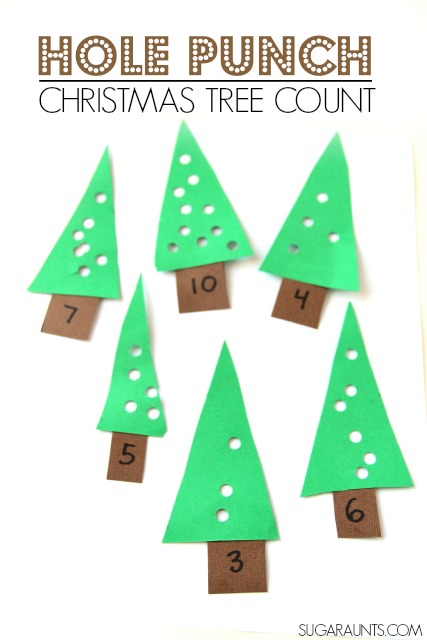
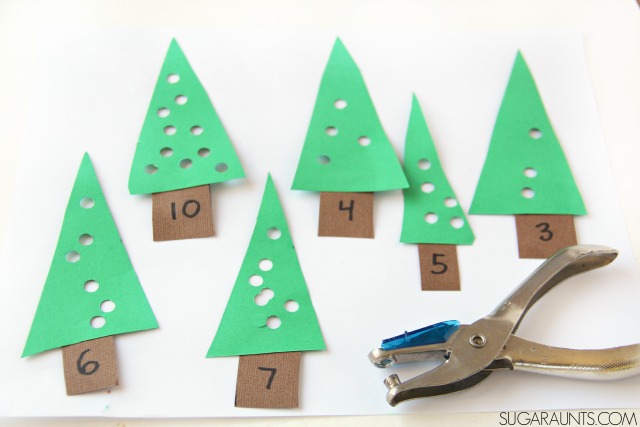
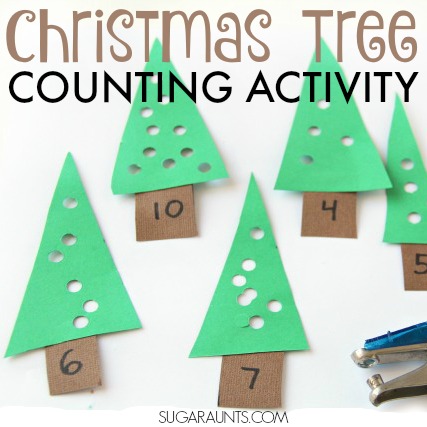
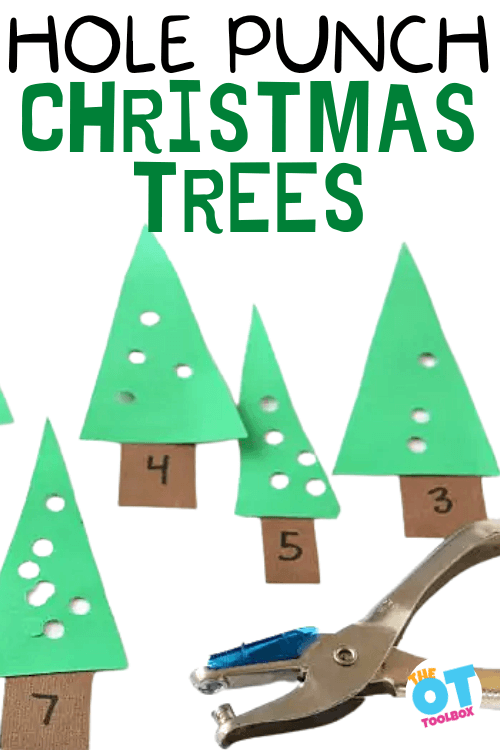
are perfect for strengthening the intrinsic muscles, with their resistance needed to push them together and pull them apart. The position hands need to be in to work LEGOS is perfect for strengthening the muscles in the hand. - Squeeze a hole punch to create lines of holes along an edge of paper.
- Eye Droppers and Tweezers are a fun way to explore sensory play while working on fine motor skills.
- A squeeze toy like this Squishy Mesh Ball is great for hand strengthening and a fun fidget too.
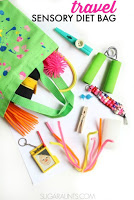
More grip strength activities that you will enjoy:
Rubber Band Hand Exercises
The rubber band hand exercises in this activity post are play-based. This means that you can set up an open-ended activity in an occupational therapy session by offering a tray of blocks and rubber bands. You can ask the student or OT client to just build whatever comes to mind.
- Ask the child to create structures, build creative items like animals, figures, or anything that comes to their mind.
2. You could also challenge them to create a structure with the blocks and rubber bands using a certain number of items, like 10 building blocks and 10 rubber bands. Ask them how high they can build a structure or if they can build a structure that doesn’t fall over with that number of materials.
Both of these hand exercises are play-based and open-ended, but they are great fine motor STEM activities.
To make the rubber band hand exercises more quantitative, ask the user to use a specific number of rubber bands and blocks. Ask them to wrap 3 rubber bands around each block. When you ask a student to complete this, they are stretching out the extensor muscles of the hands to extend the rubber band around the block.
And, when they pinch and pull the rubber band, the flexors and muscles of the palm of the hand, or the intrinsic muscles, are active. These facilitate strong and refined arch development for endurance in fine motor tasks.
You can grade these rubber band strength exercises in several ways.
Grade the activity harder, or make the exercise more difficult by:
- Increasing the number of rubber bands (increase the repetitions)
- Increase the number of blocks that the user needs to wrap the rubber bands around (increase the pull and resistance of the rubber bands)
- Increase the number of blocks that need to be wrapped with rubber bands (increase the repetitions)
- Decrease the size of the rubber band or increase the size of the block (increase the resistance of the band on the muscles)
You can grade the activity down, or make it easier for other users by:
- Decreasing the number of rubber bands (lower the number of repetitions)
- Decrease the number of blocks that the user needs to wrap the rubber bands around (decrease the pull and resistance of the rubber bands)
- Decrease the number of blocks that need to be wrapped with rubber bands (lower the repetitions)
- Increase the size of the rubber band or decrease the size of the block (decrease the resistance of the band on the muscles)
Note that when you grade the activity down, you can also increase the overall number of repetitions, which can be beneficial for improving strength and endurance. In this case, you should note the number of repetitions that are completed, because doing the exercises each day with increasing repetitions builds muscle memory and endurance.
These activities also support kinesthetic learners which learn counting and motor planning skills through repetition of physical tasks.
These rubber band exercise ideas are similar to a hand gripper workout, only they are play-based. Both offer resistance to the extrinsic flexors and extensors as well as intrinsic muscles.
Hand Exercises with Rubber Bands
Keeping in mind the ability to grade the exercises up or down depending on the unique needs of the individual, you can run through specific hand exercises with rubber bands. Include these rubber hand strengthening exercises in your documentation:
- Wrap one rubber band around a block twice (increase or decrease the number of bands)
- Wrap a rubber bad around the block lengthwise.
- Wrap a rubber band around two blocks to connect the blocks.
- Take the block creations apart when completed.
All of these fine motor pinch and grip strength exercises using rubber bands are a hit with kids and occupational therapy providers. You’ll find more ideas in our fine motor kits.
Working on fine motor skills, visual perception, visual motor skills, sensory tolerance, handwriting, or scissor skills? Our Fine Motor Kits cover all of these areas and more.
Check out the seasonal Fine Motor Kits that kids love:


Or, grab one of our themed Fine Motor Kits to target skills with fun themes:
- Frogs Fine Motor Kit
- Unicorns Fine Motor Kit
- Vehicles Fine Motor Kit
- Apple Fine Motor Kit
- Back to School Kit
- Sports Fine Motor Kit
- Outer Space Fine Motor Kit
- Fairytale Fine Motor Kit
- Plus more in our shop!
Want access to all of these kits…and more being added each month? Join The OT Toolbox Member’s Club!

Colleen Beck, OTR/L has been an occupational therapist since 2000, working in school-based, hand therapy, outpatient peds, EI, and SNF. Colleen created The OT Toolbox to inspire therapists, teachers, and parents with easy and fun tools to help children thrive. Read her story about going from an OT making $3/hour (after paying for kids’ childcare) to a full-time OT resource creator for millions of readers. Want to collaborate? Send an email to contact@theottoolbox.com.