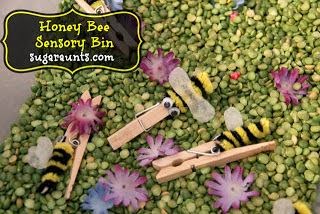
I am not sure how I feel about honey bees. The fat fluffy ones are kind of cute. You can buy honey bee themed everything out there. You might just forget their sting for a minute. Today, as part of our sensory bin series, we are focusing on the Honey Bee Sensory Bin. Despite the mess they make, therapists love sensory bins! They are a useful and creative way to address sensory stimulation as well as cognitive skills. Here at the OT Toolbox, we are offering a series of posts highlighting different sensory bins, including this cute Honey Bee Sensory Bin, along with activities to engage young learners.

A Honey Bee sensory bin is just one of thousands of options you can choose from. It is easy to make your own sensory bins. Add different activities to make it multi-dimensional. With a membership to the OT Toolbox, most of the materials are free or a minimal cost.
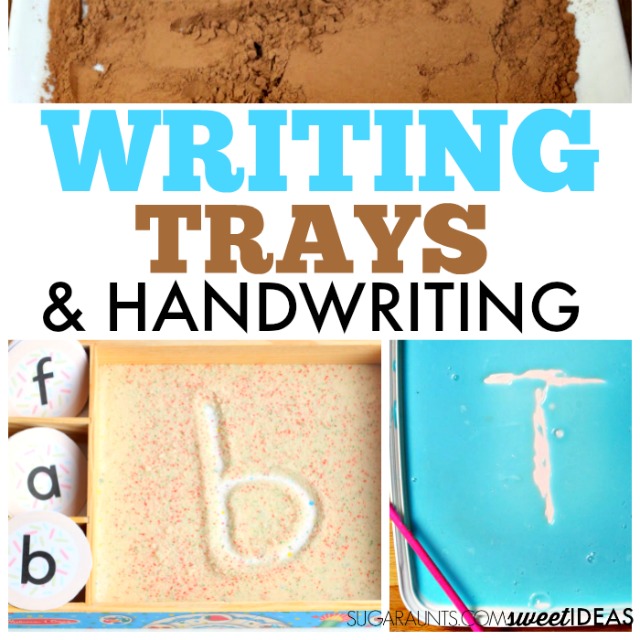
HONEY BEE SENSORY BIN
For the sake of this lesson, we can pretend I love honey bees! I am sure I would love making a honey bee sensory bin, as no live bees are used in the making of this activity.
Fun facts; Honeybees have five eyes: two compound eyes and three smaller ocelli. They use a special dance called the “waggle dance” to communicate the location and quality of food sources.
If you are new to sensory learning, it is important to understand what a sensory bin is, and what it can offer your learners. If you follow our posts, you have probably read about this topic, or are familiar with the popular sensory bin.
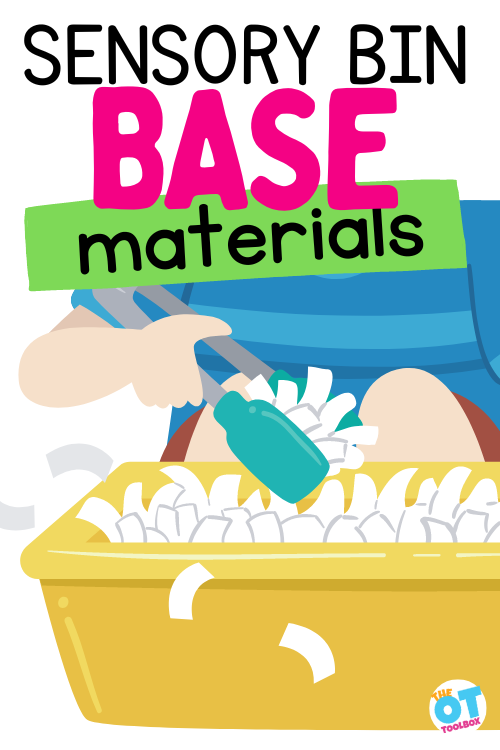
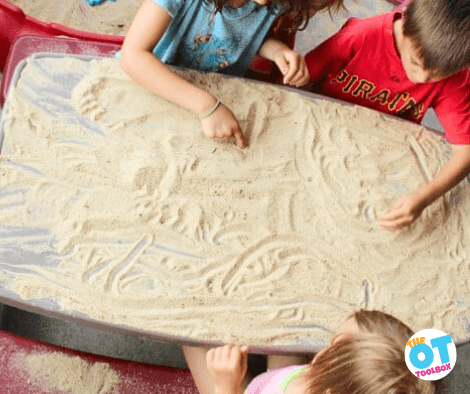
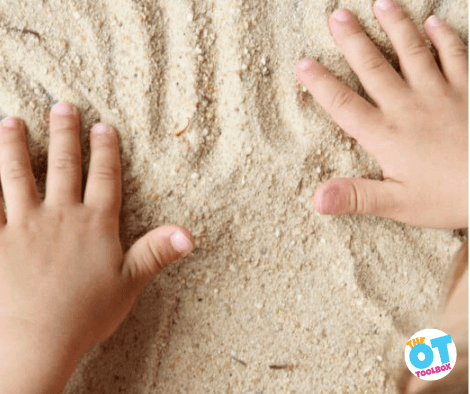
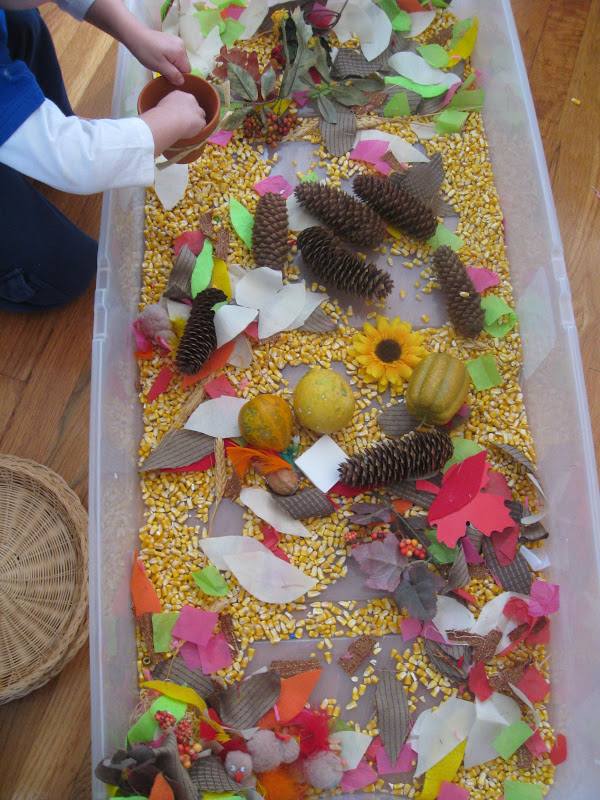
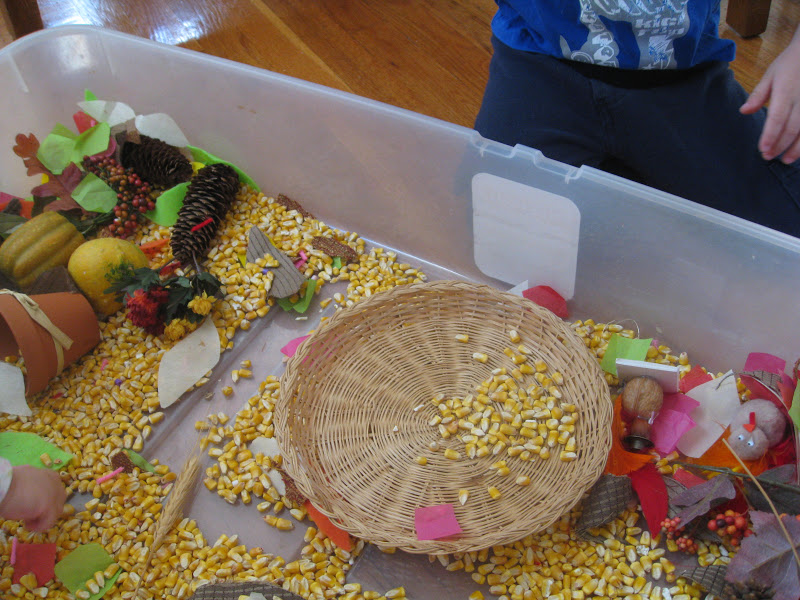
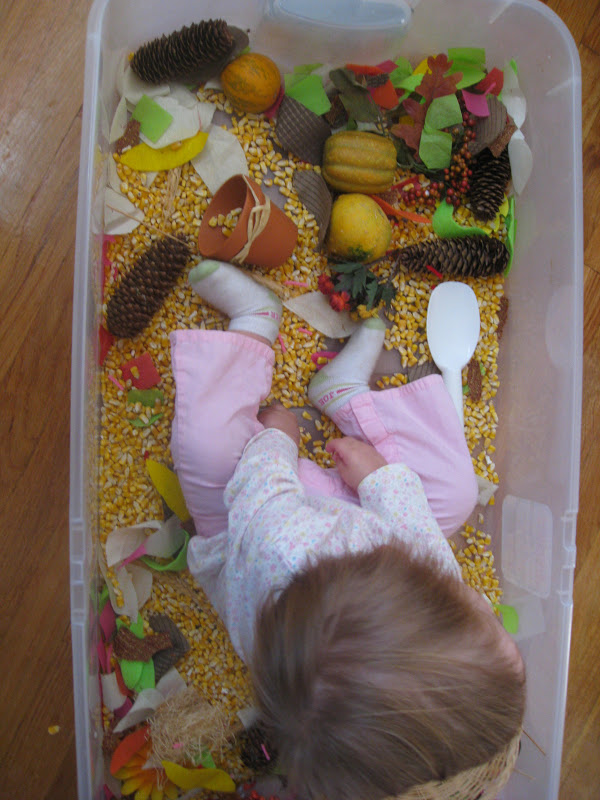
A sensory bin is a shallow container that combines filler material and various small odds and ends. You fill the bin with a filler material such as sand or rice, then add items from around the house such as spoons or measuring cups. Let your child explore the items and have fun playing. This great article on Sensory Base Fillers highlights the different options for bases and fillers.
WHAT ARE THE BENEFITS OF A SENSORY BIN
The obvious answer is “to stimulate or desensitize the sense of touch.” Sensory bins are so more than just a tactile experience. There are just so many benefits of sensory play that you can facilitate using a sensory bin.
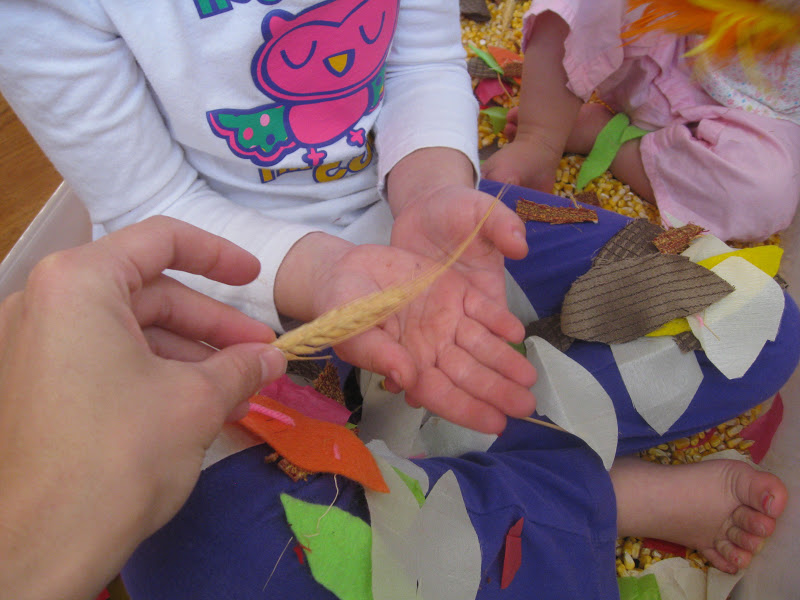
- Improve fine motor skills: Digging, scooping and pouring, and stirring, can strengthen your child’s hand muscles and improve fine motor skills. Include oversized tweezers, spoons, and funnels to encourage your child to practice the type of grasping skills they will need to feed themselves and write.
- Sensory exploration: this one is obvious, but other senses are stimulated in addition to touch. Vision, auditory, smell, and proprioception can be elicited using the honey bee sensory bin. Kids will enjoy running their hands through the filler material and watching what happens as they pour it out. Many materials you can put in a sensory bin provide a wonderful tactile sensation. You can vary the materials to make the tactile experience different textures. For those with tactile defensiveness, a sensory bin is a great tool.
- Intellectual skills: while it may seem like they are just playing, this is the occupation of a child. Through play, children learn cognitive skills. They can learn about measurement using measuring cups, add letters and numbers for academic enhancement, or sort items.
- Calming experience: for those without sensory aversion, playing in sensory material can be soothing. Use bins like the honey bee sensory bin to take a sensory break.
- Language development: once the sensory system is satisfied, we often see a burst of language (verbal or non-verbal). Use this time to ask questions, talk about hidden objects, talk about more/less, what they see, and what they are doing.
- Cooperative play: when two or more people play in the sensory bin, there are opportunities for cooperative play. Sharing, turn taking, and working together are good skills to learn.
WHAT AGE ARE SENSORY BINS GOOD FOR?
This depends on your level of supervision. Toddlers under 18 months explore by putting everything in their mouth. I like to offer edible options for most of my sensory bins. Remember that while it may not taste great, dry rice/birdseed/couscous, and pasta are edible.
I like the idea of soaking chia seeds as a texture, or using cooked spaghetti. I just saw a cute idea for a sensory bin for infants. While they are practicing tummy time, fill a cookie sheet or shallow pan of water and/or bubbles for splashing.
I do not tend to leave my students of any age unattended in these sensory bins; if for no other reason than to contain the mess.
Safety Tips for Using Sensory Bins
Toddlers and preschoolers should always be supervised when using sensory bins to discourage them from eating the materials.
Here are some more safety tips for making sensory bins:
- Don’t use items that pose a choking hazard, either as filler material or odds and ends.
- All sensory bin materials should be nontoxic.
- Use a tube to test if objects are a choking hazard, particularly if they’re round or elliptical in shape.
- Don’t use raw kidney beans, since swallowing as few as four or five can cause severe nausea, vomiting, and diarrhea.
- Avoid use flour in your bin because it can be aspirated and affect breathing.
- Only use sterilized sand such as the type sold as play sand.
- Avoid using Styrofoam peanuts since they are a choking hazard.

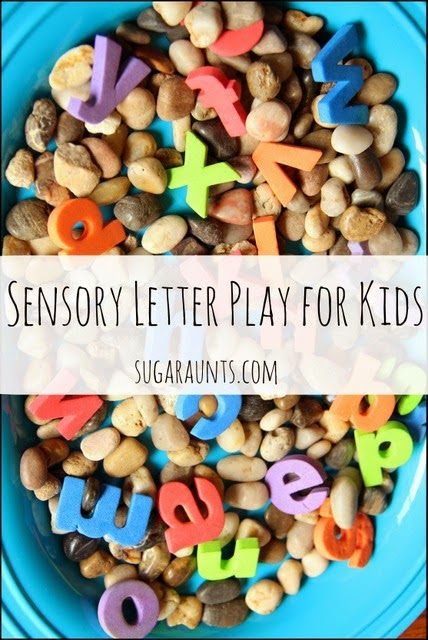
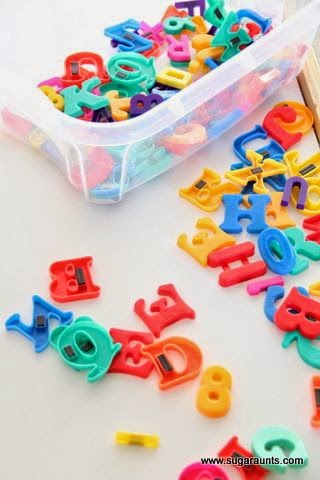
First, print off the honey bee sensory bin letter cards from The OT Toolbox.
HOW TO MAKE A HONEY BEE SENSORY BIN
The supplies needed for the honey bee sensory bin are easy and inexpensive to find. Most of the items can be found at the dollar store or Amazon. Supply list:
- Dry split peas- found at the dollar store or Amazon
- Fake flower petals- found in the floral section at the craft store or Dollar store.
- Honey bees- make your own with chenille stems (pipe cleaners) wound around a clothespin, wax paper wings, and googly eyes. We have an example of these bee clothes pin crafts here.
- Or buy little bee figurines on Amazon. I chose the cute ones, but there are realistic bees for sale.
- Sensory trays– Amazon has several to choose from. You could also use a foil serving dish, cafeteria tray, or a plastic bin. If you are on a tight budget, a shoe box, shipping container, or baking tray will do the trick.
- Ready-made honey bee sensory bin. If home made and crafts are not your thing, Amazon has you covered! I am crafty but this is cute!
- Edible hand-made sensory bin– this one is made with dry pasta and rice with some cute bees thrown in.
- Orange/yellow pom poms

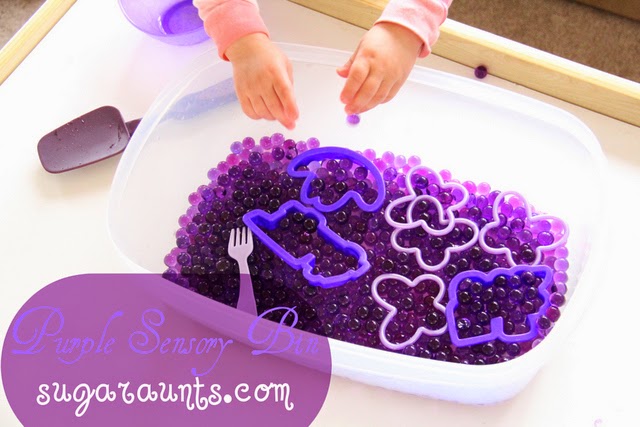
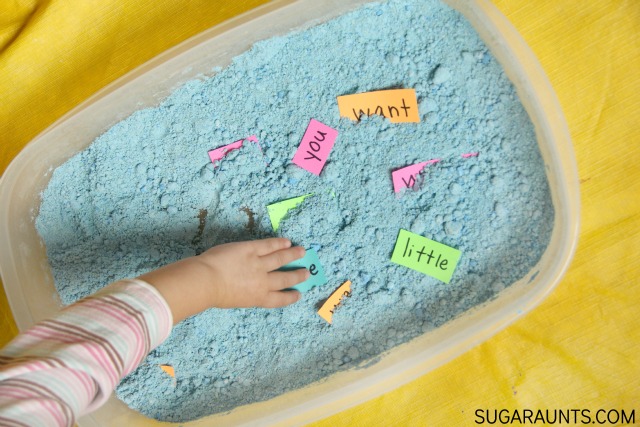
Image is a Child pinching a honey bee letter card in a bee sensory bin. text reads: honey bee sensory bin.
HOW TO USE THE HONEY BEES SENSORY BIN
- Add all the items into the sensory bin. Either add them separately into sections in the bin, or mix all together
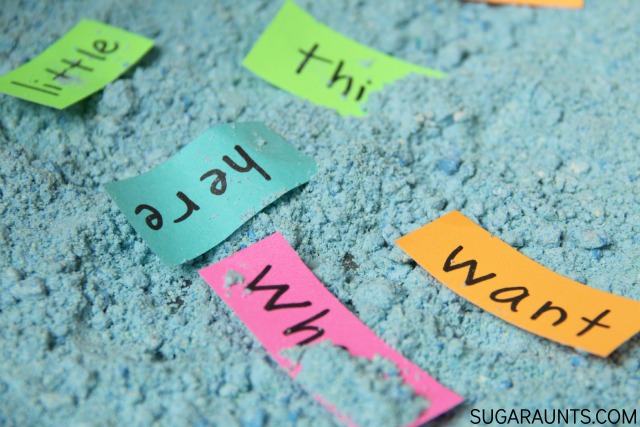
- Use the honey bee sensory bin cards that we have inside The OT Toolbox membership. These are great for using pincer grasp, visual scanning, visual memory, figure ground, and visual closure skills.
- Cut out letters, numbers, and BEE words and laminate them (alternatively you can print on cardstock to make them last longer)
- Further enhance learning by asking students to copy the letters, numbers, or honey bee words onto paper or a white board
- Students can pick up the pieces with their fingers, tweezers, or tongs. Tongs add a fine motor element for dexterity, coordination, separation of the sides of the hands, pinch strength, developing grasp, and opening the web space
- Use the bees as sentence starters or research projects to encourage learning.
- Show students fun facts about honey bees and have them copy them off the board (far point copying), or paper for near point copying skills.
- You can encourage them by demonstrating how to scoop and pour and talking to them about what they are doing. You can encourage their literacy skills by talking to them while they are playing and hone their math skills by letting them measure and pour.
MEMBERship comes with great perks!
The best way to get all the resources available on the OT Toolbox is to become a member. This gives you access to the archives, and thousands of free resources. One of them is the honey bee or spring theme.
ADDITIONAL HONEY BEE SENSORY BIN ACTIVITIES
- Put a small toy honey bee in an ice tray and freeze it, then add it to a water bin on a hot day.
- Put your bin in an area that is easy to clean up or take it outside.
- Fill a bin with shredded newspaper and hide plastic bees in it.
- Create a whole lesson plan with your honey bee sensory bin as the starter. Use books, printables, gross motor games, and board games
- For a wet texture, try shaving cream, water beads, jello, cornstarch/water, pudding
- Do the just right challenge encouraging reluctant learners to try new things, or demonstrate the activity first
ADD TO YOUR HONEY BEE SENSORY BIN THEME
- Purchase this great Honey Bee activities therapy kit to go along with your honey bee sensory bin. This honey bee therapy kit includes activities to work on visual perception, cutting, writing, gluing, letter recognition, handwriting, fine motor skills, dexterity, as well as growth mindset.
- Bee Fall Game Enjoy a variety of ways to play with Bee Fall. From the classic “Keep the Bees Aloft” challenge to the focused “Queen Bee Protection” mode and the Rainbow Sticks balance game, Bee Fall offers multiple engaging variations for endless family fun.
- Montessori wood bee sorting game with chopsticks to work on fine motor skills
- Honey Bee Writing prompts– become a member and get access to this and other great members only material.
- Honey Bee games and activities inspired by the Many Adventures of Winnie the Pooh
- Winnie the Pooh and Honey Bees themed party
Of course; this search is much easier is you become a member of the OT Toolbox. Once you become a member of the OT Toolbox, it is very simple to find resources, both current, and in the archives. Type in the skill, category, item, or idea you are looking for.
MORE FUN HONEY BEE FACTS
- The honey bee is the only insect that produces food eaten by man.
- A honey bee typically visits 50 to 100 flowers during a collection trip.
- A honey bee would have to fly around 90,000 miles, over three times around the globe, to make one pound of honey. It would take one ounce of honey to fuel her flight around the world.
- The average honey bee will actually make only one twelfth of a teaspoon of honey in her lifetime.
- A populous colony may contain 40,000 to 60,000 bees during the late spring or early summer.
- Worker honey bees live for about 6-8 weeks in the spring or summer, but up to 6 months during the winter.
- A new queen may mate with dozens of drones over a 1-2-day period.
- The queen is constantly fed and groomed by attendant worker bees.
- The queen lives for up to about 5 years. She is the busiest in the spring summer months, when the hive needs to build to its maximum strength, and lays up to 1500 eggs a day, which may equal her own weight.
MEMBERSHIP HAS ITS PERKS
Want to add this resource to your therapy toolbox so you can help kids thrive? Enter your email into the form below to access this printable tool.
This resource is just one of the many tools available in The OT Toolbox Member’s Club. Each month, members get instant access to downloadable activities, handouts, worksheets, and printable tools to support development. Members can log into their dashboard and access all of our free downloads in one place. Plus, you’ll find exclusive materials and premium level materials.
Level 1 members gain instant access to all of the downloads available on the site, without enter your email each time PLUS exclusive new resources each month.
Level 2 members get access to all of our downloads, exclusive new resources each month, PLUS additional, premium content each month: therapy kits, screening tools, games, therapy packets, and much more. AND, level 2 members get ad-free content across the entire OT Toolbox website.
Join the Member’s Club today!
COMING SOON
Stay tuned for more posts featuring great sensory bin ideas. Upcoming: baseball, honey bee, beach ball, shapes, backpack, school, and more!
**Do not forget to sign up to be a member today to get easy access to all the resources you need to be an efficient and effective therapist.

Victoria Wood, OTR/L is a contributor to The OT Toolbox and has been providing Occupational Therapy treatment in pediatrics for more than 25 years. She has practiced in hospital settings (inpatient, outpatient, NICU, PICU), school systems, and outpatient clinics in several states. She has treated hundreds of children with various sensory processing dysfunction in the areas of behavior, gross/fine motor skills, social skills and self-care. Ms. Wood has also been a featured speaker at seminars, webinars, and school staff development training. She is the author of Seeing your Home and Community with Sensory Eyes.