Bilateral Integration is an area that kids need for so many tasks…but it’s not a developmental milestone that stands out unless a problem is necessarily noticed unless there is a problem. What we do notice in as our kids grow and develop are the motor skills that impact functioning. We notice use of both hands, fluid and efficient movements in tasks like playing, getting dressed, and interacting with peers. Let’s take a look at bilateral integration and dissect how to support this essential sensory motor skill.
Another resource that supports this information is our blog post on bilateral coordination. You’ll find many bilateral integration activities in that blog post.
Bilateral Integration
From writing and holding the paper, to holding a art project and cutting with scissors, to zippering a jacket, coordinating both sides of the body in an efficient manner is a skill that is necessary for almost everything we do.
Bilateral coordination develops from a very young age. When babies begin to bring both hands together at their mouth, you are seeing coordinated efforts begin. When the infant pushes up on both arms while lying in a tummy time position, the integrated movements of both hands and legs occurs along with strength and control.
Research tells us that motor tasks like jumping, jumping jacks, riding a bike, hopping, etc. become easier and more fluid with age as children develop. It’s through play, sensory input, motor skill experience, and activities that these skills are developed.
Below, you will find bilateral integration activities that can be incorporated at various ages. Use these bilateral coordination activities to promote coordinated and efficient movements in meaningful activities.
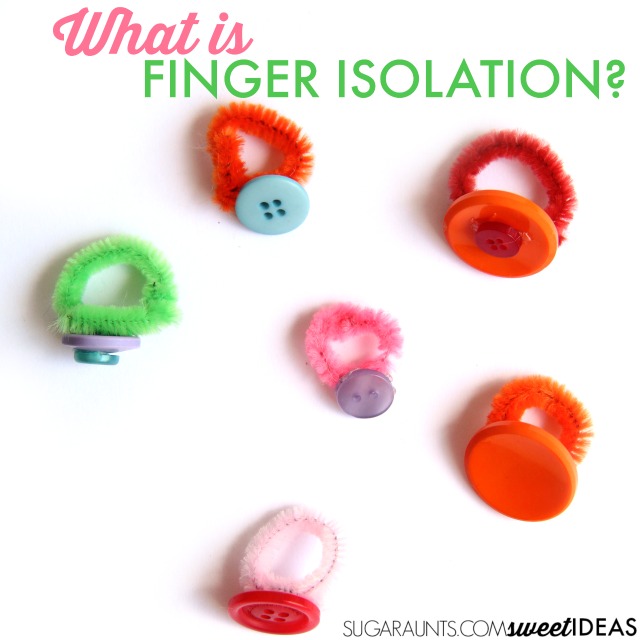
What is Bilateral integration?
Bilateral integration refers to the ability of both sides of the brain to work together in a coordinated manner. We see this ability when the skills associated with the left side of the brain are done in conjunction with skills associated with the right side of the brain.
Skills associated with the left side of the brain:
- Speech and language- Understanding using language (listening, reading, speaking and writing)
- Comprehension
- Math problems and facts
- Handwriting
- Linear thinking
- Memory for spoken and written messages
- Logic
- Verbal language
- Sequencing
Skills associated with the right side of the brain:
- Creativity and imagination
- Creative thinking
- Spatial skills
- Intuition
- Art, drawing, and creative artistic skills
- Musical skills
Then, when other aspects of functional performance are added to the mix and the individual is still able to complete the task, this is bilateral integration in action.
Those other considerations include:
- Attention and focus
- Proprioceptive input
- Vestibular input
- Visual information
- Motor targets achieved, or motor control shown by fluid movements
- Praxis- movements thought about and completed in coordinated manner
When both sides of the body work together in a coordinated manner so that the individual can manipulate objects such as cutlery with various amounts of force modulation, taking in sensory stimuli such as sights, sounds, tastes, and proprioceptive and vestibular input, and managing posture, coordination, and body awareness, bilateral integration is visible.
When bilateral coordination or bilateral integration is intact and progressing appropriately through development, it is an indicator that both sides of the brain are communicating effectively and sharing information during functional tasks.
Tasks that require bilateral integration
Knowing what we covered above, it is easy to see how some daily tasks are impacted by coordinated and integrated motor skills requiring both sides of the body. Each of these skills requires and has input from other sensory systems and cognitive systems as well, such as proprioceptive input, executive functioning, attention, and even creative thinking and problem solving.
- Writing and holding the paper in a stable position
- Cutting and holding the paper steady and at an appropriate height
- Putting on a coat while holding a backpack (or other item)
- Tying shoes
- Pulling up pants and not losing balance
- Putting socks on
- Jumping jacks with coordinated movements
- Turning a page and writing or copying work
- Typing
- Squeezing toothpaste and brushing teeth
- Flossing teeth
- Playing an instrument
- Using a knife and fork
- Pouring water from a pitcher into a cup
- Cooking skills: chopping, cutting, slicing, peeling, taking food out of packages, putting food into the microwave or stove, taking food out of the fridge
- Reaching for objects
- Stabilizing an object with one hand while manipulating another object with the other
- Jumping rope
- Catching a ball
- Riding a bike
- Swimming
- Many more tasks!

Bilateral Integration Activities
Amazon affiliate links are included in this post.
First, let’s talk about some ways that coordinated use of the arms and legs are needed for coordinated movements. These are skills and tasks that can easily be performed by some children. Others, who struggle with motor planning, core strength, posture needs, left-right discrimination, visual motor skills, or many other areas can struggle. It’s easy to see that simply addressing some areas won’t fix the issue when an underlying concern is present.
To promote the skills needed for these tasks, try some of the activities listed below to promote bilateral integration:
Related Read: Here are are some additional bilateral coordination activities with a winter theme.
Bilateral Integration Activities for Babies
Bilateral movements are part of everyday life for baby! From turning, creeping on the floor, rolling, sitting, crawling, cruising on furniture, and taking first steps, babies are developing bilateral integration skills from birth.
Read here about the types of crawling, all of which integrate bilateral coordination and motor planning.
Encourage these bilateral integration activities with babies:
There are ways to support child development at this stage through age-appropriate play that will support the child’s progression at later stages, too.
- Provide various toys and objects appropriate for young babies. Include bold colored objects including black, white, and red items or contrasting colors, toys, or pictures on a blanket or play mat during tummy time. This black and white board book (affiliate link) can be propped up or used while on an adult’s lap.
- Provide gentle infant massage during and after bath time, and on all extremities. Here is a resource book on infant massage. (affiliate link)
- Provide toys and age-appropriate objects for reach and grasp. This banana toothbrush teether (affiliate link) has molded handles that make it a great teething item for little ones.
- Provide teething toys as baby brings hands together at their mouth.
- Provide toys that are appropriate for mouthing that can be held in both hands.
- Provide hand-held toys while the child is seated in a high chair. This one (affiliate link) has a suction cup base to keep it stable, but has a black and white ring at the base that babies can grasp with one hand while manipulating with the other hand.
- Provide toys of various weights when seated upright to provide resistance against gravity and to promote strengthening of the upper extremities. Blocks, rings, sorting toys, or something like this quality teething toy (affiliate link) made of heavier materials can be useful to provide variances in weight, while still allowing the baby to manipulate the item.
- Provide toys available on a high chair or table surface at various distances to provide opportunities for depth of perception when reaching for toys and bringing them to the mouth.
- Continue tummy time while playing in prone to promote strength and stability in upper extremities.
- Use the ideas in our baby play library for more ideas.
Bilateral Integration Activities for Toddlers
Provide toys requiring one hand to stabilize a base while the other hands manipulates an object. Shape sorters are great for this.
Other toys include:
- Peg Boards (affiliate link)
- Blocks- These press and stay sensory blocks are perfect for encouraging one hand to use as a stabilizer and one hand as a
- Play Dough
- Drawing/coloring- Here is more information on the benefits of coloring.
- Use these crayons for toddlers to support bilateral coordination skills during coloring.
Bilateral Integration Activities for Preschool
Preschool is a time for building hand strength, coordination, eye-hand coordination, and improving motor skills needed for the upcoming years. You can find many preschool activities here on our website, but some specific ways to support bilateral integration include:
- Encourage kids to participate in cooking activities.
- Use play dough to cut with scissors and roll out play dough snakes or balls of play dough.
- Age-appropriate crafts and craft sets are great for this age.
- Play with stickers of various sizes.
- Make “snow angels” on a carpet or fluffy blanket
- Simon Says is a great game for encouraging novel and varied motor combinations. Use these Simon Says Commands to get started.
- Play various song and movement games such as the Hokey Pokey, Farmer in the Dell, etc. Here are movement and song activities that can be used in circle time, warm-ups, centers, or in group activities. All of these move and dance songs promote core strength and stability.
- Climb on outdoor play areas at playgrounds and in low trees.
- Add sensory! Try this table top bilateral coordination activity to draw shapes.
- Draw with both hands! This four leaf clover activity is a powerful one as it covers a variety of skills.
Bilateral Coordination Activities for School-Aged Kids
In schools, development of bilateral integration is important for tasks like putting on a coat or jacket and backpack, holding a paper with the supporting hand and writing, and using scissors. There are many other bilateral integration tasks that happen throughout the day.
Some ways you can support development of these skills include:
- Folding origami or other paper crafts are great at this age.
- Try these gross motor dinosaur themed movements with a DIY game.
- Fold paper airplanes.
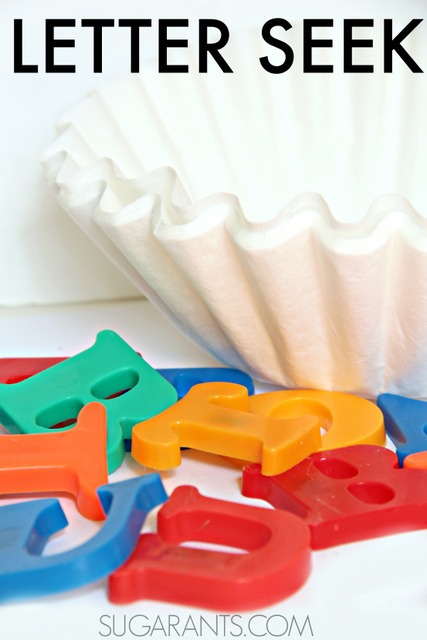
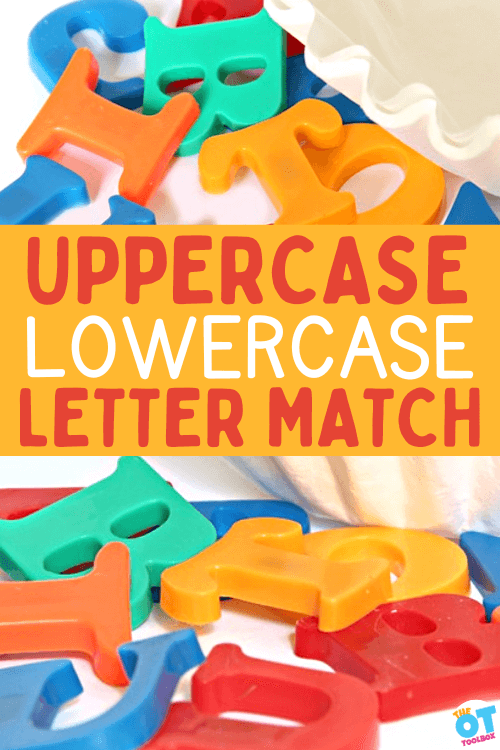
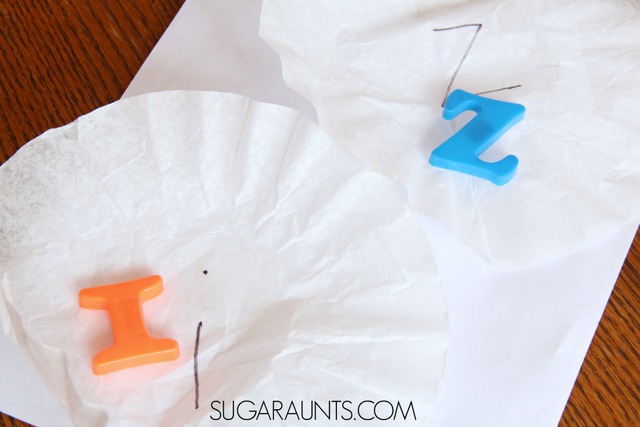
- Work on letter matching and eye hand coordination with a DIY rolling surface toy.
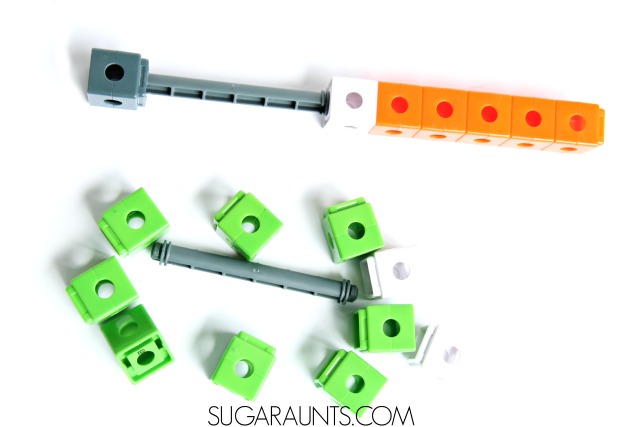
- Build with LEGOS or other building toys.
- Try craft activities such as beading, jewelry making, or perler bead crafts.
- Build and create with Pop Tubes. This bilateral coordination activity is fun.
- Weaving activities.
- Lacing activities.
- Try making this bilateral coordination weaving activity.

Last thoughts on encouraging bilateral integration
The best way to encourage and promote integration of both sides of the body? Movement and play! Get the kids active, moving, and experiencing various planes against resistance and with exposure to all types of sensory experiences.
The combination of proprioceptive input into a play experience that promotes strengthening in a fun way provides all of the benefits kids need to improve bilateral coordination skills. Add personal interests as the child grows. And finally, have fun!