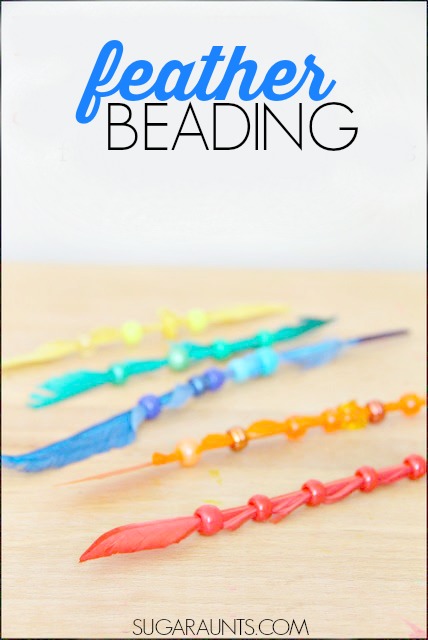
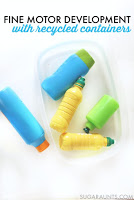
This beaded feather activity is a fine motor task that we created YEARS ago. WE love it because beads and feathers are common craft materials found in many pediatric occupational therapy professionals’ therapy toolbox. In fact OTs love crafts as a fine motor strategy and this feather bead activity is a powerhouse!
Beaded Feather Activity
If you need a quick and easy little activity for the kids while you are making dinner, or just something fun for the kids to keep practice a few fine motor skills, then this is a great activity for you. Simple to set up and easy to clean up, this one will get those little muscles going and moving with fine motor dexterity!
This can be a great skill-building task to add to a STEAM activity or a STEM fine motor activity.
Beading with feathers
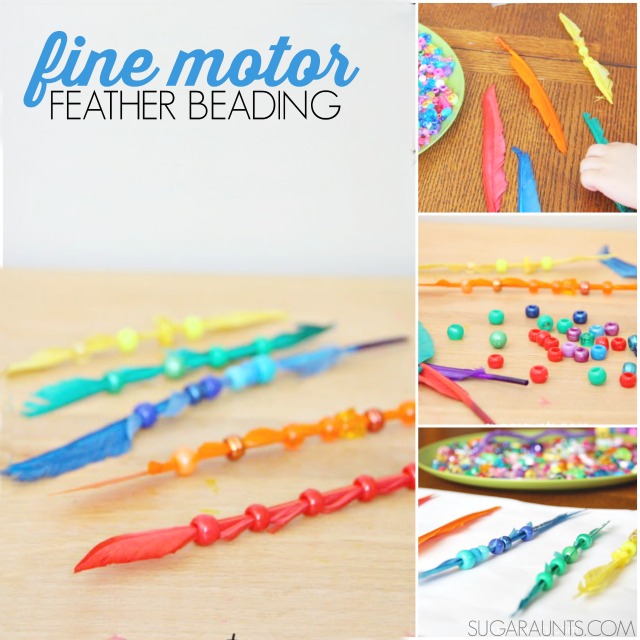
This activity works on several grasps, color awareness, counting, sorting, visual scanning, and eye-hand-coordination. How can you beat such an easy activity with so many benefits??
This post contains Amazon affiliate links.
You’ll need just two craft materials for this fine motor activity:
Get your feathers and some coordinating beads and lay them out on the table. I started a few feathers to show the kids what we were doing and had the invitation to start ready to go.
They came over to check it out and would bead a bit here and there throughout the day. It was kind of like a therapeutic little break from bouncing off of couch cushions and each other.
Their little bodies needed a chance to slow down and re-group before getting back into the routine of regularly scheduled chaos.
But maybe that’s just my kids?
Pincer Grasp Activity With Beads and Feathers
You could also put out a big old tray of all kinds of beads with different colors, shapes, sizes to work with.
This slightly makes the activity just a little more difficult as the child has to visually scan for the colors needed and pick out the beads that they want with a neat pincer grasp.
Using the tips of the index finger and the thumb in a precision grasp to manipulate beads from a big tray of colors is great for eye-hand coordination.
Holding the feather and the beads requires two hands to work together in a coordinated way (bilateral hand coordination).
This is a great way to practice pre-writing skills and those requirements needed for self- care like managing buttons, zippers, shoe-tying, and scissor skills.
Bead Feathers to learn colors
Younger children (Baby Girl is just getting this!) can learn colors and practice naming colors as they pick out the beads and match to the color of the feather.
How many other ways can you think of to make this a learning opportunity?
Patterns, sorting, counting…this is a fun learning op and a great way to get those little hands moving!
The beaded feather activity and the other fine motor tasks listed above are a great addition to our popular Fine Motor Kits:
Working on fine motor skills, visual perception, visual motor skills, sensory tolerance, handwriting, or scissor skills? Our Fine Motor Kits cover all of these areas and more.
Check out the seasonal Fine Motor Kits that kids love:
Colleen Beck, OTR/L has been an occupational therapist since 2000, working in school-based, hand therapy, outpatient peds, EI, and SNF. Colleen created The OT Toolbox to inspire therapists, teachers, and parents with easy and fun tools to help children thrive. Read her story about going from an OT making $3/hour (after paying for kids’ childcare) to a full-time OT resource creator for millions of readers. Want to collaborate? Send an email to contact@theottoolbox.com.
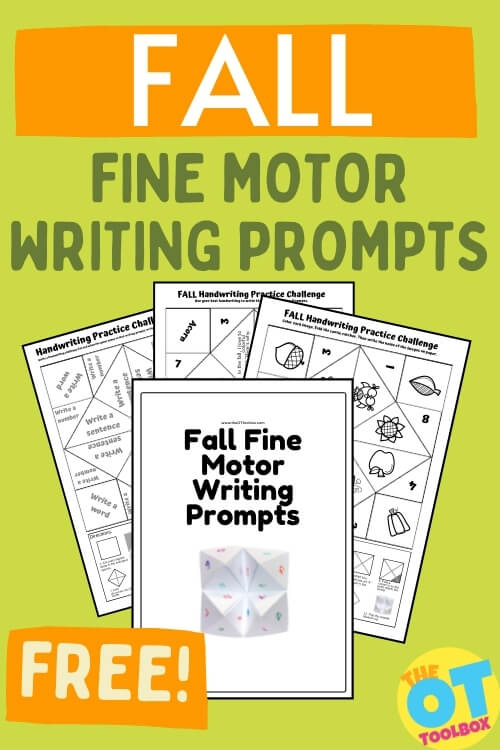
Working on handwriting with kids? This Fall cootie catcher template is a Fall writing prompt activity that builds fine motor skills. Just print off the cootie catcher templates, pick the one that works best to meet the needs of the child you are working with, and work on copying letters, words, and sentences. This cootie catcher PDF is a fun way to work on so many skills!
We shared this Spring cootie catcher earlier this year and it was a huge hit, so this Fall themed printable will be loved as well.
A cootie catcher is a folded paper game that includes squares and triangles that can be opened to contain written words or pictures. Cootie catchers are often used as a paper fortune teller game. A cootie catcher is an form of origami that kids can make, using a cootie catcher template. Once they practice using the blank template, children can learn the motor plan to create paper fortune tellers on their own.
In our case, we are using a cootie catcher as a fine motor tool for kids.
This one in particular includes writing prompts to make handwriting skills motivating and engaging for kids, with a Fall theme.
When you use this cootie catcher, kids can develop so many skills:
Bilateral coordination– When children fold paper, they use both hands together in a coordinated manner.
Hand strength– Pressing the paper into folded shapes requires strength in the hand to create a sharp crease.
Separation of the sides of the hand– Opening and closing the cootie catcher requires both hands to open and close at the thumb web space, and is a separation of the sides of the hand activity.
Arch development– Using fingers to fold paper develops arch development in the hand, which is needed for endurance in fine motor activities.
Finger isolation– Using a finger to fold and crease paper focuses on finger isolation, a dexterity skill in fine motor tasks.
Eye-hand coordination– Using the eyes and hands together to create and use the paper fortune teller develops and refines eye-hand coordination skills.
Want to print off this free cootie catcher? Enter your email to the form below and you’ll receive this printable in your inbox.
Colleen Beck, OTR/L has been an occupational therapist since 2000, working in school-based, hand therapy, outpatient peds, EI, and SNF. Colleen created The OT Toolbox to inspire therapists, teachers, and parents with easy and fun tools to help children thrive. Read her story about going from an OT making $3/hour (after paying for kids’ childcare) to a full-time OT resource creator for millions of readers. Want to collaborate? Send an email to contact@theottoolbox.com.
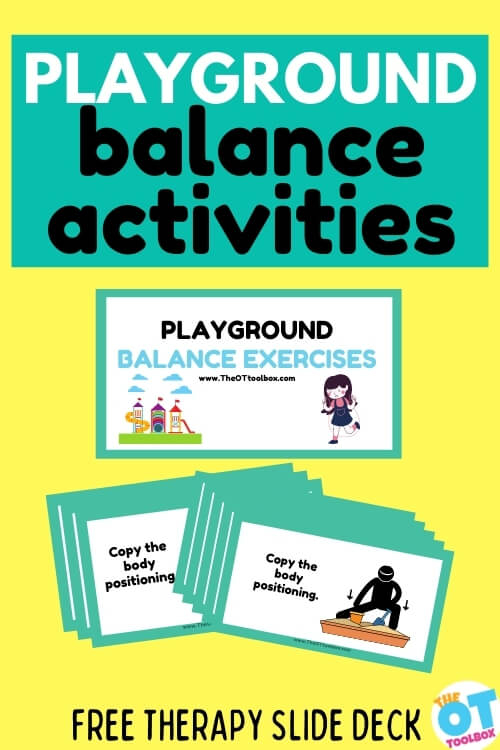
Today I have a fun activity for kids…playground themed balance activities! This virtual playground activity has various movement and coordination tasks that challenge kids to work on posture, position changes, coordination, core strength, and much more. While playing at the playground is the way to go to develop gross motor skills, sometimes getting outdoors is just not possible. That’s where this playground therapy slide deck comes in!
For more information on playground therapy, check out our previous post.
Add these playground themed gross motor coordination stretches, movements, and poses to your therapy obstacle courses, brain breaks, and transition activities.
Playground Balance Activities
When you think about playing at the playground, you think climbing, stooping, sliding, and balancing, right? There are so many ways that playing on playground equipment is such a powerful way to develop gross motor skills, balance, coordination, and overall strength.
But, sometimes it’s just not possible to get out to the playground. Things like weather can impact playground use. Other times, limitations in using public spaces impacts use of the playground in the school setting. And, for therapists running therapy sessions, sometimes you want to incorporate all of the fun of a playground setting in the therapy clinic!
When you access this playground balance activity slide deck, you get to pretend you are at the playground no matter what setting you are in. Then, by following the commands on each slide, children can get all of the benefits of stooping, crawling, balancing, and changing postures.
Each slide on this free slide deck asks kids to follow the visual cue. There are visuals for different playground task. Things like:
Balancing on one leg by monkey bars
Stooping to pick up a ball
Kicking a ball
Squatting to play in the sandbox
Climbing on playground equiptment
Throwing a ball
Climbing on a merry-go-round
Jumping rope
Reaching up for monkey bars.
There are many types of playground equipment that can challenge balance and coordination, including:
Balance beams: These narrow beams require children to maintain their balance as they walk across.
Wobble bridges: These bridges are designed to wobble and move as children walk across, challenging their balance and coordination.
Swinging steps: These are sets of steps that swing and move as children step on them, requiring them to maintain their balance and adjust their movements.
Climbing nets: Climbing nets require children to use their balance and coordination to navigate the ropes and reach the top.
Rope bridges: These bridges are made of ropes that sway and move as children cross, challenging their balance and coordination.
Stepping stones: These are sets of raised platforms that require children to step from one to the other, using their balance to keep from falling off.
Monkey bars: These require children to swing from bar to bar using their arms and legs, while also maintaining their balance.
Rocking platforms: Similar in nature to the sensory benefits of a platform swing, these playground surfaces are large, flat platforms that rock back and forth, challenging children to maintain their balance while standing or walking. If you can find a playground with an actual platform swing, that’s even better!
We used various images to challenge all of these movements!
Playground theme therapy
By going through the playground exercises, kids work on a variety of areas:
These skills impact daily functioning in kids! Why not use a playground theme to work on these skill areas?
When kids follow the directions on each slide, they are also gaining whole-body movements and heavy work input that can be calming as a regulation tool.
If creating a weekly therapy theme works for your plans, then this playground theme is one you’ll want to add to your line up of occupational therapy activities and PT activities. You can use these playground balance exercises in therapy sessions to incorporate a therapy theme.
Try using these visual playground strategies in between other tasks in a therapy session. Work on handwriting, scissor skills, and other functional tasks. And then come back to the balance activity. Then do another task and come back to the balance activity.
Kids can work through the slides and try to remember all of the movements.
Call out a piece of playground equipment and the child can recall the specific balance exercise. This is a great way to work on working memory and attention to detail.
Incorporate handwriting: Ask students to list out all of the playground equipment. Work on letter formation, legibility, spacing, and line use. Then they can go through the slides and do the balance exercises.
Add these activities to a sensory diet that helps kids regulate sensory input. Our outdoor sensory diet cards are the perfect combination to a playground theme!
Free Playground Balance Activities Slide Deck
Want to access this free therapy resource? It’s just one of the many free slides here on the website. All you need to do is enter your email address into the form below. You’ll receive a PDF containing a link to a Google slide deck. Copy it onto your drive and you are good to go! Start playing on the playground no matter where you are!
Why use this playground pretend activity?
We know the value that play has for children. When children play, they are developing skills. Occupational therapy and play go hand in hand because of the value and importance of play as a primary role for children.
Through pretend play, or copying the poses in this playground slide deck, kids can pretend to move through playground equipment, while challenging the motor skills, coordination, and balance needed to perform playground activities. The pretend play is a valuable tool to support preschoolers, school aged children, and all ages because it offers a no-risk opportunity to build motor plans. The ability to practice skills in a stress-free environment such as a home, classroom, or therapy clinic can support the young child to prepare them for maneuvering over, under, and around that playground equipment.
Have fun!
Colleen Beck, OTR/L has been an occupational therapist since 2000, working in school-based, hand therapy, outpatient peds, EI, and SNF. Colleen created The OT Toolbox to inspire therapists, teachers, and parents with easy and fun tools to help children thrive. Read her story about going from an OT making $3/hour (after paying for kids’ childcare) to a full-time OT resource creator for millions of readers. Want to collaborate? Send an email to contact@theottoolbox.com.
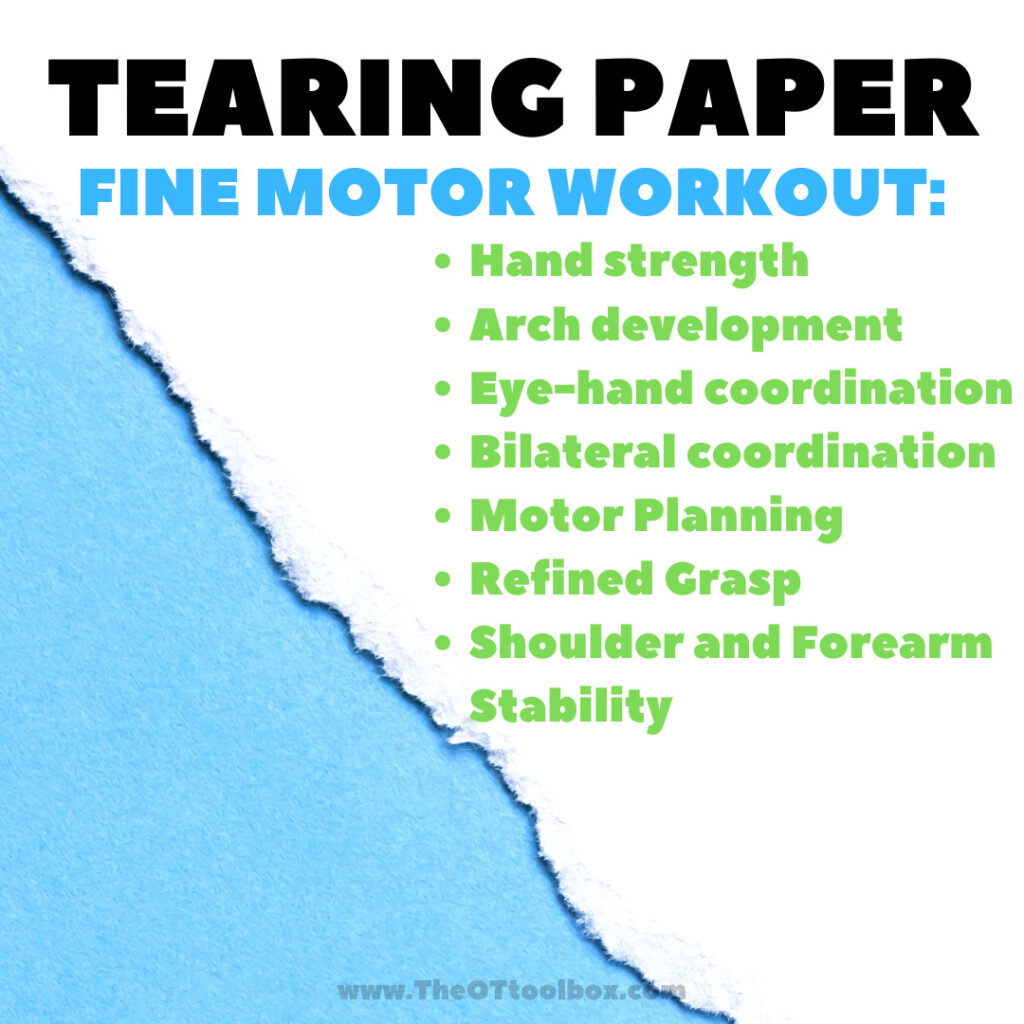
Did you know you can tear paper to improve fine motor skills using materials you already have in your home? I have an incredibly easy fine motor activity to share: tearing paper! When kids tear paper, they are developing fine motor skills like grasp, hand strength, eye-hand coordination, bilateral coordination, and more. So often, parents are looking for easy ways to help kids develop fine motor skills, and the very material that can improve all of these areas is found right in the home. Let’s break down tearing paper as an amazing fine motor activity for kids.
Did you know that a fine motor activity where a child tears up paper builds hand strength, motor planning, and so much more?
Tearing Paper for Fine Motor Skills
Tearing paper a simple fine motor activity that requires only scrap paper and your hands. In fact, tearing paper actually helps children develop so many essential skills: hand strength, hand eye coordination, precision, refined movements, bilateral coordination…
When a child tears a piece of paper, they improve hand strength and endurance in the small muscles in the hand.
The intrinsic muscles are used to tear up paper and these set of muscles located within the hand are important in so many fine motor skills, including those important to handwriting and coloring, managing buttons and zippers, manipulating pegs, and more.
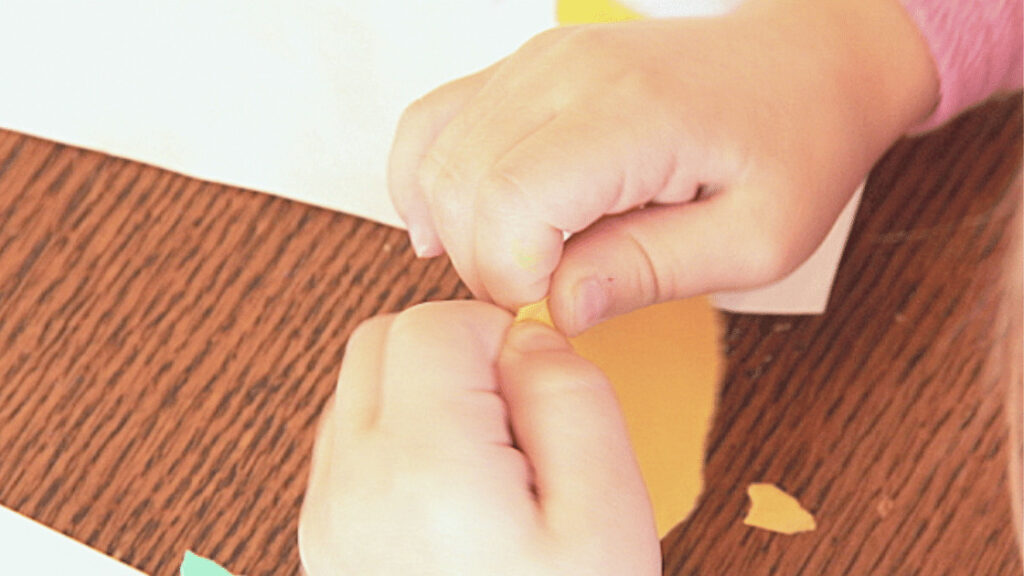
When paper is torn, the hands assume a great tripod grasp which is effective and a mature grasp for writing and coloring.
To hold the paper, the non-dominant hand is assisting in the tearing and encourages appropriate assistance for tasks like holding the paper while writing, and managing paper while cutting with scissors.
Then, to tear a piece of paper, the dominant hand does the majority of the “work” to tear with precision and force, but also along a “line” while tearing.
Just look at the skills kids develop with a tearing paper activity:
Not only is ripping paper as a fine motor strategy, tearing off pieces of paper can support sensory needs, coordination, and visual motor skills. When you tear a pieces of paper, so many skills are being developed…
Hand dominance- Holding paper with stability using a non-dominant hand to support the paper, and a dominant hand to make refined tears supports development of bilateral coordination skills. Depending on the intricacy of the paper tear line, more refined motor movements are used. This is a strategy to support graded precision skills.
Sensory Processing- To rip paper, strength and coordination is needed. This process offers heavy work through the finger joints, wrist as a stabile joint, and coordination and stability in the shoulder girdle. Heavy work, or proprioception allows us to know where our body is in space. But the benefits of heavy work can be calming and organizing. Ripping paper can be a sensory diet tool for some individuals.
Visual Motor Skills- To tear paper, visual motor integration is a required part of the puzzle. This includes eye-hand coordination, visual tracking, visual attention, and other areas of visual processing.
Tear a piece of paper to build sensory motor skills with an inexpensive therapy tool.
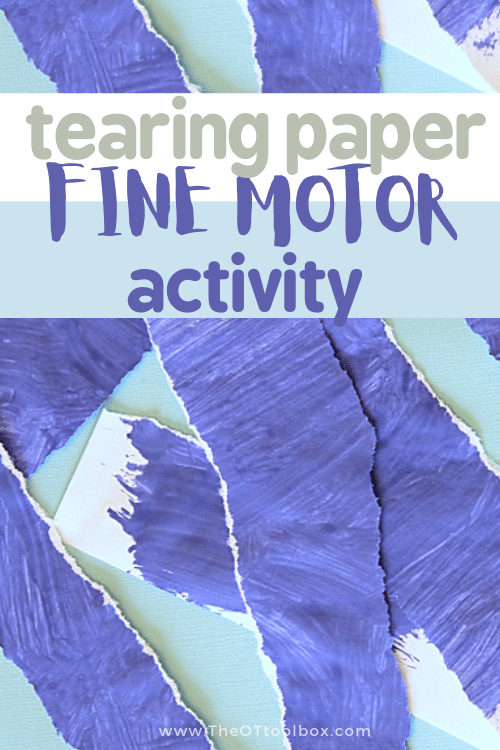
Paper Tearing Activities
In this paper tearing activity, we use recycled artwork to create Torn Paper Art that would look great on any gallery (or family dining room) wall! All you need to do is rip paper to develop skills.
Tearing strips of paper is especially a great fine motor task. To work those fine motor skills, start with some junk mail or recycled paper materials and practice tearing.
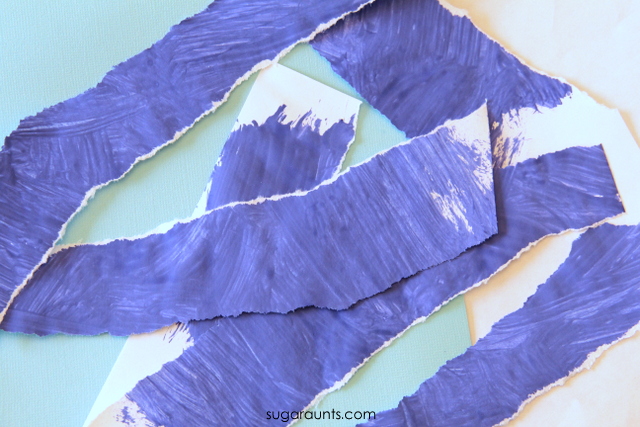
Tear paper into strips- To tear a long sheet of paper, you need to grasp the paper with an effective, yet not too strong grasp. Tear too fast, and the paper is torn diagonally and not into strips.
Make slow tears in the paper- Tearing the paper slowly while focusing on strait torn lines really encourages a workout of those intrinsic muscles.
Tear different weights of paper- Paper comes in different thicknesses, or weights. Practicing tearing different thicknesses really hones in on precision skills. We tore an 9×11 piece of painted printer paper into long strips, lengthwise. The thin paper isn’t too difficult to tear, but requires motor control. Thicker paper like cardstock or cardboard requires more strength to grip the paper. The thicker paper also requires a bit more strength to tear with accuracy and precision. Tearing paper that is thicker like cardstock, index cards, or construction paper adds heavy input through the hands. This proprioceptive input can be very calming and allow kids to regulate or focus while adding the sensory input they need.
Tear paper into shapes– Use the paper to create simple shapes like a circle, square, etc. You can make this task easier by drawing pencil lines and ripping paper along the lines. This is a fantastic way to build motor planning skills. Or, work on visual perceptual skills and try ripping paper into shapes without a template.
Vary the texture of the paper– You can add a sensory component and use different textures of paper. Try painted or colored paper. Try printed paper or a rough paper like last year’s paper calendar. Try ripping cardstock or textured crepe paper. Or, use graph paper as a thinner grade to address a different resistance. We cover all the ways to use graph paper in therapy goals and tearing paper is just one idea.
Work on tearing paper fringes- Tearing into the edge of the page, and stopping at a certain point requires refined motor work. It’s easy to tear right across the page, but requires precision and coordination to stop tearing at a certain point. To grade this activity easier, try marking the stopping point with a pencil mark.
Ripping paper has so many benefits! Did you know that when you tear a piece of paper so much work is being done?
Tearing Paper Exercises
There’s more to tearing paper than just making a mess…Occupational therapy practitioners use this fine motor tool as a way to improve hand strength and other underlying skills that we’ve talked about in this blog post.
But once you have the paper torn into pieces, did you know that you can use those torn paper pieces in fine motor work?
Check out our video on tearing paper. In it, we cover what happens when you tear paper (why occupational therapy providers love paper tearing as a fine motor tool), and then you’ll see specific finger strength exercises and finger dexterity activities you can do with the paper pieces.
Types of paper to use in tearing paper activities
There are many benefits to using different textures and types of paper. Let’s take a look at some of the possible types of paper. These are materials that you may already have in your home.
Varying the paper type in torn paper activities can help to grade an activity, or make it easier or more difficult. These are great ways to vary the amount of fine motor strength and precision needed, thereby improving fine motor skills and visual motor skills.
Types of paper to use in tearing paper activities:
Cardboard tubes (toilet paper tubes, paper towel rolls)
Old calendars
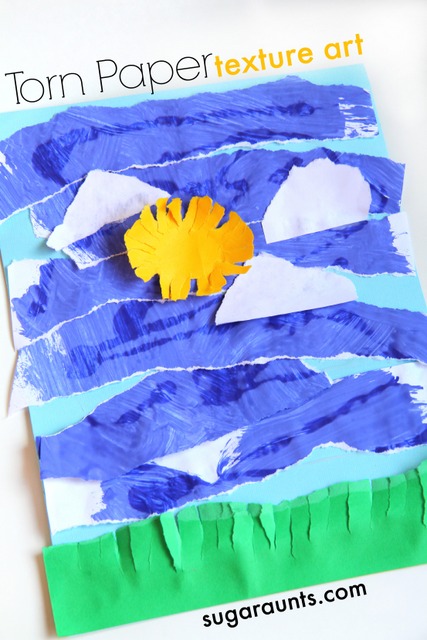
Tear up pieces of recycled artwork to create a new art medium.
Torn paper art
This ripped paper art is a craft that is so simple, yet such a fun way to create art while working on fine motor skills.
You’ll need just a few materials for ripped paper art:
Paper (Any type or texture will do…old crafts, kids artwork, or paper that has been painted)
Glue
Paper to cardstock to use as a base
Your hands!
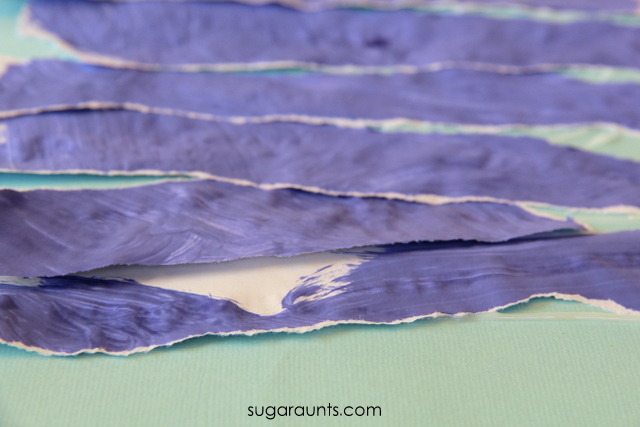
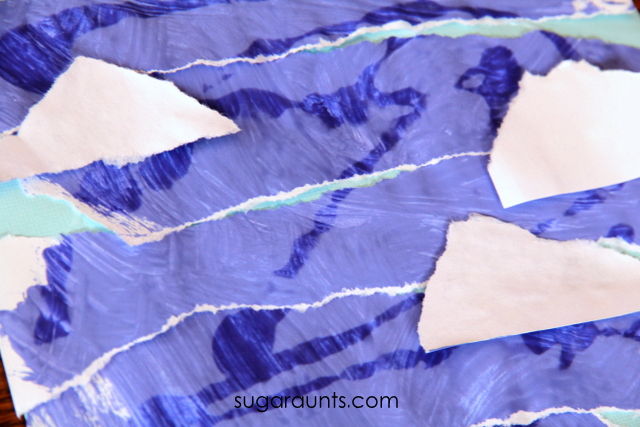
We all have piles of kids’ artwork that is gorgeous…yet abundant. You keep the ones that mean the most, but what do you do with those piles of painted paper, scribbled sheets, and crafty pages? You sure can’t keep it all or your house will become covered in paper, paint, and glitter. We used a great blue page to make our torn paper art.
Making the torn paper art is very simple. It’s a process art activity that will look different no matter how many times you do the activity.
How to create torn paper art:
There is more to this therapy tool than just tearing a piece of paper…Use these tips.
Select a variety of paper colors, materials, and textures.
Tear a sheet into long strips. This will become the sky of our artwork.
Use white paper to create cloud shapes. Tear the paper into shapes.
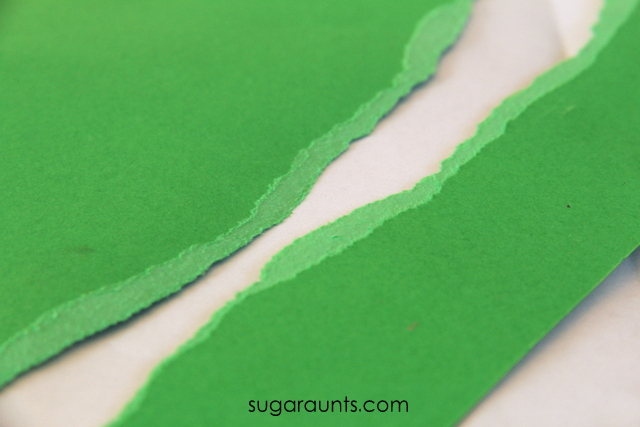
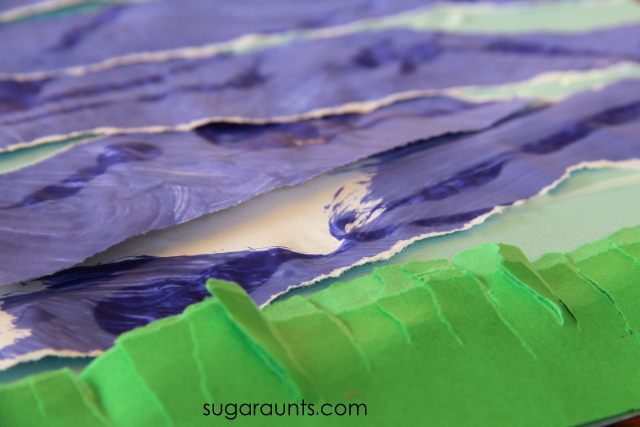
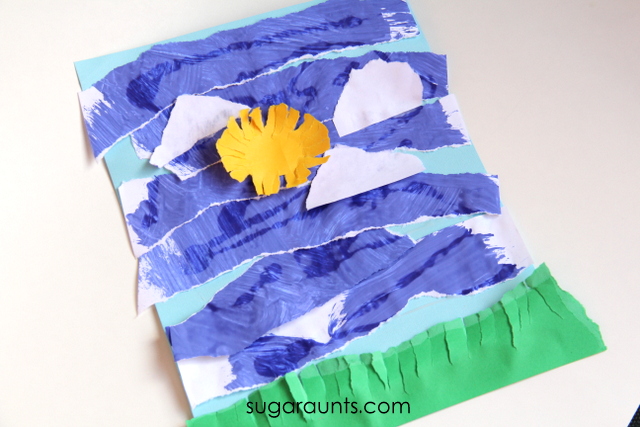
Use green cardstock or other material to create grass. Tear small strips into the paper but not through to the edge. Create a fringe with the paper.
Glue the torn paper onto the base page in layers.
Use your imagination and have fun!
A few tips for creating torn paper art
Have a variety of paper types, colors, and textures available. Some ideas include using junk mail, recycled artwork, cardstock, construction paper, printer paper, crepe paper, cardboard, cereal boxes, etc.
Use your imagination. You can start with an idea to create or you can go with the flow of the art creation and start without an idea.
If you have trouble coming up with an idea for your torn paper art, try some of these:
Create a torn paper landscape
Create an object from ripped paper textures
Make a torn paper abstract artwork
Copy real life objects and make representational art
Create a ripped paper still life
Use all one color of paper in different textures to make a monochromatic artwork
Make abstract portraits
Tear the paper into shapes to make geometric artwork
Explore art concepts such as size, shape, color, lines, form, space, texture
Explore multimedia: Incorporate printed paper, painted paper, glossy paper, cardboard in different textures, crayon colored paper, etc.
More paper activities
Try making this paper helicopter to work on fine motor skills and visual motor skills.
Fold a paper football and work on eye-hand coordination with sight word practice.
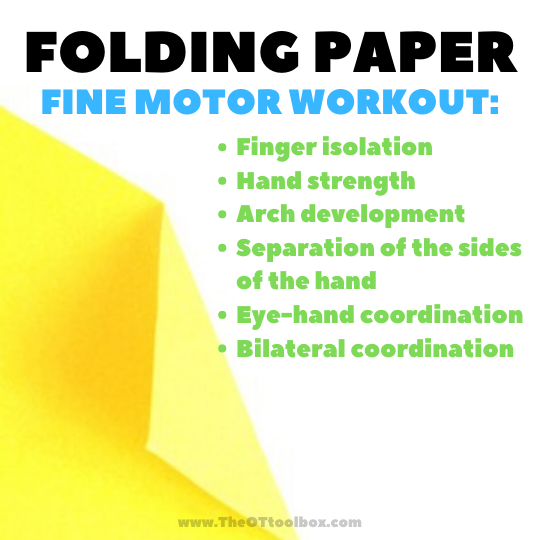
Improve finger isolation, arch development, and hand strength with these folded paper crafts.
We used one of the long strips of green cardstock to create grass by making small tears. Be careful not to tear the whole way across the strip! What a workout this is for those hand muscles.
Next glue the blue strips onto a background piece of paper. Tear white scrap paper into cloud shapes. They can be any shape, just like clouds in the sky!
Grab a piece of yellow cardstock and create a sun. This is another fabulous fine motor workout. Tearing a circle-ish shape and creating small tears really works those muscles in the hands.
Working on fine motor skills, visual perception, visual motor skills, sensory tolerance, handwriting, or scissor skills? Our Fine Motor Kits cover all of these areas and more.
Check out the seasonal Fine Motor Kits that kids love:
Colleen Beck, OTR/L has been an occupational therapist since 2000, working in school-based, hand therapy, outpatient peds, EI, and SNF. Colleen created The OT Toolbox to inspire therapists, teachers, and parents with easy and fun tools to help children thrive. Read her story about going from an OT making $3/hour (after paying for kids’ childcare) to a full-time OT resource creator for millions of readers. Want to collaborate? Send an email to contact@theottoolbox.com.
Recently, I was looking into new ways to challenge fine motor skills for my clients – especially ones that did not require purchasing new materials. I wanted something that could challenge scissors use, problem solving, sequencing, attention, and could be used in prep for ADL skills, like buttoning. Then, it came to me: weaving!
Weaving Projects for Kids
Weaving projects and craft are so simple, yet so effective – even the clients that I thought would be frustrated by this old-school craft were super proud of their work. Weaving is something you can do in many different ways, typically dependent on skill level and desired outcomes.
Since we are talking about buttoning skills, I am offering two different options: an advanced one for the kiddos that are almost ready to button independently, and a beginner version for those who are not quite ready to button yet. I hope you adapt these crafts as needed to meet the “just-right” challenge!
Related: Feathers and Burlap Weaving activity that builds bilateral coordination, eye-hand coordination, pinch, grip, and dexterity.
Complex Weaving Instructions
With two pieces of paper of different colors, cut strips of any thickness or length you’d like – just make sure you have an even number. The thinner and longer you cut them, the bigger the challenge. I like to use two different colors to make the task easier to understand and add visual interest.
Cut holes for threading. Half of your strips (or all of one color) need holes for threading. Have your kiddos figure out how big the cuts need to be in order to fit the other strips of paper through.
Fold the paper in order to cut two holes, side by side, throughout the strip of paper. This will be where you weave the other strips of paper through.
Begin Weaving.
Weave the remaining strips of paper (the ones without the holes) into the paper with the holes, making a basket-weave pattern.
Here is where those buttoning skills come into play! The practice of moving the strip of paper through one hole and up and over through the next hole mimics the actions of buttoning and unbuttoning.
If you are creating a specific craft, here is where you can make the weaved pattern into your kids’ desired shape! If you are unsure what you could offer, see the examples below.
Draw the desired object on top of the weaved pattern OR use simple print out to guide the scissors.
Cut the object out.
Add extra paper or decorative objects with glue to seal the edges if you’d like!
Does this sound a bit too challenging for one of your kids? You can lower the difficulty in a few different ways, but below is one idea that is particularly useful if your child demonstrates difficulty with visual motor or perception skills that are required for buttoning.
Simple Weaving Instructions
With two pieces of paper of different colors: a. Cut multiple, 1-inch thick straight lines to the edge of one piece of paper, leaving about an inch uncut on one edge to “hold” all the strips together. b. Cut 1-inch strips of the other piece of paper.
Simply overlap the loose strips of paper onto the other cut paper, every other to make a checkerboard pattern.
Maybe add a gluing or stapling component to challenge them in a different way!
Weaving Projects for kids
I know that it’s so much easier to motivate kids to complete a craft or activity if it is related to a season, holiday, or something that they are personally interested in. That’s one reason why I love weaving crafts – they are so simple at their base, that they can truly be used for anything!
Fall Weaving Crafts- Plaid shirts, apple baskets, spider webs, or hay bales. Winter Weaving Crafts- Sweaters, holiday gifts, Christmas Stockings, or candy canes Spring Weaving Crafts- Easter baskets, Spring dresses, umbrellas, or raincoats Summer Weaving Crafts- Picnic blankets, picnic baskets, or beach towels.
Or for the sporty kiddos in your life, make basketball hoops, soccer goals, tennis rackets, or hockey goalie helmets! The possibilities with weaving projects really are endless.
Here are some additional weaving and buttoning crafts to get the ball rolling!
Sydney Thorson, OTR/L, is a new occupational therapist working in school-based therapy. Her background is in Human Development and Family Studies, and she is passionate about providing individualized and meaningful treatment for each child and their family. Sydney is also a children’s author and illustrator and is always working on new and exciting projects.
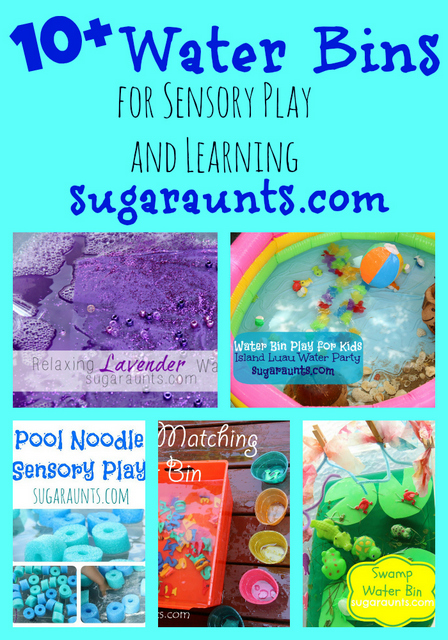
When the weather is hot, you need water play ideas that build skills…and make Summer memories! These water sensory bin ideas are perfect for HOT Summer days while incorporating sensory and motor skills. Use these water sensory bin activities in therapy or in the backyard to help kids build skills this Summer…and cool off!
Water Sensory Bin
Now, you may be wondering what is a water sensory bin??!! A water sensory bin is a sensory play experience that uses water as a medium for holding various textures designed to promote sensory motor play and learning.
A water sensory bin inspires motor skill development through the use of materials presented in water and the manipulation of tools to scoop, pour, and manipulate water and themed items.
Water sensory bins inspire creative play, exposure to various textures, and motor skill opportunities such as laterality, bilateral coordination, grasp, precision, manipulation, grip and pinch strength, and others.
And best of all, water sensory bins are a fun way to play and explore!
Water Sensory Table
Similar to a sensory water bin, a sensory water table is a sensory play experience using water and other materials in a water table. Water tables can be great for child development for toddlers and preschoolers as they are the perfect height for standing and moving around during play.
Aquatic Therapy
Water sensory tables, like water sensory bins, can be created in a variety of themes, designed for creative play or for learning specific skills or concepts. While aquatic therapy is often thought of as a gross motor therapy tool (using water or a swimming pool as a therapy medium for whole body movements, balance, and gross motor coordination), water bins and water tables involve water therapy play into a smaller scale of aquatic therapy. With a small pool of water, kids can develop and refine so many skills!
In therapy, water tables and water bins can be used to focus on specific skills, including functional tasks. Let’s take a look at different ways that water bins and water tables can be used in therapy:
Functional Skills in Aquatic Therapy
Water therapy can be used to help kids refine and develop functional skills…making water a resistive surface that provides proprioceptive feedback, turn-taking, and self-confidence. Functional skills that can be addressed in water play in therapy include:
washing hands
drying hands
wiping spills
pouring water (liquids)
using cups and pitchers or scoops (tool use)
measuring liquids for cooking tasks
play
washing dishes
Sensory Benefits of Water Therapy
Aquatic therapy involves the sensory systems and on a small scale, water bins and water tables are a powerful therapy tool. You can focus on refined sensory input on a small scale through play using water tables in therapy.
On a small scale, water tables and water bins offer many motor skills opportunities for kids to develop fine motor skills! Fine motor skills abound in aquatic therapy!
Grasp
Coordination
Pincer grasp
Hand strength (tong or tweezer use, squeezing water squeeze toys, syringes, spray bottles)
Even on a small scale, there are gross motor benefits of using water tables and water bins to help with gross motor skill development. Consider these strategies for developing skills using water play:
Core strengthening by playing in a water bin on the ground: crouching, squatting, getting up and down from the ground
Upper body support through the arm and shoulder for developing strength and stability
Sitting crisscross apple sauce with extended reach in all directions
Weighted containers to pour, mix, and dump water
Coordination skills
Motor planning
Heavy work to dump and move water
Crossing midline to pour or scoop water, reach for objects in the water
Bilateral coordination to support and manipulate items
Standing with reach at a water table
Mobilizing along a supported surface with head and arm movements
How to use a water sensory bin in aquatic therapy
Kids will love these water bin play ideas listed below! Adding sensory play into a water bin is an easy way to explore the senses, challenge tactile and sensory systems, and encourage development of skills such as fine motor skills, bilateral coordination, crossing midline, visual motor skills, coordination, confidence, and language. Kids love so many sensory activities when you simply add water.
Water sensory bins and tables use any basic water table or can be set up with just a large tote bin, a small food casserole dish, storage bins, or any container that will hold water. The nice thing about these water play ideas is that you can create any theme or use any type of manipulative to the water to engage kids attention and interest. Place the bin on the floor for floor play and core strengthening or position the bin on a table surface for a table set-up.
Water play is so great for little kids to experience and enjoy. The sensory aspect of getting their hands in the water and manipulating objects is great for brain development and sensory integration. They are improving their fine motor skills, bilateral hand coordination, language development, problem solving, creative development, and even self-confidence!
The open-endedness of water play enables learning in endless varieties. Consider adding math or letter concepts to a bin of water. The child is enthralled by the sensory experience and learning happens! Just think, all you have to do is add water and there is so much learning to experience!
To encourage movement, heavy work input, fine motor skill development, try adding these materials to water sensory play experiences:
Scoops
Measuring cups
Spoons
Watering can
Marble run
Water dropper
Syringe
Spray bottle
Squeeze toys
Tweezers
Tongs
Floating toys or foam
Cut pool noodles
Balls or ping pong balls (any ball that floats)
Small animal toys or figures
Water beads
Scents
Glitter
Food coloring or water paints
Paint brushes
Chalk
Water Sensory Play Ideas
Below are are fun water bin sensory play ideas for kids that can be used to address a variety of skills or concepts. Scroll on to find some creative ways to encourage play and development of skills with simple water bins.
Kids of all ages will love these water play ideas…even the big kids! When the weather is hot (Or not…bring these water bin ideas indoors for more fun and sensory play!) you can add any type of learning, cause and effect, and even STEM activities, using some water and some added materials.
Colors/Fine Motor/Sensory Water Play– Work on bilateral coordination, eye-hand coordination, motor planning, precision, and proximal stability as well as tool use in this color water sensory bin.
Calming Sensory Water Bin– This water sensory bin uses scented water and fun colors to create a calming sensory water bin.
Island Luau Water Party Water Bin – Use small scoops and island themed items to work on fine motor skills, scooping, pouring, and fine motor strengthening.
Swamp Water Bin – Explore textures in this swamp themed water bin.
Pool Noodles Water Bin-Incorporate cut pool noodles for fine motor work, core strengthening, and gross motor skills.
Color Match Water Bin – Use colors and letters to work on visual scanning, visual motor skills, visual discrimination, and learning colors and letters.
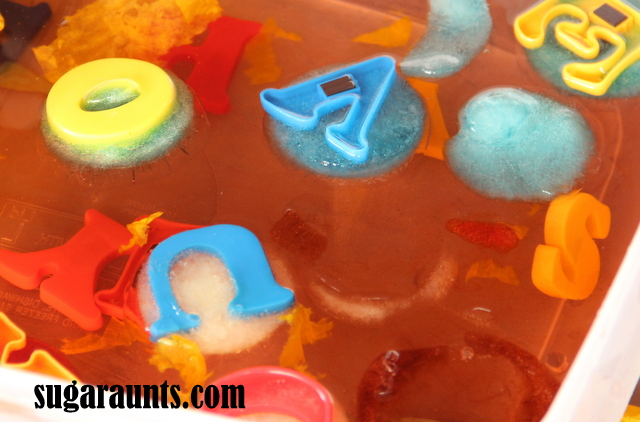
Rainy Summer Day: Ice Muffins Water Play – Freeze letter magnets or foam letters into ice cubes for sensory motor learning experiences. Kids can chip the alphabet letters from the ice cubes and explore letters while strengthening visual perceptual skills and fine motor strength.
Colors, Fine Motor, Sensory Water Play -Work on hand strength, grasp, coordination, visual perceptual skills and more with simple materials you already have in the home.
Colleen Beck, OTR/L has been an occupational therapist since 2000, working in school-based, hand therapy, outpatient peds, EI, and SNF. Colleen created The OT Toolbox to inspire therapists, teachers, and parents with easy and fun tools to help children thrive. Read her story about going from an OT making $3/hour (after paying for kids’ childcare) to a full-time OT resource creator for millions of readers. Want to collaborate? Send an email to contact@theottoolbox.com.
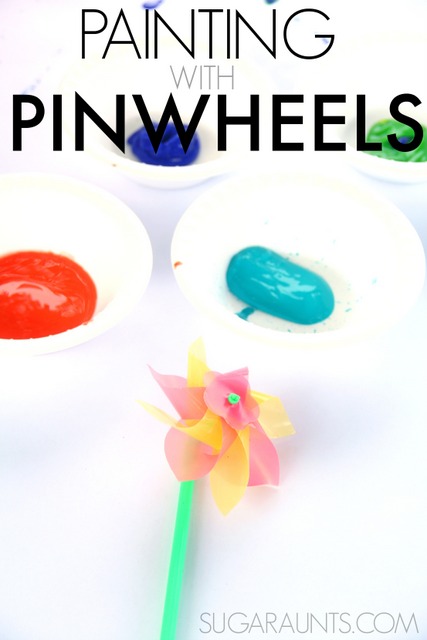
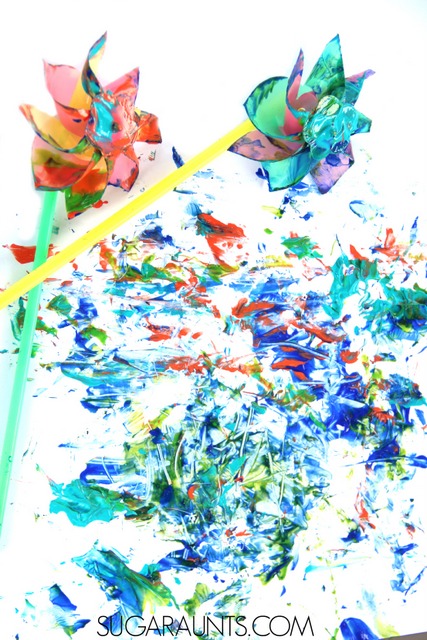
This pinwheel painting is a creative art idea and sensory painting art activity is one that we actually did YEARS ago. It was such a fun messy, creative art activity and a fun one to add to your summer painting ideas, and I wanted to be sure to show you all! My kids still talk about painting with pinwheels, so we’ll be doing this one again soon, especially now that the weather has warmed and we can get back outside for sensory play with the kids! This is such a fun creative painting activity!
Painting with pinwheels is such a simple and fun outdoor painting activity for summer. Or, if you’re looking for a “letter P” theme for preschoolers, painting with pinwheels would be perfect!
You can definitely take this painting activity indoors, with paper spread over the table surface.
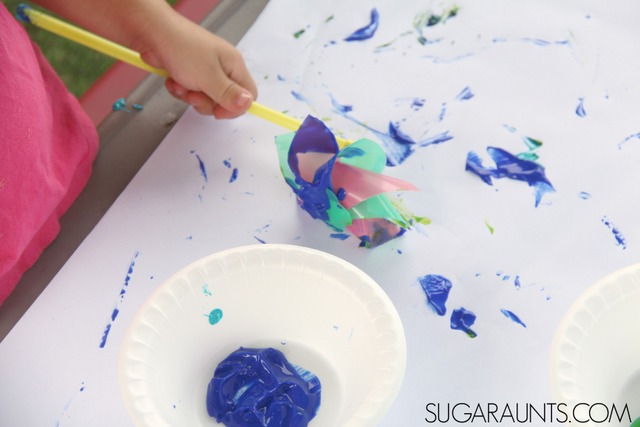
To paint with pinwheels, there is just steps to set up this sensory painting activity:
Set the stage- Find a space to work in the grass or on a table which can be wiped down. This is a messy sensory painting activity! Consider using a wipeable plastic table cloth.
Pour a little washable paint into bowls. (Click here for our favorite paint for it’s bright colors that don’t fade as they dry.)
Prepare your paper or canvas. We used a giant roll of paper for big art.
Dip the pin the pinwheels into the paint.
Roll, blow, spin, and tap the pinwheels onto the paper with color mixing. This is such a fun and creative painting activity!
Sensory Painting Activity
The paint coated pinwheels make the paint spray, especially as kids start getting more into the activity and discover that blowing the pinwheels makes paint spray in super artistic ways!
There are many sensory benefits to this Sensory painting activity:
Oral motor benefits- When children blow out through their mouth with concentrated effort, they are gaining proprioceptive input through their mouth. This is a calming and regulating sensory input that can help to organize and calm down. Read here about the development of oral motor skills. And, check out these oral motor activities for summer play.
Visual Convergence benefits- When we visually track an object as it nears our eyes (such as a pinwheel), and then track it as it moves away from the eyes, visual convergence is occurring. This visual processing skill is needed for functional tasks that we do throughout the day. Here is more information on convergence insufficiency and here are more activities to promote visual convergence skills.
Let us know if you do this Pinwheel Painting art with your kids or your class. More creative sensory painting techniques you may enjoy:
Colleen Beck, OTR/L has been an occupational therapist since 2000, working in school-based, hand therapy, outpatient peds, EI, and SNF. Colleen created The OT Toolbox to inspire therapists, teachers, and parents with easy and fun tools to help children thrive. Read her story about going from an OT making $3/hour (after paying for kids’ childcare) to a full-time OT resource creator for millions of readers. Want to collaborate? Send an email to contact@theottoolbox.com.
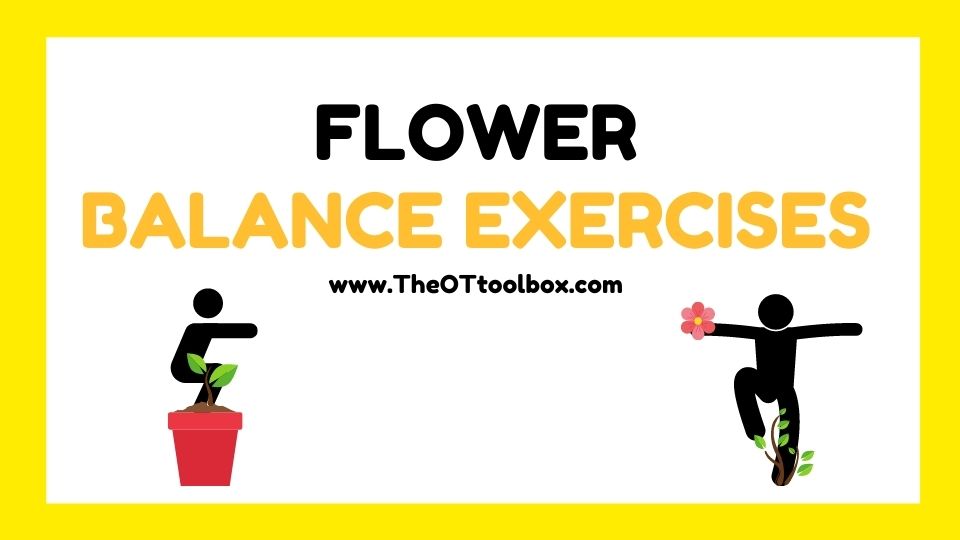
Want to help kids with balance, coordination, strength, and mobility? Need some core strengthening and stability activities to help with balance and vestibular integration? These flower balance activities are fun ways to help kids work on these very areas so they are able to move, play, learn, and function in day to day tasks. And, it’s all packaged up in a free Google slide deck so you can use these balance exercises in therapy sessions, at home, in the classroom, or clinic. These are Spring gross motor activities that really build skills!
Balance Activities
You’ll find a lot of balance activities and exercises here on The OT Toolbox. We’ve shared balance beams, obstacle courses, brain breaks, prone extension activities, movement activities, and vestibular activities before. you may have even seen this DIY wobble disk made from ice. All of these activities are so great to help kids develop strength, coordination, movement pattern skills, and get them moving through play.
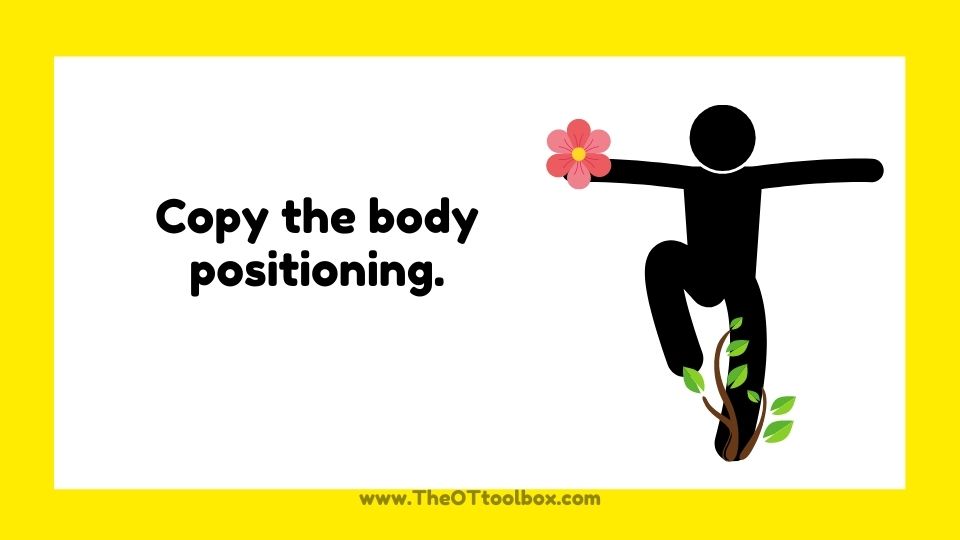
The free slide deck that I have available today, adds just one more balance tool into your therapy toolbox. It’s a fun way to challenge kids to move while copying visual images of body positioning. These exercises integrate visual processing to see the image and copy the positioning as well as motor skills as kids coordinate their body to move their arms or legs into the correct positioning.
I’ve tried to use both sides of the body in this flower balance activity, so they can work on left-right discrimination as well.
When kids incorporate one leg stance, and holding a body position in a squat or lunge, they are adding proprioceptive input, so they gain the calming regulatory benefits, too.
And, the therapy slide decks use a flower icon in various positions on each slide. So the user can copy the form by placing a pillow, stuffed animal, roll of socks, or bean bag into different places while maintaining balance. This can be a real challenge for some children!
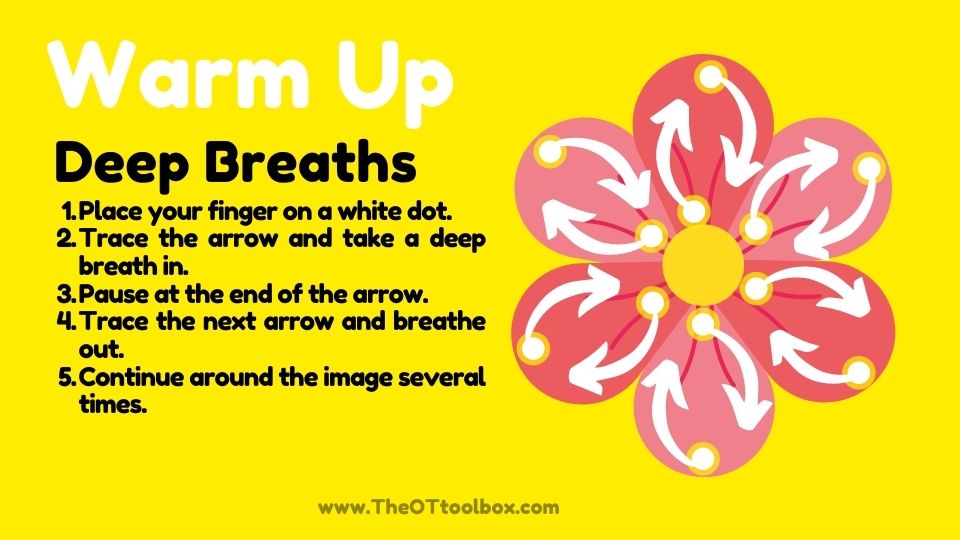
There is a fun flower deep breathing exercise in the slide deck as well.
Free Balance Exercise Slide Deck
Want to use this free slide deck in teletherapy, in home programs, or in the classroom as a brain break? Just enter your email address into the form below.
NOTE- Due to an increase in security measures, many readers utilizing a work or school district email address have had difficulty accessing free resources from the delivery email. Consider using a personal email address and forwarding the delivery email to your work account.
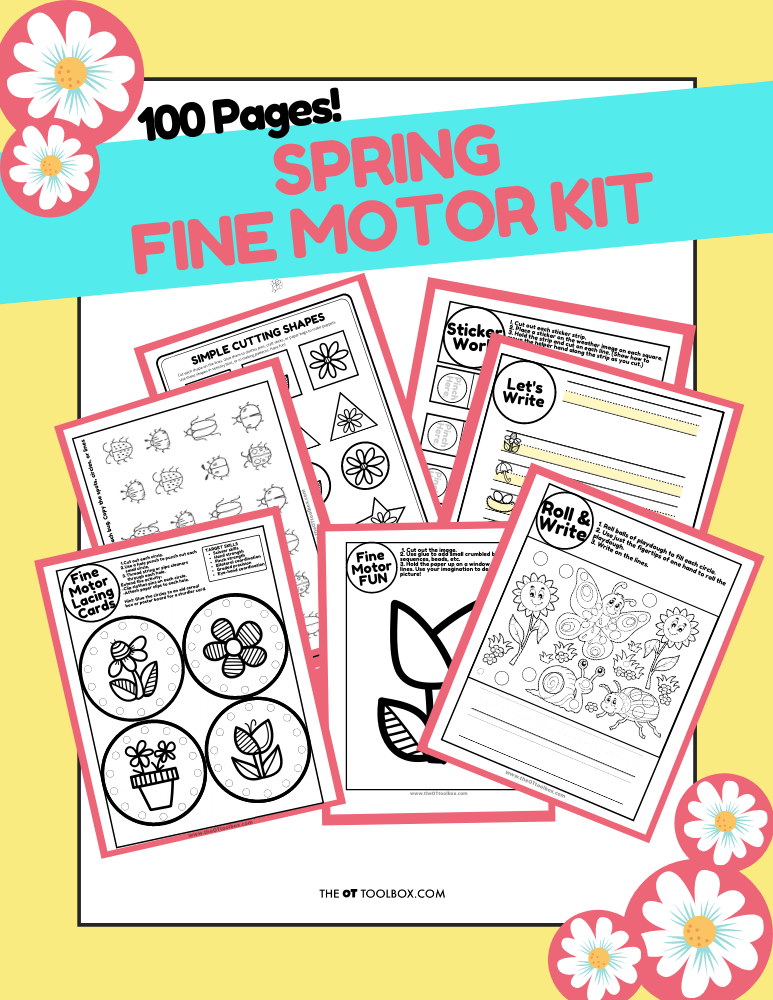
Spring Fine Motor Kit
Score Fine Motor Tools and resources and help kids build the skills they need to thrive!
Developing hand strength, dexterity, dexterity, precision skills, and eye-hand coordination skills that kids need for holding and writing with a pencil, coloring, and manipulating small objects in every day task doesn’t need to be difficult. The Spring Fine Motor Kit includes 100 pages of fine motor activities, worksheets, crafts, and more:
Colleen Beck, OTR/L has been an occupational therapist since 2000, working in school-based, hand therapy, outpatient peds, EI, and SNF. Colleen created The OT Toolbox to inspire therapists, teachers, and parents with easy and fun tools to help children thrive. Read her story about going from an OT making $3/hour (after paying for kids’ childcare) to a full-time OT resource creator for millions of readers. Want to collaborate? Send an email to contact@theottoolbox.com.
This bilateral integration activity is a powerful way to help kids with a variety of skills. Add it to your line up of hands-on, St. Patrick’s Day theme activities for therapy and promoting child development. Kids can draw the four leaf clover but also work on developing bilateral coordination, eye-hand coordination, visual motor integration, visual scanning, visual convergence, core strength, and so much more. Integrating all of these areas into functional tasks involves many components of development, and this activity can help in so many ways.
Kiddos with sensory or developmental problems might have trouble crossing mid-line. You might know a child who has trouble making both hands work together to accomplish a task like handwriting, cutting with scissors, tying shoes, buttoning a shirt, or catching a ball. Bilateral coordination is necessary for many functional activities!
Bilateral Integration and Functional Activities
Bilateral integration is an area of child development that involves different movements and systems. Coordination of visual systems include visual tracking and scanning as well as depth perception and peripheral vision. All of these skills need to be integrated into movement so that coordinated movement patterns can occur.
Then, there is the crossing midline component. Crossing the midline occurs developmentally, and this milestone is an important one that translates to laterality and coordinated use of both hands together in functional tasks.
Then, visual motor integration, where the eyes and body works together to perform daily tasks is another piece of the puzzle. One part of the developmental progression of these skill areas is symmetrical bilateral integration.
Symmetrical Bilateral Integration
In this stage of development, children bring their hands together at the midline. You’ll see this in small infants that bring their hands to their mouth. They then start to hold toys together with their hands. Later down the road, symmetrical bilateral integration skills are needed to clap, zipper and button a coat, and gross motor tasks, too such as hopping, jumping, and completing tasks like jumping jacks.
Progression beyond symmetrical development relies on this developmental stage. And skills like asymmetrical bilateral integration, crossing the midline are founded on progression of this early developmental stage.
Gross motor and fine motor activities are needed for activities where each hand does the same job (jumping jacks, movement games like the Hokey Pokey, and pulling up pants). Other tasks require both hands to do different jobs in a coordinated way (holding the paper and writing with a pencil, holding paper and cutting with scissors, tying shoes, fastening a zipper, weaving a loom, or putting on a coat).
Bilateral Integration Activity for Kids
This activity is one that’s been on my mind for a while. As an OT, I’ve done versions of this activity many times with kids who have trouble with kinesthetic sense, visual perceptual skills, and bilateral coordination.
This post contains affiliate links.
This activity is a version of the Brain Gym program, which uses whole body movements to improve skills, including learning and functional tasks. Brain Gym can be just one tool in a toolbox of strategies to progress development of skills that kids need to function.
In Brain Gym, there is an activity called Double Doodles, which involves doodling with both hands, with a piece of crayon or chalk in each hand.
The activity encourages children to use both hands together. The point of the activity is to establish direction and orientation relative to the child’s body. The movement activity addresses hand-eye coordination in different visual fields, promotes spatial awareness and visual discrimination, addresses left and right awareness, improves peripheral vision, promotes body awareness and coordination with specialization of the hands and eyes, and works on gross motor movement skills.
Brain Gym is just one way to promote whole body learning through simple and fun movement activities.
Four Leaf Clover Bilateral Activity
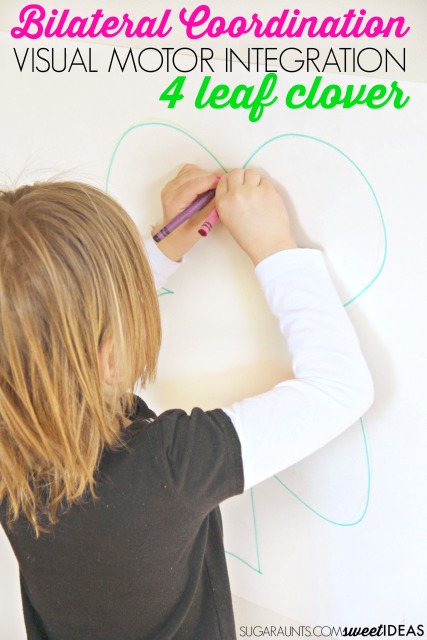
In our gross motor bilateral coordination activity, we’re using visual motor integration. While creating a four leaf clover shape, the child is using his visual sense to guides movement through peripheral vision.
This is an easy activity to set up. Tape a large piece of paper to the wall. Poster board (like we used) works great, but that can get pricey. A nice option is using a large roll of paper like easel paper or butcher paper. You can also perform this activity at a large chalkboard or dry erase board in classroom settings.
First, draw a large and symmetrical four leaf clover shape on the paper. Provide the child with a crayon, pencil, marker or chalk for each hand.
Standing in front of the clover, ask them to stare at the center of the paper. You can draw a dot for them to look at, if needed.
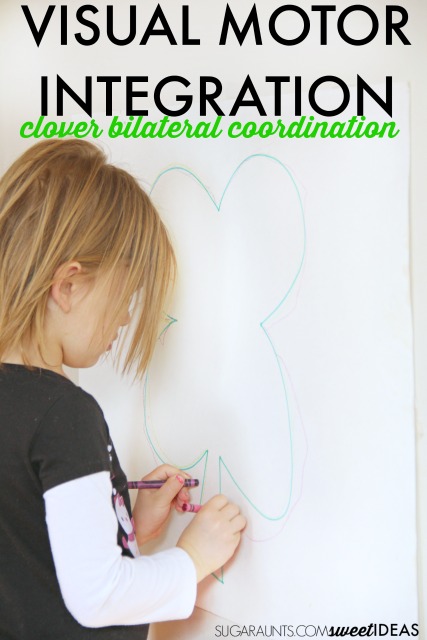
Then, show them how to start both hands at the top center of the clover and to slowly trace the lines of the clover to meet at the bottom center.
We included a stem on our clover, but you can just draw the four leaves.
Tell the child to not worry too much about staying right on the lines. The object is to have both hands move together doing symmetrical motions. Repeat the lines again and again. Add colored crayons/markers/pencils to create a rainbow four leaf clover.
A few things to watch for:
While drawing, watch the child for stiffness in the hand, wrist, or arm.
Be aware of whole body movements. Arm motions should come from the shoulders.
Remind the child to keep their eyes fixed on the dot at the center of the clover.
Remind the child to keep the writing utensils in contact with the paper. They shouldn’t lift the crayons at all.
Watch for bilateral coordination, ensuring that both arms are moving at the same speed, distance, and positioning.
Other ways to extend this activity:
Draw the four leaf clover on paper and have the child sit to perform the re-tracing activity.
Do this activity on a driveway or sidewalk using chalk.
Rainbow Handwriting Kit– This resource pack includes handwriting sheets, write the room cards, color worksheets, visual motor activities, and so much more. The handwriting kit includes:
Write the Room, Color Names: Lowercase Letters
Write the Room, Color Names: Uppercase Letters
Write the Room, Color Names: Cursive Writing
Copy/Draw/Color/Cut Color Worksheets
Colors Roll & Write Page
Color Names Letter Size Puzzle Pages
Flip and Fill A-Z Letter Pages
Colors Pre-Writing Lines Pencil Control Mazes
This handwriting kit now includes a bonus pack of pencil control worksheets, 1-10 fine motor clip cards, visual discrimination maze for directionality, handwriting sheets, and working memory/direction following sheet! Valued at $5, this bonus kit triples the goal areas you can work on in each therapy session or home program.
Colleen Beck, OTR/L has been an occupational therapist since 2000, working in school-based, hand therapy, outpatient peds, EI, and SNF. Colleen created The OT Toolbox to inspire therapists, teachers, and parents with easy and fun tools to help children thrive. Read her story about going from an OT making $3/hour (after paying for kids’ childcare) to a full-time OT resource creator for millions of readers. Want to collaborate? Send an email to contact@theottoolbox.com.