Occupational therapy handwriting assessments analyze the components of handwriting to discover what may be leading to sloppy or illegible handwriting. One way that occupational therapy practitioners work with students in school based OT is by conducting handwriting assessments in occupational therapy. Here, we are covering areas that an OT looks at in an occupational therapy handwriting assessment.
Occupational therapy practitioners tend to get a bad rap in the schools because they are the go-to service for supporting handwriting needs. While we aren’t “handwriting teachers”, we do know a lot about the intricacies of underlying skills that impact legibility! Identifying those specific needs all starts with the handwriting eval!
To get started, you’ll want to begin with the occupational therapy eval request, and then we can go from there…
Handwriting Assessment Occupational Therapy
When it comes to analyzing handwriting, there is no escaping handwriting if you are a pediatric OT. Handwriting evaluations and interventions is a main task of school-based occupational therapists. It’s no wonder when you consider that handwriting is one of the primary tasks that school-aged children engage in, and is one of the most prominent reasons for an OT referral in the school and outpatient settings.
Today we’re talking handwriting analysis and clinical observations related to assessing handwriting.
Check out our informative video on handwriting evaluations in the classroom environment:
Seems like handwriting should be pretty easy right? The challenge in teaching kids to use legible handwriting is often the limited exposure we receive prior to entering the field, and ensuring that we are providing a skilled service and not tutoring.

Handwriting Clinical Observations
In a handwriting assessment occupational therapy providers look at specific areas. These are the skilled components that are necessary for figuring out what’s going on.
When I was in school, we briefly touched on fundamentals of handwriting, and the Handwriting without Tears program. I later had some great exposure to handwriting during my Level 2 fieldwork in a school setting, but still felt unprepared to really dive into what prohibited kid’s from learning to write, and to then decipher those findings. For information on Handwriting Without Tears letter order, we have a comprehensive explanation on that aspect of this program.
Since practicing on my own, I have developed a set of clinical observations that are relevant to the handwriting process as it relates to OT and what they meant in terms of function. Check out the list of clinical observations below.
Working on handwriting and pencil grasp? Be sure to join the Pencil Grasp Challenge…a FREE five day challenge loaded with information, strategies, and resources related to a functional pencil grasp.
Below are strategies to use in analyzing handwriting. These are clinical observations that can impact the legibility of written work.
Fine Motor Skills in an Occupational Therapy Handwriting Eval
One major component to handwriting is fine motor skills, and this motor aspect is assessed in the handwriting assessment occupational therapy practitioners conduct.
Fine motor skills play a HUGE role in a child’s ability to participate in writing activities. From grasp patterns, to which hand they use, to endurance and in-hand manipulation skills—there’s a lot to make sure you are checking off during your observations and evaluations.
Let’s break down the components that are assessed in a handwriting evaluation. OT’s typically look at:
We’ve broken these skills down into categories below.
- Pencil Grip/Grasp pattern
- Dynamic finger movements
- Finger mobility
- Joint positioning and joint integrity
- Hand and wrist mobility
- Posture
- Segmental Drawing
- Hand dominance
- Visual motor skills (segmental line skills)
- Letter formation
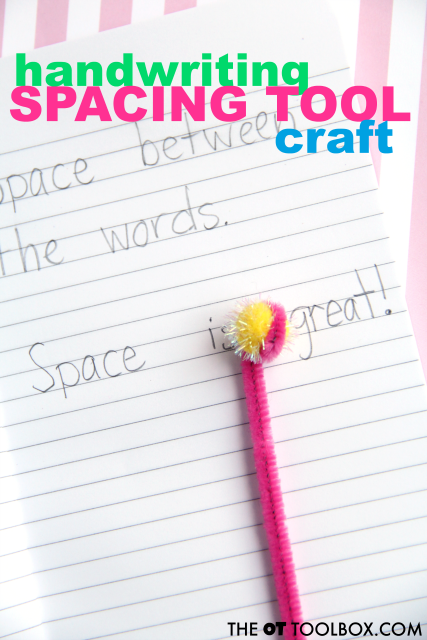
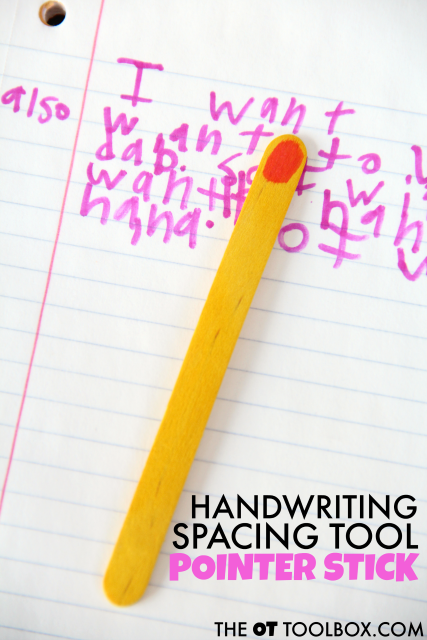
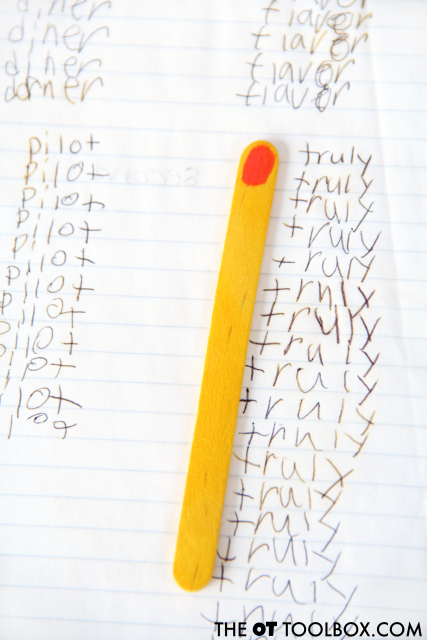
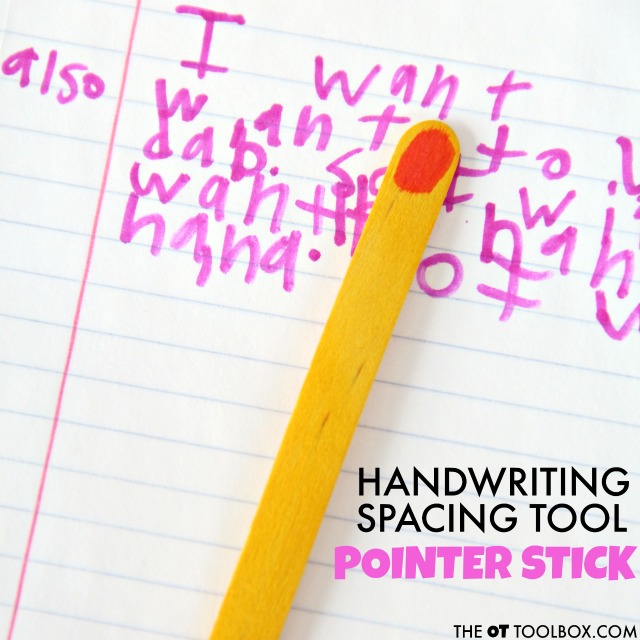
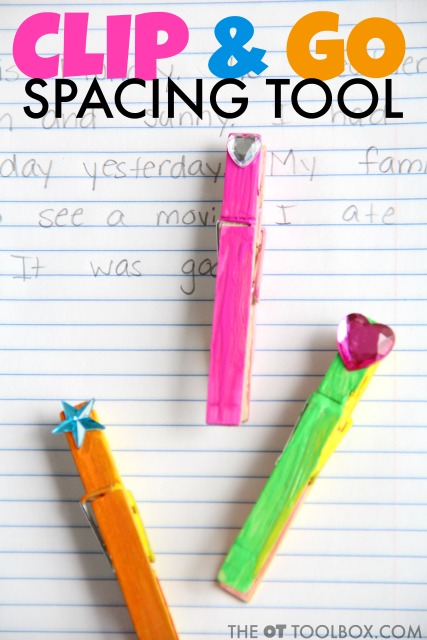
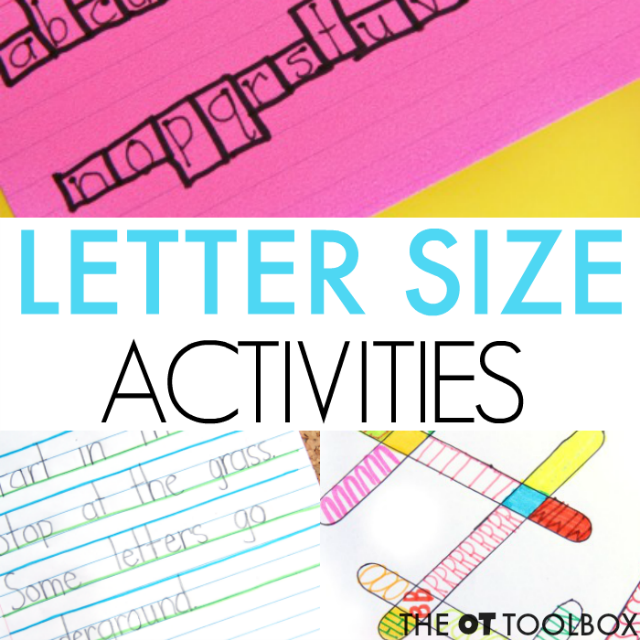
- Sizing, spacing, line use
- Sequence and strokes of pencil lines
- Uppercase and lowercase letter usage
- Fluidity of handwriting
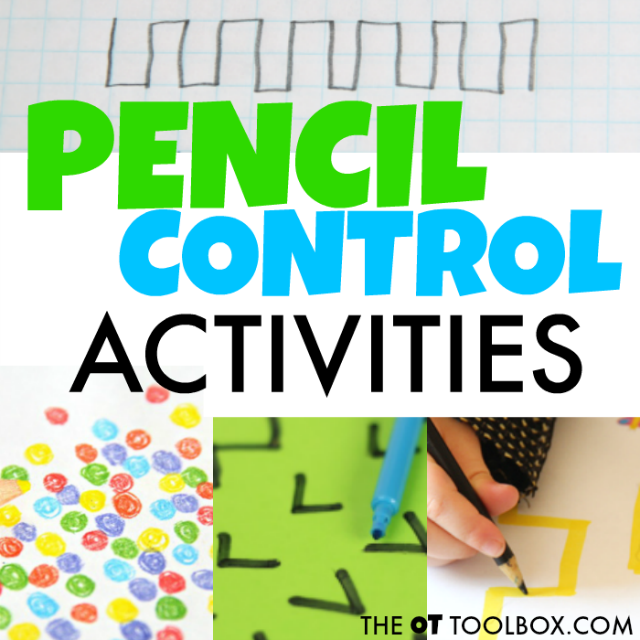
Pencil Grip
This one seems like an obvious one, but there have been many times that I have sat down to write an evaluation and realized that I didn’t note anything about the grip pattern. Yikes! The major points of clinical observations of pencil grips to keep in mind are that you watch for dynamic finger movement, hyperextension of joints and overall functionality.
Here are some important things that therapists wish parents and teachers knew about pencil grasp.
Grasp pattern in a handwriting Assessment Occupational Therapy
When an occupational therapist conducts an OT handwriting assessment, they look at the grasp pattern the student is using when writing. The occupational therapist asks themselves what does this look like while the child is writing? Is it a dynamic tripod? Static tripod? Or some form of primitive grasp pattern like a fingertip pattern or a gross grasp?
Make sure that you watch throughout the evaluation to see if they have any regression to a primitive pattern or switch how they hold the writing utensil frequently.
If you notice grasp pattern regressions, fidgeting or switching of grasp positions frequently, it’s a sign of fatigue related to poor muscle endurance and strength. It may also be an indicator that there is poor separation of the two sides of the hand, under development of the arches of the hand, and finger to thumb opposition, and even potentially poor web space development.
Bonus Tip! Watch for consistency of skills. If you notice that a skill is consistent, even if it’s an immature pattern, you can determine what is due to poor muscle strength and fatigue (inconsistent patterns) versus an established pattern or compensatory pattern (consistent patterns) that’s going to be difficult to change.
Dynamic Finger Movements and Pencil Grip
Dynamic finger movement is a big key to preventing fatigue. If the hand or wrist move as a unit, fatigue and endurance significantly increase. Dynamic movements also allow for more control of the utensil within a given space.
Once dynamic movements have developed, it is exponentially easier for the kiddo to color or write in small spaces, form multi-step lower case letters and produce smaller sized letters and numbers.
Occupational Therapists Look at Finger Mobility in a Handwriting Eval
Similar to wrist and hand mobility, you will also want to assess finger movements and joint isolation.
Mature patterns will allow for the thumb, index and ring fingers to move in synchronized flexion/extension patterns to great dynamic movements. If you don’t see this, or notice that the child uses their whole hand to form letters, this is another inefficient pattern that you’ll want to address in your treatment.
If you’re not sure that this is an issue, have the child walk their fingers up and down a pencil to evaluate their in-hand manipulation skill focusing on shift.
Whether you are assessing an 8th grader or a preschooler, fine motor components are addressed across the continuum to promoting independent and successful handwriting experiences. Working from this list of skills you can develop these skills further and take the stress out of handwriting!
Functionality of Pencil Grip
Current evidence-based practice in occupational therapy indicates that there are several functional pencil grip patterns outside of the standard tripod grasp pattern that we all identify as “the best” or “most functional” grip pattern. Other patterns include static and dynamic variations of tripod and quadropod grips.
However, I really encourage you to just take a minute to see if the child is functional with their current grip pattern. Trying to change the pattern they are functional with is not always the best option for addressing handwriting.
If they are able to control the utensil for accurate execution of strokes, are able to remain in the given boundary and are not showing signs of poor endurance or fatigue—then they are functional and other components of handwriting should be addressed.
Hyper-Extended Fingers and Pencil Grip
When a child hyper-extends a joint when holding a writing utensil, the grip typically appears “tight” or “too hard”. Hyperextension can lead to damage in the joint itself, along with uncomfortable feelings to the fingers, increased levels of fatigue, poor overall endurance, and hinder dynamic movement.
Children with poor overall joint stability or poor strength often exhibit this pattern of pencil grips. The “tight” or “too hard” grip that leads to hyperextension is a compensatory strategy to increase motor control and dexterity within the task. Due to the variety of pencil grips that children display, it is important to assess the functionality of the grip before attempting to change it.
Analyzing Joint Integrity in an OT Handwriting Evaluation
Joint integrity of the joints of the fingers, hand, and wrist when holding a pencil is an important component of pencil grasp that needs to be assessed and documented during a handwriting assessment by the occupational therapist.
Joint integrity is super important because a child that has a grasp pattern that is too tight or too loose can have compromised joints.
A grasp pattern that is too tight puts undue stress on the joints, ligaments and muscles which will lead to poor endurance, and hand cramps. And even potentially repetitive stress injuries.
On the opposite end, a grasp pattern that is too loose or where the child has hyper extended joints, they will experience similar pain and concerns. They are more likely to have joint pain due to the bone on bone of hyper extension patterns.
Both patterns are inefficient and will need to be addressed to help the child be successful with handwriting.
Analyzing Wrist and Hand Mobility
Related to the above factors is a more proximal look at the motor component. Occupational therapists will assess the wrist and hand mobility in a handwriting eval because the stability of the joint proximal to the arches and fingers offer the support to provide distal mobility and dexterity.
In this category, we want to look at how the wrist and hand move both as a unit, but also separately. Ideally, the hand and wrist should move independently of one another when writing with the wrist being stable and the hand moving.
If you see that the child is moving their hand and wrist as a unit with stabilization coming through the forearm, that is an inefficient movement pattern that you will want to work on addressing. This pattern is inefficient because it requires more energy from large muscle groups instead of utilizing them for stability.
Posture and handwriting
I want to touch on posture’s impact on handwriting quickly because you can learn some interesting things about a child’s handwriting this way.
If they are slouched over or use their hand to hold their head up, poor core and upper body strength may be the culprit. This will greatly impact their fine motor skills. Without a strong foundation, dexterity skills will not develop.
It’s also important to note if the hand that is holding the child’s head up is covering one eye consistently. This may indicate that there is an underlying vision issue that needs to be addressed. Children typically cover the eye that is making them see double or causing blurred vision.
This is not only an issue from a vision standpoint, but also because you now don’t know what the child is seeing for letters or strokes. Once the vision concern is addressed, the child may have to “relearn” the letters and strokes which can appear as a regression of skills.
Similar concerns are also noted when the child is consistently adjusting their head position in location to the paper.
Hand Dominance
Dominance plays a large role in handwriting and if a child does not display a dominant side, or has mixed dominance, delays in handwriting can occur.
Lack of dominance can prevent adequate levels of motor practice of strokes and letters from being completed. This can then lead to sloppy or illegible writing, along with confusion on the sequence of strokes to form letters. Children who display these motor patterns typically have delayed automation of handwriting, may have a higher incidence in reversals and struggle with getting their thoughts onto paper.
These three simple tips on hand dominance, laterality, and functional activities are a resource in establishing this essential skill.
When looking at hand dominance, you want to look and see if they are consistent with the use of one hand, or if they are trying to switch hands. If you observe challenges with consistency, this may indicate poor muscle strength and endurance.
Visual Motor Skills
Visual motor integration is a major piece of the handwriting assessment that occupational therapists analyze. Visual motor skills enable us to write using specific aspects that highly contribute to overall handwriting legibility:
Each of these components plays a different role in overall handwriting legibility. In general, writing that has poor sizing, spacing, and letter formation will have challenges with letter formation. However, when some of the components are addressed (spacing between words and baseline use), legibility increases greatly allowing for functional handwriting. In most cases, functional and legible writing is possible even with mixed case use and inconsistencies with letter size. Think about your average medical doctor, whose scripts are written in mixed case and mixed size. Many adults work with these handwriting inaccuracies and the written output is legible and functional.
However, in the teaching moment of working on these skills, legible handwriting for children and students has a different version of functional, so that for the child, addressing letter size along with line use and spacing supports legible written output.
The handwriting occupational therapy assessment then needs to take all of these contributing factors into consideration in order to create an individualized plan of care to support legible written work.
Segmental Drawing
Segmental drawing is when a child “draws” or writes a letter using singular strokes with clear, and abrupt stops between the strokes. This is time consuming, and requires a high level of active thought for the child. Essentially, it’s very non-functional and needs to be addressed.
Segmental drawing not only provides a picture about the child’s writing skills, it also provides insight to the therapist on how they process information. Children who typically utilize segmental drawing are only able to process small or shorter pieces of information at one time. For example, they may need directions given in short bursts or in simple statements to be successful.
Sequence of Strokes and Handwriting
Building on segmental drawing is the sequence in which strokes are completed. Letters in our culture flow from top to bottom, and left to right. A child who is demonstrating a bottom to top orientation or sequence of strokes, when writing may have a significantly harder time learning to form letters correctly and fluidly. Their brains may be “wired” naturally to move in this pattern, or they may be compensating for a visual motor impairment such as spatial relations deficits.
uppercase/lowercase letters Assessment
The case a child chooses to write in, or the combination of case they use provides information on letters that they may be unable to recall, are unsure of their direction (reversal prevention/compensatory strategy), or are unable to execute. By analyzing the use of upper case and lower case letters you can determine where the break down in skill is.
Fluidity and Handwriting
Finally, as all of these observations come together, the final piece is fluidity. This looks at a few different things including the child’s speed of writing, whether they talk to themselves or watch their hand when they write, and if they demonstrate any motor overflow.
The amount of time that a child takes to write can be an indication of poor memory recall and lack of automation of the writing process. The longer the task takes, the more difficulties the child is having retrieving the information from their memory and utilizing it effectively.
Children who are struggling with writing often talk themselves through the process—from where to start to the verbal cues taught to them. This external processing further indicates poor processing speeds. This can also be seen in the form of oral motor overflow. This is when a child’s mouth moves in odd patterns, they stick their tongue out or some combination of jaw and tongue movement.
Along with motor overflow and outward verbal processing, a child may watch her hand when writing. By watching her hand, the child ensures that the stroke she recalled from her memory is indeed correct and that she is able to execute it. This pattern further hinders the automation of handwriting and indicates challenges with processing and memory recall. When writing requires this much active thought for just the formation of the letters, spelling, sizing, spacing, and thought completion often go by the way side.
Final Thoughts
Handwriting is such a large part of being a kid, and being a pediatric OT, that it deserves more attention than it often gets. There are so many foundational skills that go into handwriting, and many places for the skills to become a challenge for a kiddo.
Hopefully everyone from seasoned OT’s to brand new grad’s found this post helpful and learned something new in handwriting analysis and clinical observations needed to assess handwriting.
The Handwriting Book covers everything you need to know about handwriting, guided by development and focused on function. This digital resource is is the ultimate resource for tips, strategies, suggestions, and information to support handwriting development in kids.
The Handwriting Book breaks down the functional skill of handwriting into developmental areas. These include developmental progression of pre-writing strokes, fine motor skills, gross motor development, sensory considerations, and visual perceptual skills. Each section includes strategies and tips to improve these underlying areas.
- Strategies to address letter and number formation and reversals
- Ideas for combining handwriting and play
- Activities to practice handwriting skills at home
- Tips and strategies for the reluctant writer
- Tips to improve pencil grip
- Tips for sizing, spacing, and alignment with overall improved legibility