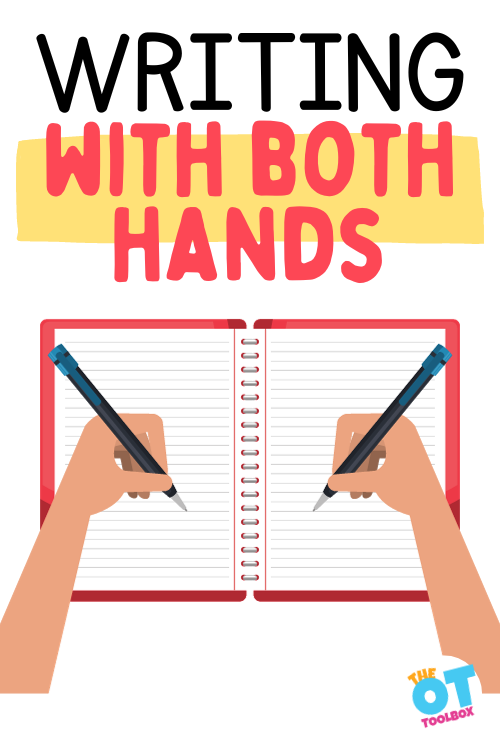
Writing with both hands is a common concern for parents, teachers, and therapists working with students on handwriting skills. Using both hands to write might look like switching hands while writing or even coloring as a result of hand weakness. But there could also be other considerations at play including mixed hand dominance or confusion on which hand to pick up the pencil and which hand holds the paper.
You’ll definitely want to check out a related resource on more information on hand dominance and establishment of a preferred hand in functional activities.
Writing with both hands- what’s going on
Have you seen a child on your therapy caseload that writes with both hands? Writing with both hands can be a problem when it comes to handwriting legibility and efficiency.
Have you ever wondered is my child a lefty or a righty? Or perhaps writing with both hands piqued your curiosity about whether or not your child is ambidextrous.
Or been asked if they are a lefty or righty and unable to answer?
Have you noticed that your child seems to use both hands equally when writing? If so, your child may be experiencing mixed hand dominance patterns or cross-dominance, and this is why you are not sure if they are a lefty or a righty. Writing with both hands can have implications that affect handwriting.
Read on for information on using both hands to write writing and what you need to know about mixed-handedness.
Where to begin when kids write with Both Hands
First, it’s important to understand what is happening when a student uses both hands to write.
Hand dominance
Let’s discuss mixed dominance to begin. Here is more information about hand dominance and activities to promote laterality.
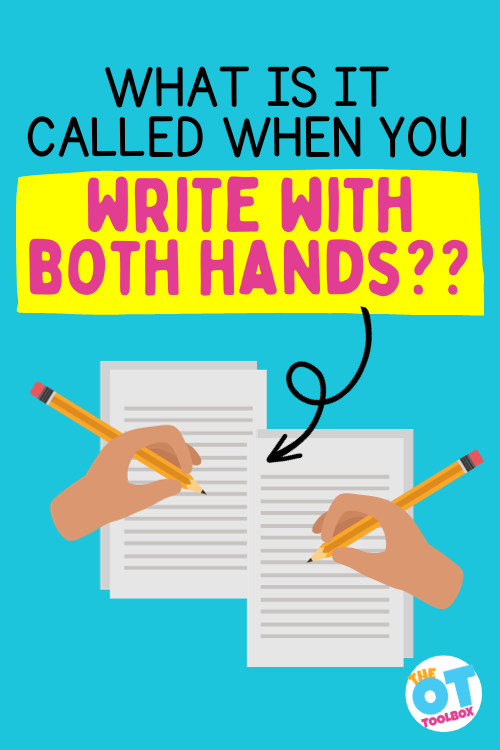
We get the question about a name for writing with both hands. One way to describe this is the term mixed dominance.
What is Mixed Dominance?
Mixed dominance refers to when a child does not demonstrate a strong preference for either the left side or the right side of the body for completion of activities, or clearly utilizes both hands for specific sets of activities. For example, a kiddo might throw with his left hand, but write with his right hand.
It should also be noted that children with mixed dominance often utilize both sides of the body equally, but poorly. When they fatigue, this leads to confusion with if they are left-side dominant or right-side dominant.
When Does hand Dominance Develop?
Dominance of one side of the body or the other is not expected until 5 years of age. Before the age of 5 years old, use of both hands is expected to a moderate degree. However, most children are showing a strong preference for one hand or the other by 3.5-4 years of age.
Determining Mixed Dominance
Dominance is typically determined through observation of the eyes, hands and feet and which one the child uses for task completion. For example, a child who is demonstrating mixed dominance may be right eye dominant, and left hand/foot dominant or left eye dominant, right hand dominant and left foot dominant, or any combination of these characteristics.
Therapists may utilize the Jordan Left/Right Reversal Questionnaire or clinical observations to help them determine mixed dominance. In a vision screen, the therapist can have the child pretend to be a pirate, and see what eye they close when looking through a tube/rolled paper.
The eye that the child closes is the non-dominant or “weak” eye and the dominant or “strong” eye is the open one. If the “strong” eye does not match the hand preference the child has been showing, this is mixed dominance in action.
Be sure to watch this space, because tomorrow we’ll cover more about writing with both hands, ambidexterity, and mixed dominance.
For more information on visual screening, check out our vision screening packet:

Writing with both hands Impacts Writing and Reading
Children who experience mixed dominance patterns, evidenced by writing with both hands, often have challenges with left/right awareness. This left/right confusion can impact reading and writing, as a result of delayed reading and writing skills.
Left Right Confusion and Handwriting
The child that doesn’t know their left from their right side at the kindergarten to first grade stage may show challenges as they are learning letter formation.
Poor left/right awareness can affect a student’s ability to accurately form letters and result in ‘dyslexia’ looking reversal patterns. Read about more information on occupational therapy dyslexia supports.
The reversal patterns in letter formation and recognition may also lead to poor phonemic awareness, and later poor spelling, further delaying their reading and writing skills.
Reading left to right may also be a significant challenge as a result of poor eye teaming, as both sides of the brain are attempting to ‘dominate’ the skill. This struggle between the two sides of the brain results in poor organization of the information and retrieval of phonemic rules. Here is more information about visual processing and the skills that impact reading and learning.
Difficulties in these areas can be red flags of mixed dominance patterns that need to be addressed.
Switching hands when writing means that the student holds the pencil with a different hand each time and doesn’t have the experience to create motor plans for each letter. They are looking at different angles and directions to the paper, writing sample to copy formations, and establishing loose “muscle memory” when it comes to creating an established plan of action for letter forms.
Writing with different hands can impact overall organization on the paper, too. This includes use of margins, and writing in lists. Typically, when writing, we need to hold the paper with the non-dominant hand to stabilize the paper. Placing letters
More implications of using both hands to write
Mixed dominance does not always seem like a big deal, but when left unaddressed your child may be left frustrated with their struggles in gross motor play, reading and writing.
Struggles in these areas significantly impact a child’s self-esteem and desire to participate in age appropriate activities. Fortunately, mixed dominance can be easily addressed through therapy.
Try this pouring and scooping activity to refine hand dominance in functional tasks.
Occupational Therapists screen for visual problems in order to determine how they may impact functional tasks. Visual screening can occur in the classroom setting, in inpatient settings, in outpatient therapy, and in early intervention or home care.
This visual screening tool was created by an occupational therapist and provides information on visual terms, frequently asked questions regarding visual problems, a variety of visual screening techniques, and other tools that therapists will find valuable in visual screenings.

Occupational Therapy Vision Screening Tool
Click here to read more about the Visual Screening Packet. This is a digital file. Upon purchase, you will be able to access the 10 page file and print off to use over and over again in vision screenings and in educating therapists, teachers, parents, and other child advocates or caregivers.
For even MORE information on eye-hand coordination and activities to use in your occupational therapy practice, you will want to join our free visual processing lab email series. It’s a 3-day series of emails that covers EVERYthing about visual processing. We take a closer look at visual skills and break things down, as well as covering the big picture of visual needs.
In the visual processing lab, you will discover how oculomotor skills like smooth pursuits make a big difference in higher level skills like learning and executive function. The best thing about this lab (besides all of the awesome info) is that it has a fun “lab” theme. I might have had too much fun with this one 🙂
Join us in visual processing Lab! Where you won’t need Bunsen burners or safety goggles!
Click here to learn more about Visual Processing Lab and to sign up.
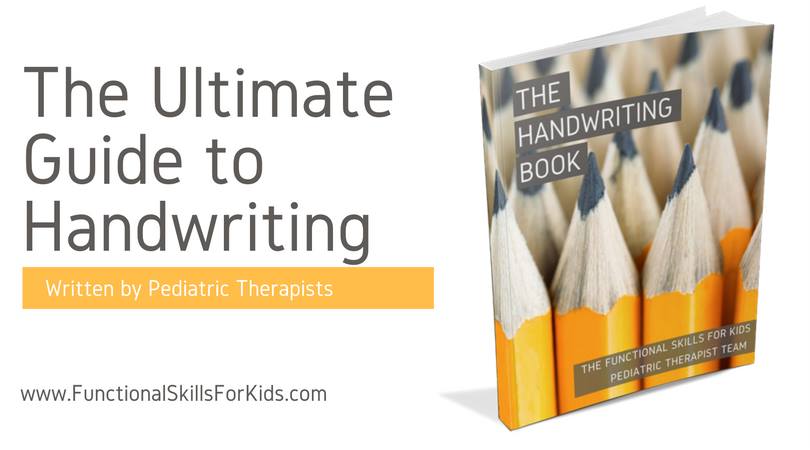
The Handwriting Book covers everything you need to know about handwriting, guided by development and focused on function. This digital resource is is the ultimate resource for tips, strategies, suggestions, and information to support handwriting development in kids.
The Handwriting Book breaks down the functional skill of handwriting into developmental areas. These include developmental progression of pre-writing strokes, fine motor skills, gross motor development, sensory considerations, and visual perceptual skills. Each section includes strategies and tips to improve these underlying areas.
- Strategies to address letter and number formation and reversals
- Ideas for combining handwriting and play
- Activities to practice handwriting skills at home
- Tips and strategies for the reluctant writer
- Tips to improve pencil grip
- Tips for sizing, spacing, and alignment with overall improved legibility
Click here to grab your copy of The Handwriting Book today.

Colleen Beck, OTR/L has been an occupational therapist since 2000, working in school-based, hand therapy, outpatient peds, EI, and SNF. Colleen created The OT Toolbox to inspire therapists, teachers, and parents with easy and fun tools to help children thrive. Read her story about going from an OT making $3/hour (after paying for kids’ childcare) to a full-time OT resource creator for millions of readers. Want to collaborate? Send an email to contact@theottoolbox.com.