Here you’ll discover how to create a sensory diet through information on sensory diets as well as a powerful resource to set up and establish an effective sensory diet lifestyle that works for kids. We’ve shared a lot of information about creating a sensory diet. There is a valid reason. Besides the growing need for sensory support for kids with sensory processing disorder or sensory challenges, there is a real need for parents and teachers to understand exactly what a sensory diet is and how it can help address sensory needs.
We’ll get into the steps to create a sensory diet below. Let’s first talk about how and why we need to make sensory diets.
The tips below are strategies for creating a sensory diet that can be effective and helpful in enabling a successful sensory lifestyle. Understanding how does a sensory diet help is many times, the first step in addressing sensory related needs!
Sensory diets can change the self regulation level that one is at, whether that be overstimulated and overwhelmed by the environment and internal state, or needing to become more alert. Sensory diet strategies can support these needs in any environment.
How to Create a Sensory Diet
Whether you are wondering exactly what a sensory diet entails or why a sensory diet can be effective in addressing underlying sensory needs, knowing how to create a sensory diet using the tools a child needs is essential.
Below, you’ll find answers to questions about how to create a sensory diet and what exactly a sensory diet is. If you are wondering how does a sensory diet work, then read on!
You can make a sensory diet in any space. Read our blog posts about creating a sensory diet on a budget and calm down corners for more information on creating a sensory diet in a specific space in the school environment.
What is a sensory diet?
First, it can be helpful to explain exactly what a sensory diet is. A sensory diet is a specific set of sensory activities designed to meet specific needs of the individual. Creation of a sensory diet requires assessment and trial followed by analysis and continued monitoring of strategies and their effectiveness.
An occupational therapist named Patricia Wilbarger came up with the term sensory diet to describe the brain’s need for more sensory-motor input from the various sensory systems. Just like our body requires a nutritional diet of healthy foods, the sensory diet is designed to support a person’s sensory needs.
One thing that is important to remember is that without adequate and appropriate sensory input, or sensory input that isn’t registered correctly, we can have sensory deprivation or we can feel out of sorts. It’s hard to be alert and attentive when this happens! That means that learning, participating in social situations, and functioning in everyday tasks can be difficult.
Studies support the use of active participation in multi-sensory activities for at least 90 minutes per week to improve occupational performance and autism symptoms and behaviors (Fazlioglu & Baran, 2008; Thompson, 2011; Woo & Leon, 2013; Wuang, Wang, Huang, & Su 2010).
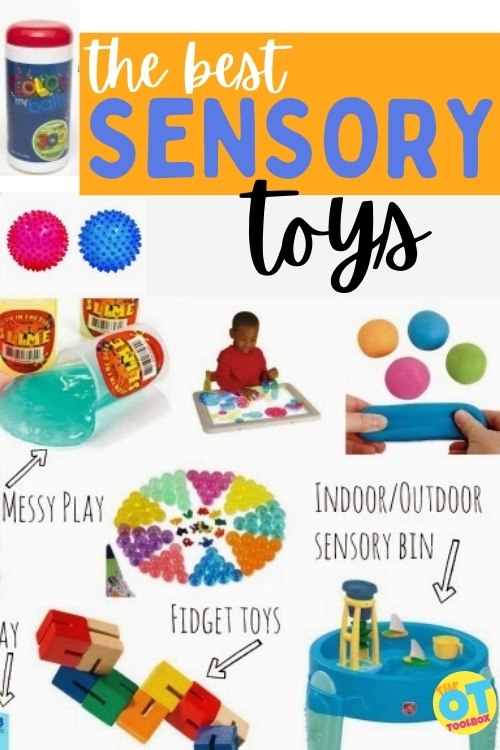
Children who have a toolbox of sensory activities available to them for daily use may benefit from prescribed sensory activities. A sensory-based strategy guide can help.
Sensory diets are a commonly known strategy for addressing sensory needs. The term “sensory diet” was coined by Patricia Wilbarger in 1984 to explain how certain sensory experiences can improve occupational performance and help to remediate disruption of the sensory processing systems. A sensory diet is a means to adjust sensory input in relation to an individual’s needs.
Remember that each and every person has their own specific needs. Some of us like a heavy blanket laying on us when we sleep. Others prefer a light and airy sheet as a bed covering. This sensory preference is just one example in one part of the day, and one specific daily occupation that describes different sensory preferences. Another way to put it is to call these preferences a sensory need. We each have different needs when it comes to the tactile, motor, tastes, smells, etc. that allow us to function.
Similarly, a sensory diet designed to support regulation and sensory processing will be different for every individual. It can be considered a formula that allows each individual to process input and function during their day.
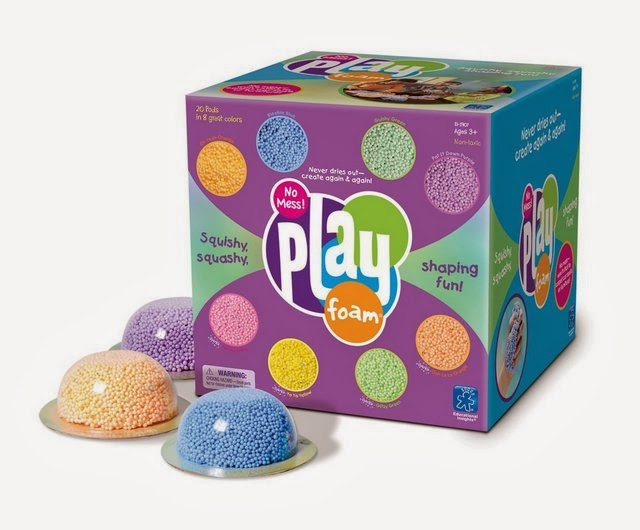
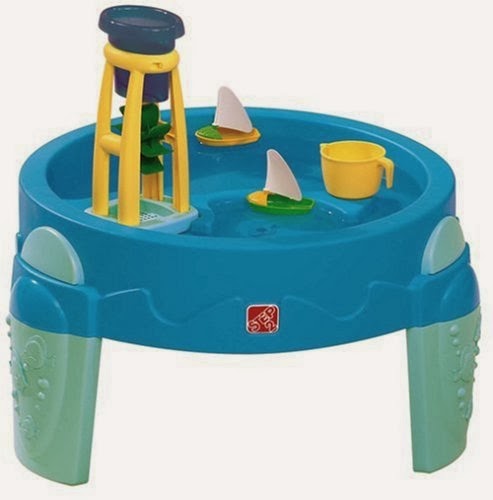
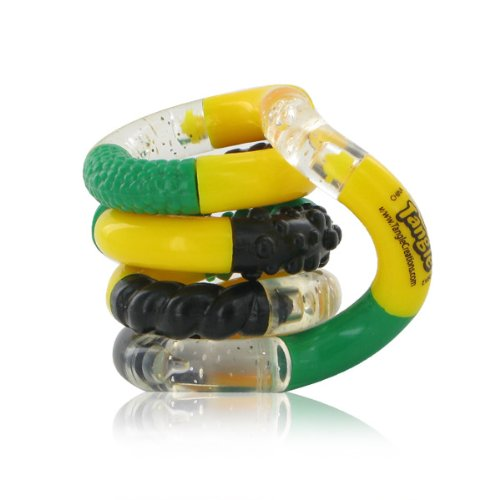
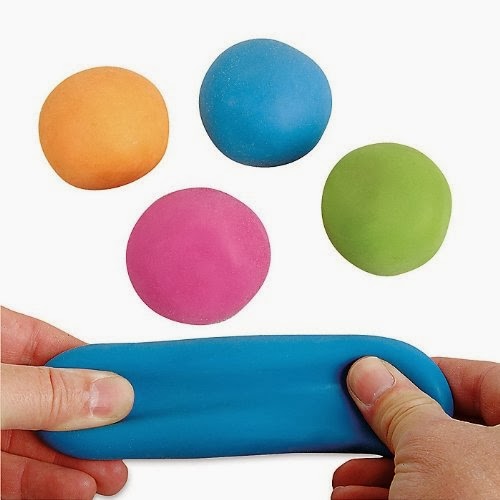
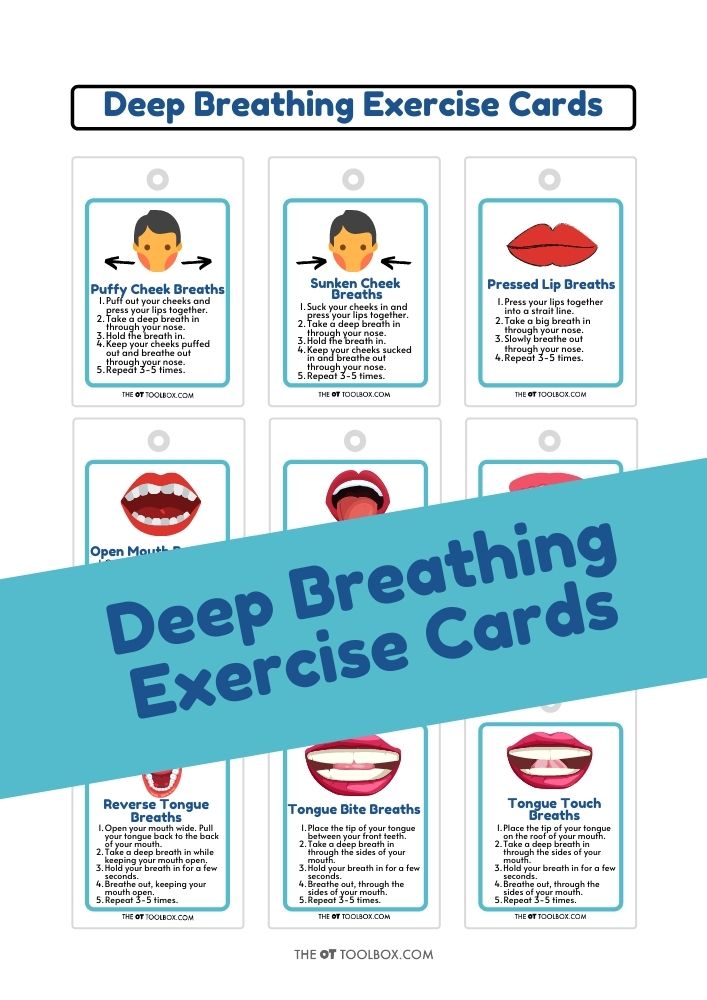
Sensory diets can include various sensory strategies and supports that help the individual to regulate. Some additional movements, or activities can include:
A sensory diet is a meaningful set of strategies for developing sensory programs that are practical, carefully scheduled, and controlled in order to affect functioning. Sensory diet activities provide appropriate sensory input based on the needs of an individual.
Just as a healthy diet consists of a variety of foods, a sensory diet is a balanced set of sensory information that allows an individual to function. A person cannot survive on broccoli alone. Similarly, a child cannot function with only one type of sensory activities.
Why Create a sensory diet?
There are many reasons why a sensory diet should be used to support specific needs. This resource covers the goals of a sensory diet.
Sensory diets are effective for addressing many sensory-related behaviors. Just a few reasons for using a sensory diet may include:
- Emotional overreaction
- Meltdowns
- Aggression
- Hyper-attention
- Difficulty with transitions
- Inattention
- Sleep issues
- Impulsivity
- Sensory-seeking behaviors
- Sensory-resisting behaviors
- Resistance to textures/food/clothing
- Poor social Interactions
This blog post on sensory processing includes a sensory processing disorder checklist that covers many reasons and reactions that can be impacted by sensory needs.
Make a Sensory Diet Template
This next section of this article covers a sensory diet template, which is a helpful tool for creating sensory diets. However, remember that we discussed above how everyone’s needs are different and that each sensory diet will be unique to the individual.
A sensory diet template is helpful in strategizing and getting started with sensory diet creation. But it should be used as just that, a tool!
Every one of us will have a unique sensory diet formula depending on preferences, processing, needs, and environment.
One important piece of the sensory diet puzzle is the successful implementation of strategies. This is the part of actually using sensory activities, brain break, movement activities, calm down corners, sensory tools, etc.
We’ll go into how this looks in more detail below, but it’s important to remember that the sensory diet template plays a big role. Actually scheduling strategies and implementing them into day to day tasks is part of the sensory lifestyle.
There is more to a sensory diet than applying sensory input or encouraging a child to participate in sensory play activities. Knowing how and why a sensory diet should be created is essential to success, safety, and carryover of sensory strategies.
As individuals, we tend to choose activities and experiences that are pleasurable. We enjoy snuggling up under a thick blanket at the end of the day. We tend to shy away from unpleasant sensations such as a static shock that happens every time we use that certain blanket.
Likewise, some of us are thrill seekers and enjoy experiences like jumping from airplanes or bungee jumping. Others like to stay firmly on the ground and play it safe when it comes to leisure activities.
Similarly, our clients or children who struggle with sensory processing can present with different preferences, as discussed in The Sensory Lifestyle Handbook.
Steps to Create a Sensory Diet
The biggest thing I can say when making a sensory diet for a client or individual is to observe, observe, observe! Occupational therapy practitioners are very skilled at this observation piece. And the observation will make all the difference in whether a sensory diet actually serves its purpose or not.
When we make a sensory diet, especially for the pediatric population, we need to observe what works for that individual, what doesn’t work, and what kind of supports support or compromise functioning. Then there is the environment, the others involved in a functional task, and many other considerations. All of this requires observation.
The key to successful integration of a sensory diet is ensuring the clinical strategizing and application are fit into the specific needs of the individual. However, combining the needs of an individual with interests and preference along with application of specific steps ensures successful creation of a sensory diet.
There are specific steps to creating a sensory diet. Let’s go through the process:
- Analyze/Identify
- Strategize
- Sensory Diet Template/ Apply Sensory Strategies
- Monitor
Step 1: Analyze/Identify- The first level in creation of a sensory diet requires identification of sensory related behaviors, attention issues related to impaired sensory input, challenges with focus or emotional regulation as a result of sensory needs, or meltdowns that impair functioning.
This level of sensory diet creation requires assessment and identification of each challenging issue. Sensory behaviors should be identified and charted. This includes jotting down when specific behaviors occur, the setting where meltdowns occur, and antecedent to the behavior.
Make detailed notes that describe the action, the environment, the disabilities, and the impact on function, safety, learning, social participation, etc. When taking the time to analyze sensory impact on function, it’s important to look for issues that may be impacting the individual’s functional performance.
Make notes on things such as:
- Actions/behaviors- how is the individual responding in situations?
- Environment- where is the situation occurring
- Timing- when does the behavior occurring? What happens just before the behavior or actions?
- Co-existing considerations- what else is occurring during the behavior or action?
Sensory related issues can be charted in a methodological manner or they can simply be written down on a scrap paper. The point is to identify the issues through analyzation and to record them.
Identifying sensory needs when beginning the sensory diet process is much like keeping track of a food diary or sleep diary. In these situations, you’ll also want to mark down every detail including how one is feeling emotionally, physically, and other considerations. Just like these types of diaries help to identify what is really going on in a food diet, a sensory diary can help to support and identify needs for creating a sensory diet.
The Sensory Lifestyle Handbook contains printable data collection forms that can be used to analyze and identify sensory-related actions, behaviors, and resulting issues.
After sensory-related differences that impact function is identified, the reason behind the behaviors should be described.
Step 2: Strategize/Reasoning- The next level in creating a sensory diet involves identifying the “why” behind the behaviors. Think about why the individual may be responding, or reacting to sensory input or environmental input in the way that they are. Can you come up with rationale that describes actions?
Ask yourself questions to strategize on the “why” behind sensory-related behaviors:
- Is it an unmet sensory need that causes a child to bolt down the hallway?
- Is the reason the child chews on all of their clothes because they need more proprioceptive input?
- Did the child not get enough sleep?
- Is the routine off?
- Was a transition done without warning or preparation?
- Was the individual at a level of stress?
Use this information to come up with predictions and opportunities to support the individual with specific accommodations or modifications to the environment.
In The Sensory Lifestyle Handbook, you will find printable sensory-based behavior screening tools that can be used to identify the underlying sensory needs leading to a behavior or action.
Additionally, resources in the book allow for strategizing to address existing sensory challenges for an individual. The best part is that the pages can be printed off and used over and over again for a single individual or for many individuals.
Step 3: Create a Sensory Diet Template and Apply/Trial Various Sensory Strategies- In this stage of sensory diet development, strategies need to be trialed for effectiveness within the lifestyle of the child and family. Sensory strategies need to be incorporated as indicated across a variety of settings, based on various sensory needs as they change throughout the day.
Scheduling sensory diet strategies is an important step. If a box of sensory supplies is offered, but no schedule put into place, the sensory diet immediately is set up for failure.
Each strategy should be assessed for effectiveness. A simple checklist can be completed in the classroom or at home. When a sensory strategy is determined to work, that activity can be added to the child’s sensory diet.
If a particular sensory activity is determined to be ineffective, return to level one.
Remember that this part of the sensory diet creation process is very fluid! There will be trials, adjustments, periods of re-trialing, and monitoring. It can seem like this stage goes on and on! The thing to remember is to persist and don’t give up!
As adults who work with or raise children, we know the fluidity of childhood. Needs, strengths, interests, environment, and other areas can change as a child develops and grows. In the same manner, a sensory diet needs fluidity. Applying various strategies at different levels of growth in a child is a must. It must be said that a sensory diet for adults is just as powerful for the teen or adult with sensory needs.
Readers of The Sensory Lifestyle Handbook will find the Sensory Diet Schedule in the Addendum of the book to be a useful tool in creating a checklist for sensory diet activities. This is another series of printable pages that can be utilized over and over again as needed.
Step 4: Monitor- At this stage in development of a sensory diet, strategies should be monitored for effectiveness. Strategies should be monitored on a frequent basis with regard to effectiveness. As part of the monitoring process, a subjective assessment can be completed by adults who oversee the child’s sensory diet strategies.
Additionally, carryover of sensory strategies must be monitored. A list of prescribed activities that are not completed because they require exhaustive effort are not an effective strategy within the life of a family.
Carryover of sensory strategies is extremely important in both the home and in the classroom. If activities are not able to be carried out, then a different sensory strategy should be incorporated into the child’s sensory diet.
When using The Sensory Lifestyle Handbook to create and monitor sensory diets, users will find the Daily Sensory Diet Sheet and the Sensory Diet Schedule to be effective tools for carryover and monitoring strategies.
Use the Sensory Diet Effectiveness Tool, found in the Addendum of this book, to monitor sensory diet results and strategies. This form should be completed after a sensory diet has been in effect for two weeks.
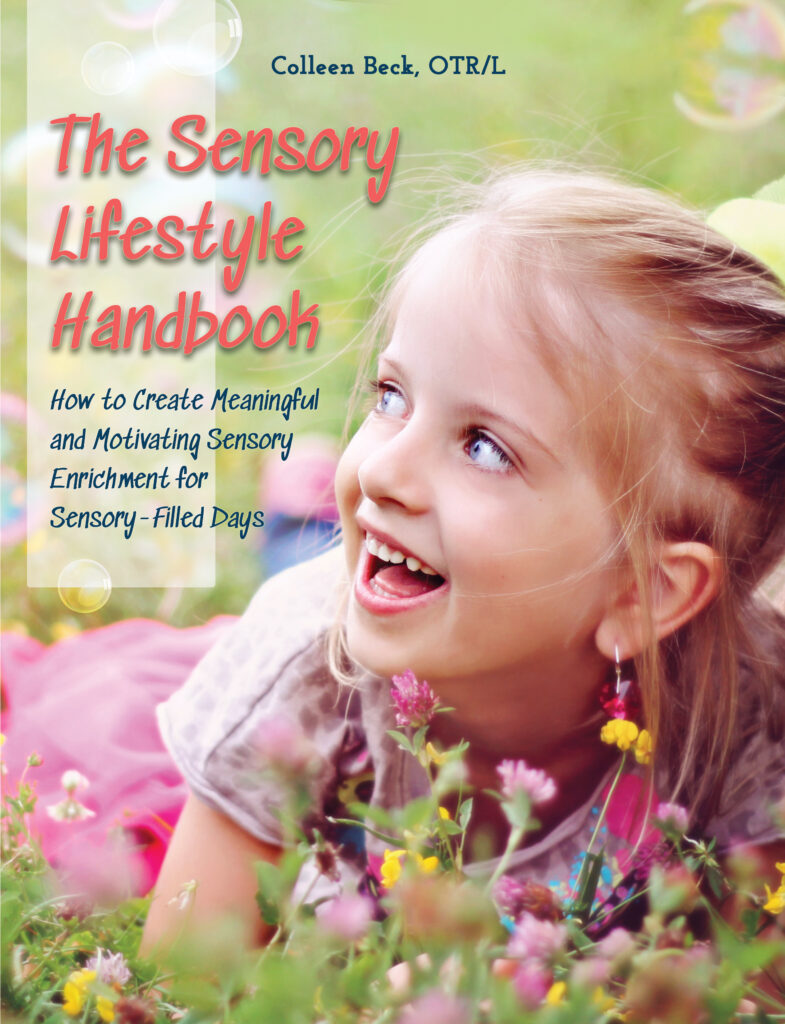
If creating a sensory diet and turning it into a sensory lifestyle sounds like a strategy that is needed in your home, classroom, or clinic, then The Sensory Lifestyle Handbook is a tool that you may need to get there! Check out more on The Sensory Lifestyle Handbook HERE.
The Sensory Lifestyle Handbook is a strategy guide for sensory processing needs. With valuable insight into the sensory system and the whole child, the book details how sensory diets can be incorporated into a lifestyle of sensory success.
The tools in this book provide intervention strategies to support and challenge the sensory systems through meaningful and authentic sensory diet tactics based on the environment, interests, and sensory needs of each individual child.
So often, we hear that sensory recommendations are not carried over into the home or classroom. The tips and tools in The Sensory Lifestyle Handbook uses child-led interests and daily life interactions so kids WANT to participate in sensory diet activities their bodies need…because it’s part of play!
Get The Sensory Lifestyle Handbook here.
Using a sensory diet in various environments
A sensory diet is an important strategy and tool to support learning needs in the classroom environment. Here is a resource on creating sensory diets for the classroom.
Occupational therapists can be a great resource for sensory diets that flow from the home to the school environment.
In fact, using a set of sensory diet cards as a resource where the student pulls various sensory supports to use at specific times or during transitions in the classroom can be very helpful.
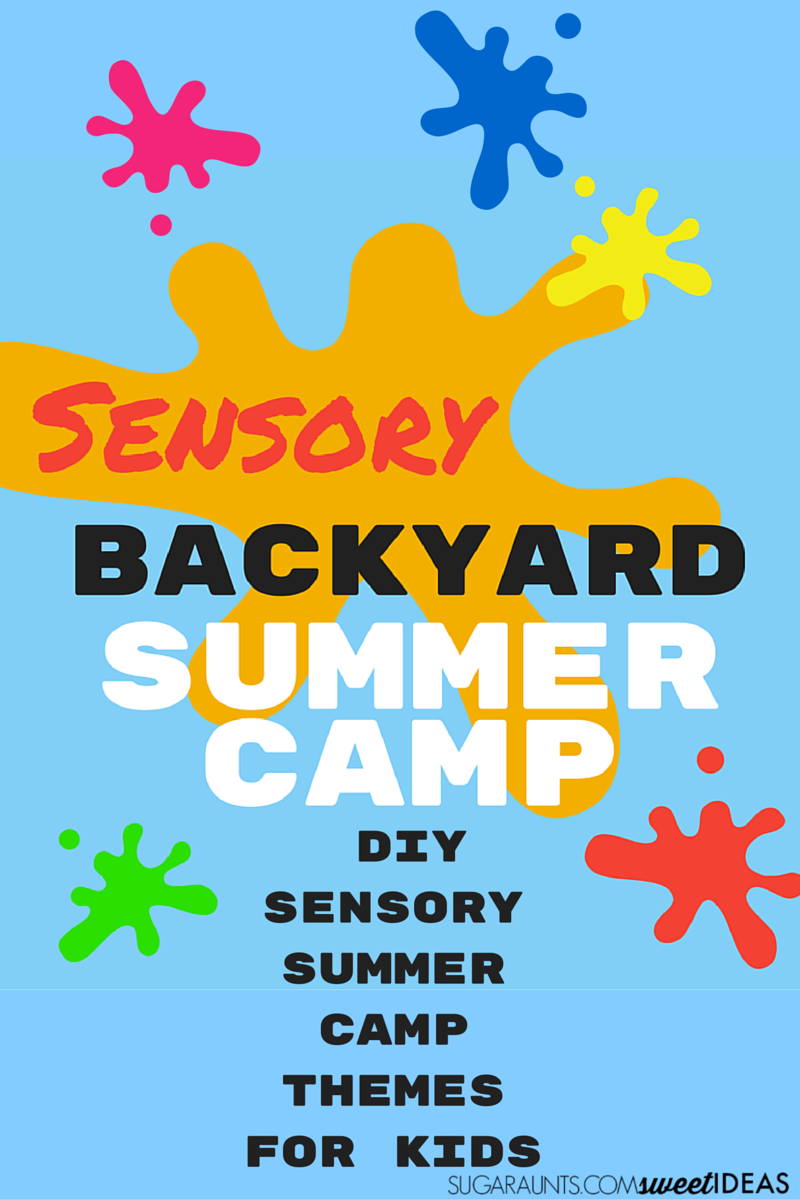
The best type of sensory diet utilizes sensory aspects of everyday functional tasks within the activity as it occurs. This is covered specifically in the Sensory Lifestyle Handbook. But consider this: if one is outside or in the home and needs to address regulation needs, using activities and everyday objects is ideal. These backyard sensory diet strategies is one way to incorporate the outdoors into sensory needs.
Related, a sensory diet can include recess activities as a tool to support emotional or sensory regulation needs. This resource on recess sensory diets covers this concept in more detail. Running on a blacktop surface at recess, playing with hula hoops, balls, or building blocks at a key part of the day is scheduled into the students’ schedules every day they are at school. When you think about it, each student has a sensory diet of their own in the way of recess!
At home, recess isn’t an option, but heading outside is! The outdoor sensory diet strategies can really impact self-regulation, emotional needs, attention, and sensory processing needs.
Another environmental consideration is the playground. A park or playground area offers sensory diet equipment and tools that can be used on a scheduled basis. Consider adding a trip to the playground to the schedule on specific days of the week. Maybe a visit to the playground is in order for Friday afternoons after the student’s spelling test and the end of the school week. Or, a playground visit can occur every Sunday afternoon as a way to wrap up the weekend. Perhaps a walk to a local park can occur each evening after dinner. It’s all about what the individual needs and what works for the family’s lifestyle.
Another location for sensory diets can be the woods or a wooded outdoor area. This is a great way to incorporate nature into sensory needs, and should be scheduled according to availability, time available, and family lifestyle.
Another related resource on this site is the concept of sensory diets at the beach. When we travel, there can be a lot of different or novel sensory experiences. When hot weather, wind, and scratchy sand impact sensory needs at the beach, these are all important considerations.
Another support for travel is the sensory diet on the go! This easy to create sensory support is individualized and includes the materials and strategies that support the individual’s needs. Read how to create a travel sensory diet toolbox.