We love this easy bus craft as back to school crafts for kindergarten! School buses and the back-to-school season is the perfect time for a fun, low-prep bus craft that supports creativity and fine motor skills. We love using back to school themed activities in occupational therapy sessions for a reason…This paper bus activity is ideal for young kids, toddlers, kindergartners, and even older kids. Using simple materials like cardstock, glue, markers, and printables, this craft is a great option for the first day of school, a classroom display, or a back-to-school school activity.

An easy school bus craft is just what kids need before back to school, along with a little crafting fun!
I don’t want to even think about the end of summer and the start of school. The summer fun is quickly passing by with long days of outdoor play and water activities. We’ve got a few of the cousins heading back to school this fall. A couple on the school bus and a few that will be starting up preschool for the first time.
New classes, new book bags, and new school shoes happen before the summer fun has even ended. With all of the newness happening, this mama wanted to touch on an old familiar theme with the start of school quickly approaching.
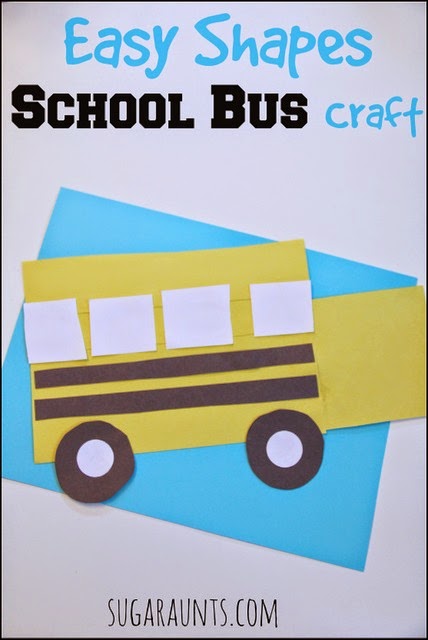
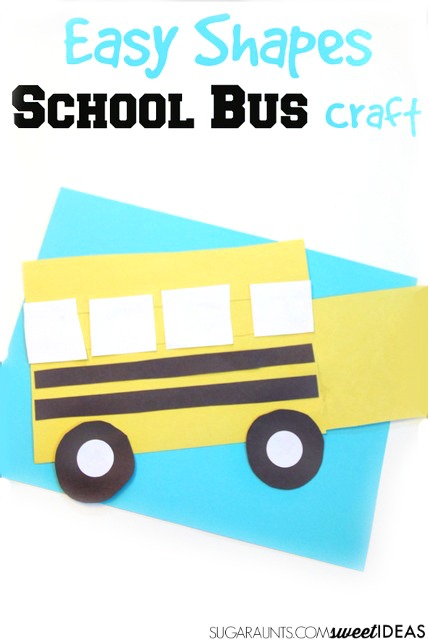
This school bus craft was a fun way to create while we explored easy shapes. This was a great craft for my two year old as we talked about the start of school and some easy shapes.
Back to School Craft

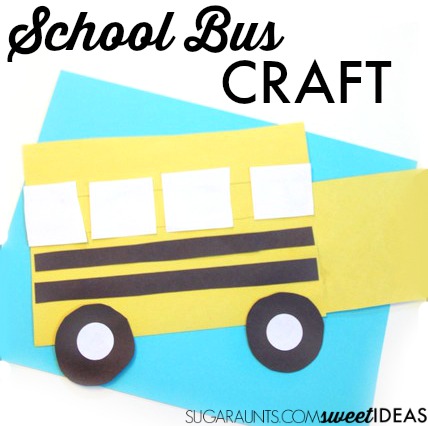
School Bus Craft
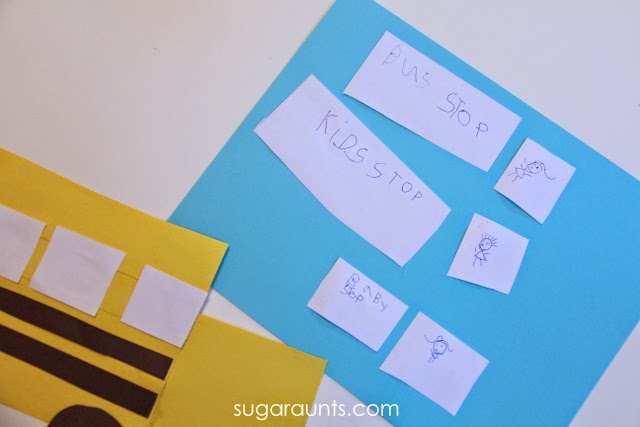
We glued the shapes in place on our bus when we got it looking like we wanted. Big Sister used some scrap paper to draw bus stops for our bus. I love the “baby stop”!
Easy Bus Craft for Kids of All Ages
As an OT in schools, I love this craft to start off the school year because you can get a quick look at scissor skills, fine motor skills, planning and executive function, and much more. It’s a wonderful way to welcome the new school year with hands-on learning.
Simple Steps and Creative Add-Ons
This paper plate school bus craft (or use cardstock to make a more structured paper bus) is great for easy crafting in small groups or as part of a station activity. Add a black line for the road, draw headlights on the front, or invite kids to sketch their own child’s face in the windows for a personalized touch.
Need a quick solution for class? Provide step-by-step instructions with a visual example, or print out bus shapes with cut-and-paste parts to make this a preschool craft that’s both fun and functional.
Make It a Wheels on the Bus Craft!
Turn your bus project into a Wheels on the Bus craft by adding interactive features to go along with the classic bus song. Use paper brads to make spinning wheels, or glue on circles cut from black construction paper. Attach craft sticks to act out the song as a puppet or prop during circle time. You can also label parts of the bus (“doors go open and shut,” “wipers go swish swish swish”) to reinforce early learning concepts while you craft.
This is a fun idea that pairs perfectly with music, group time, and creative movement!
Turn It Into a Pigeon Rides the Bus Craft
We have many preschool book activities here on The OT Toolbox. This paper bus craft is a perfect way to extend the craft into the book, Pigeon Rides the Bus!
Turn this craft into a Pigeon Rides the Bus craft inspired by Mo Willems’ beloved character. Simply add a drawing or cut-out of Pigeon riding in or driving the bus. Kids can glue Pigeon onto the driver’s seat or draw him peeking out the window using a marker or crayon. Pair the craft with a read-aloud and follow-up discussion to build on literacy and comprehension skills.
This is a great way to tie in book-based learning with preschool crafts or kindergarten art projects.
Why This Craft Works for Young Children
This school bus art project uses simple crafts and easy paper crafts to build important early skills:
- Promotes fine motor skills through cutting, gluing, and coloring
- Encourages creativity and storytelling
- Supports classroom community with a shared fun activity
- Perfect for first week of school routines
It’s one of those easy craft ideas that is great for building connection and confidence in your preschool class or at home.
With one cutting craft, you can assess many areas:
Fine Motor Skills
- Cutting: Children cut squares, rectangles, and circles, which targets hand strength, bilateral coordination, and scissor skills.
- Pasting/Glue Control: Squeezing glue bottles or using glue sticks promotes hand strength and precision.
- Grasp Patterns: Encourages tripod grasp and refined finger movements when handling small shapes.
Visual Motor & Perceptual Skills
- Visual Discrimination: Identifying and matching shapes (square windows, rectangular bus body).
- Figure-Ground: Picking out shapes from a group of cut pieces or worksheet.
- Visual Closure: Recognizing the bus even if parts are missing or partially hidden.
- Visual-Spatial Awareness: Placing parts of the bus (windows, wheels, stripes) in correct orientation and location.
Bilateral Coordination
- Cutting with Stabilization: Requires use of one hand to stabilize the paper while cutting with the other.
- Assembly Tasks: Holding the bus body with one hand while placing and pressing shapes with the other.
Executive Functioning Skills
- Planning and Sequencing: Following steps in order (e.g., bus body → windows → wheels).
- Working Memory: Remembering shape placement and order from visual or verbal instruction.
- Inhibition: Waiting to glue or cut at the appropriate time within the task.
Language and Cognitive Skills
- Shape & Color Identification: Naming shapes and colors while assembling.
- Following Directions: Completing a multi-step task with adult guidance or peer modeling.
- Concept Development: Understanding positional concepts like “on top,” “next to,” “under.”
Postural Control & Endurance
- Seated Tolerance: Sitting upright to complete a tabletop activity from start to finish.
- Core Engagement: Maintaining posture while using both hands in front of the body.
Sensory Processing
- Tactile Input: Handling paper, glue, and possibly stickers or markers.
- Proprioceptive Input: Using controlled hand pressure for cutting and gluing.
- Visual Input: Tracking lines while cutting and scanning for shape placement.
Social and Emotional Skills
- Turn-Taking and Sharing: During group crafts, materials may be shared.
- Task Completion: Builds confidence by following through on a start-to-finish task.
- Self-Expression: Decorating the bus with additional details or personalization (child’s name, colors).
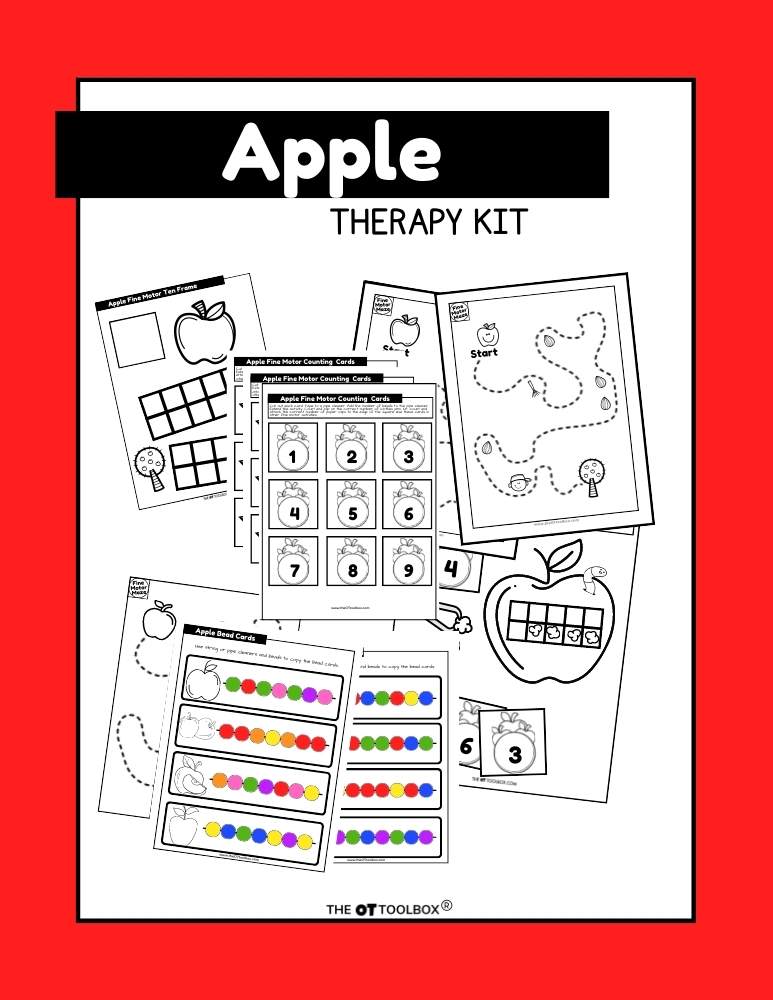
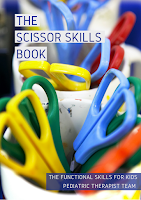
For more ways to focus on scissor skills, and the WHY behind development of cutting with scissors, check out our resource, The Scissor Skills Book.

Check out The Scissor Skills Book for tips and strategies based on development from school based occupational therapists and physical therapists.

Colleen Beck, OTR/L has been an occupational therapist since 2000, working in school-based, hand therapy, outpatient peds, EI, and SNF. Colleen created The OT Toolbox to inspire therapists, teachers, and parents with easy and fun tools to help children thrive. Read her story about going from an OT making $3/hour (after paying for kids’ childcare) to a full-time OT resource creator for millions of readers. Want to collaborate? Send an email to contact@theottoolbox.com.