This blog discusses the developmental criteria needed prior to introducing name writing to kindergarteners, specifically name practice for kindergarten. We’re covering the related fine motor strengthening activities, and ten fun ways to work on name writing practice for kindergarten students. Be sure to check out our resource on name writing activities for more tips at different ages and abilities.
At this age it’s important to understand the reasoning behind tracing sheets.
name practice for kindergarten
Today’s Kindergarten curriculum includes increased developmental requirements than in previous years, but the opportunities to practice writing can be a “just right” level for many children at this age.
An important thing to cover when it comes to name writing practice: name writing in kindergarten is when handwriting begins to be developmentally appropriate. In preschool, writing AND pre-writing with a pencil or writing utensil is NOT developmentally appropriate. Preschool curriculum that tell you otherwise are simply inaccurate.
Being that this article is about kindergarten name writing, know that handwriting in kindergarten requires the establishment of pre-writing skills (which occur through play).
Once children have developed visual/spatial awareness, pre-writing strokes, and fine motor strength, they are ready to practice writing their name. Also a common consideration in kindergarten name writing is that sometimes children may be developmentally ready, but they don’t show an interest in writing their own names.
You can practice name writing in lots of different ways that include multisensory name creation and letter recognition games to entice even the most reluctant student.
Let’s take a deeper look at kindergarten name practice.
Developmental prerequisites needed for name writing
There are many skills children need to develop before they are able to write their names. In order for greater success, they need to know the sounds and names of letters, be able to use their body correctly, know how to copy written lines, and so much more.
For better success rates, many developmental skills are needed for handwriting to be developed before a child is able to write their name:
- Pre-writing line formation (straight lines, circles, cross, diagonal lines, triangles, squares)
- Identifying letters of the alphabet
- Visual perceptual skills
- Visual motor skills
- Fine motor skills to hold and manipulate a writing utensil
- Spatial relations (positioning, placement, left to right progression)
- Direction following
- Eye-hand coordination to place letters on a paper
- Visual Tracking skills
- Crossing midline skills
- Bilateral coordination skills
One of the the best ways to learn new skills is through a multi-sensorial approach.
Letter identification and sounds can be taught through worksheets and flashcards, but kindergartners love to learn through play.
How do I know they are ready for name writing practice?
One of the best ways to know when your child is ready to start writing their name, is by using an assessment tool formulated for kindergarteners.
This handwriting observations and data collection kit has everything you need to get started. This shape formation and pre-writing screening tool can be used along with observations and data collection to assess and analyze a child’s progression in pre-writing skills.
Remember that for some kids, in the kindergarten classroom is the first time they are picking up a pencil or any coloring tool. Others may have been “instructed” to write their name before they were developmentally ready. They might have formed inaccurate motor plans for letters. They might have a pencil grasp that is founded in an inefficient grasp due to using a pencil as a writing tool before they were ready. Kindergarten name writing can look like many different things based on these differences.
Name practice for kindergarten can look like many different things for each kindergartener.
Now that you have determined that your child is developmentally ready to write their name, let’s take a peek at the most enjoyable name writing practice activities available.
Multisensory activities for name writing practice for Kindergarten
These 10 name writing activities are perfect for kindergarteners ready to take the next step in forming words. Kindergarten name practice can occur through play based activities that support development of underlying skills through play.
Try some of these name practice for kindergarten.
- Sensory bin handwriting activity: Fill up a tray with sand, shaving cream or other fine sensory material. Laminate the child’s name on a card and place it next to the tray. Using a stick or capped pen, the child can write their name in the tray material. If the material is thin enough, try putting the name card in the tray for students to uncover
- Letter b and d reversal activities: Do you have a child that has a lowercase b or d in their name? It is common for kids to interchange these letters when learning how to write. These letter reversal activities will help them learn which letter is which
- Waiting list: When children are waiting for a turn with a toy, or to complete a task, start a “waiting” list on a white board. When one child would like to use a toy another child is using, they can write their name on the board. When it’s their turn, they erase their name, and another child can write their name.
- Sensory tracing bag: Place some shaving cream and food coloring in a plastic ziplock bag. Smear the shaving cream around so it takes up the entire bag. Some children love to add glitter to their bag to make them sparkle. Once, the bag is flat, have the child use their pointer finger to write their name on the bag, creating a colorful name. These bags can be made with hair gel and glitter, birdseed, dry rice, or sand.
- Labeling artwork: Once a child is done drawing, write their name using a yellow highlighter. Have the child trace their name using a pen or marker.
- Sidewalk Chalk Painting: Write a child’s name in sidewalk chalk outdoors. Give them a paintbrush and water, and have them “erase” their name by tracing the letters with the wet paintbrush. When they are ready, they can write their own name with sidewalk chalk.
- Name Kits: A name kit is a great way to organize name practice in a folder for each child in your class. To make a name kit, you’ll need letters of the name in different fonts, letter magnets, and writing strips. By adding a laminated name card, the plastic letters in their name, letter cut outs, and a few other name products, kids can grab their name kit at any time to practice the letter order and spelling of their name. We have many different letter activities available that can be used with many different students in our Letter Fine Motor Kit. The kit can be printed off and used with an entire therapy caseload, printing off the letters needed for each student. You’ll find many letter manipulatives in the kit.
- Name Tracing Folders: Isolating the index finger to trace letters in our name, or using a writing utensil to trace letters, can help children learn the order in which the letters in their name go.
- Magnetic Letter Names: Use magnetic letters along with a magnetic surface such as a cookie sheet, refrigerator, or even building names on the garage door to build names using a name cards, to allow children to practice spelling their names anytime. This spoons and magnetic letters activity is another fun idea.
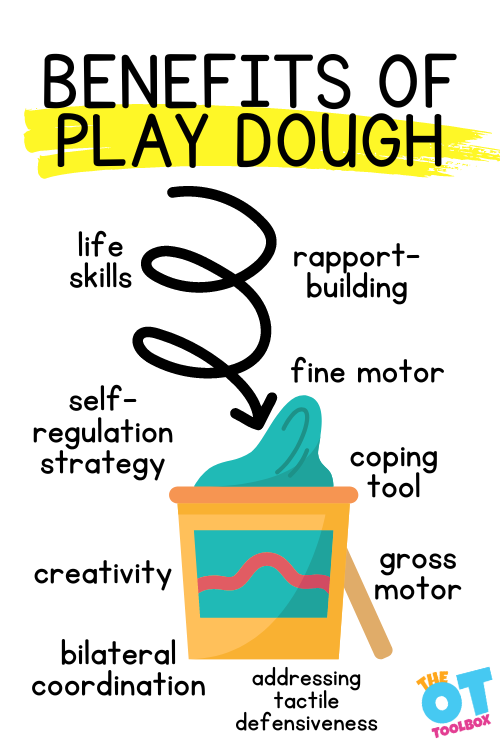
- Play dough Names: Use colored play dough to roll, stretch and cut the dough. Children can spell their names with the play dough both indoors and outdoors.
- Graph Paper Letter Boxes: Use large graph paper or letter boxes for students to write one letter of their name in each box. This helps with sizing and spacing, and is often less frustrating to the new learner.
- Velcro letters: Add velcro to several letters. Have students find the matching letters to their name and stick them onto a board. Pulling velcro is a great finger strengthening activity
A final note about name writing
Name writing practice for kindergarten students is an essential part of their curriculum. Name writing is an essential skill students will need for life, but it is important to remember all of the developmental skills needed in order to write a name.
Allowing children plenty of time to practice, and a variety of multi sensory activities, will make name writing fun. It may take a few months before children are able to write their names legibly, without tracing, because everyone develops at a different pace.

Jeana Kinne is a veteran preschool teacher and director. She has over 20 years of experience in the Early Childhood Education field. Her Bachelors Degree is in Child Development and her Masters Degree is in Early Childhood Education. She has spent over 10 years as a coach, working with Parents and Preschool Teachers, and another 10 years working with infants and toddlers with special needs. She is also the author of the “Sammy the Golden Dog” series, teaching children important skills through play.

The Letter Fine Motor Kit has many letter manipulatives to allow kindergarten students to practice name writing with different letter activities and letter cards to support name writing practice through fine motor play.