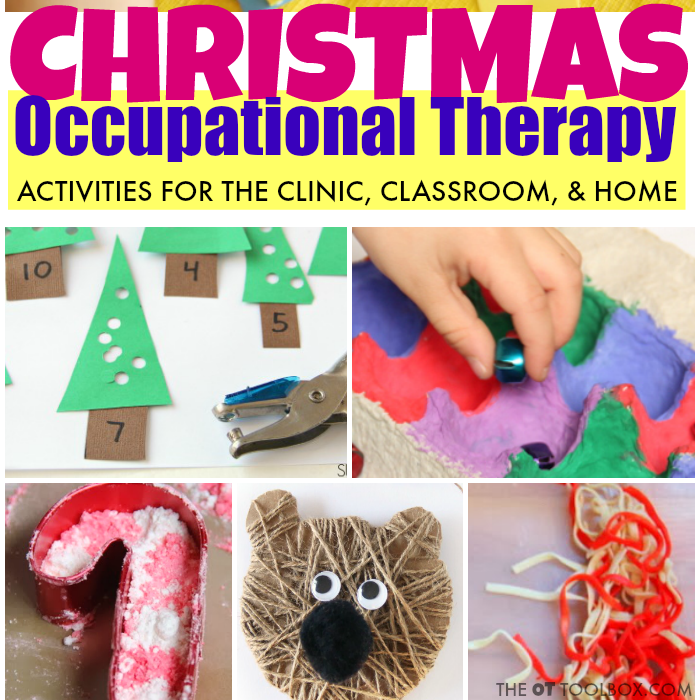
If you are an occupational therapy practitioner you know all about the dreaded “d” word called documentation. It’s part of the daily life of a therapist, and writing SOAP notes to address the goals of an IEP or 504 accommodations can sometimes seem like it’s all we do. Let’s break down this dreaded task with some occupational therapy documentation tips and look at the positive side of documentation in therapy! You’ll find information on SOAP notes in occupational therapy as well as COAST notes and how to combine SOAP notes with COAST notes for client-centered occupational therapy documentation.
As an Amazon Influencer, I earn from qualifying purchases.
Occupational therapy documentation
Daily documentation (along with the dreaded productivity) is not the most fun or anticipated aspect of the occupational therapy profession, but it is a necessary part of it in order to fully appreciate and understand the need for our service and determine if it is making a difference in our client’s life. Also, we need to do it to get payment for our service and well, let’s face it, make a living!
When it comes to completing all of the daily tasks involved in a therapists’ day, documentation requirements can impact productivity. Here are therapy productivity hacks that can help with getting it all done.
So, with all of that being said, let’s talk about treatment documentation and the necessary components of such to provide evidence for the need of OT services while simultaneously providing a record of client progress and needs. But first, let’s start with taking the negativity out of the process and fill in the blanks with positive ways to view this time-consuming act.
Ok, here we go…
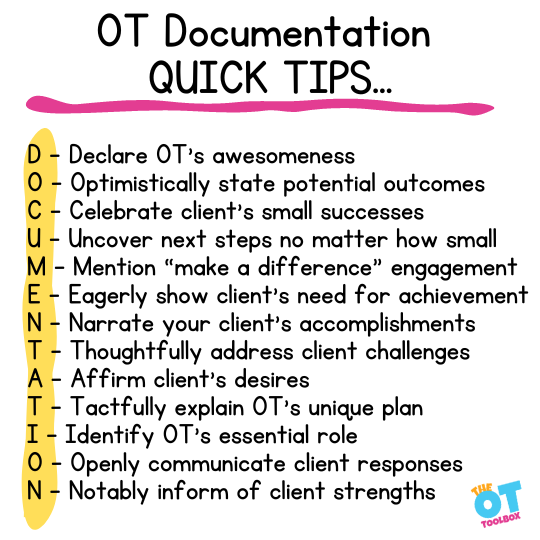
D – Declare OT’s awesomeness
O – Optimistically state potential outcomes
C – Celebrate client’s small successes
U – Uncover next steps no matter how small
M – Mention “make a difference” engagement
E – Eagerly show client’s need for achievement
N – Narrate your client’s accomplishments
T – Thoughtfully share challenges and how OT can help push through
A – Affirm client’s desires
T – Tactfully explain OT’s unique plan for overcoming obstacles
I – Identify OT as an essential partner in client’s therapy plan
O – Openly communicate earnest client responses
N – Notably inform of client strengths for goal achievement
How’s that for bringing the positivity to occupational therapy documentation?
Treatment documentation needs to be provided to share all about your hard work as a therapist and how you make an impact and a difference in the lives of your client’s and their families. There are many ways a therapy practitioner approaches documentation for treatment sessions.
In the 20+ years I have practiced O.T., I have changed my documentation strategies and approaches in a myriad of ways. Every year I tend to change a little more based on experience and the need for clarification of O.T. as a valuable treatment service in the lives of my clients.

Occupational therapy Soap Notes
Occupational therapy SOAP notes cover all aspects of documentation using an easy to remember acronym. Most therapy practitioners utilize the SOAP note format developed by Lawrence Weed, M.D. which originated from his original problem-oriented medical record.
The SOAP note acronym provides the necessary components for treatment documentation that meet the requirements of reimbursement agencies while providing the necessary information to document progress and regression and make a plan for further service.
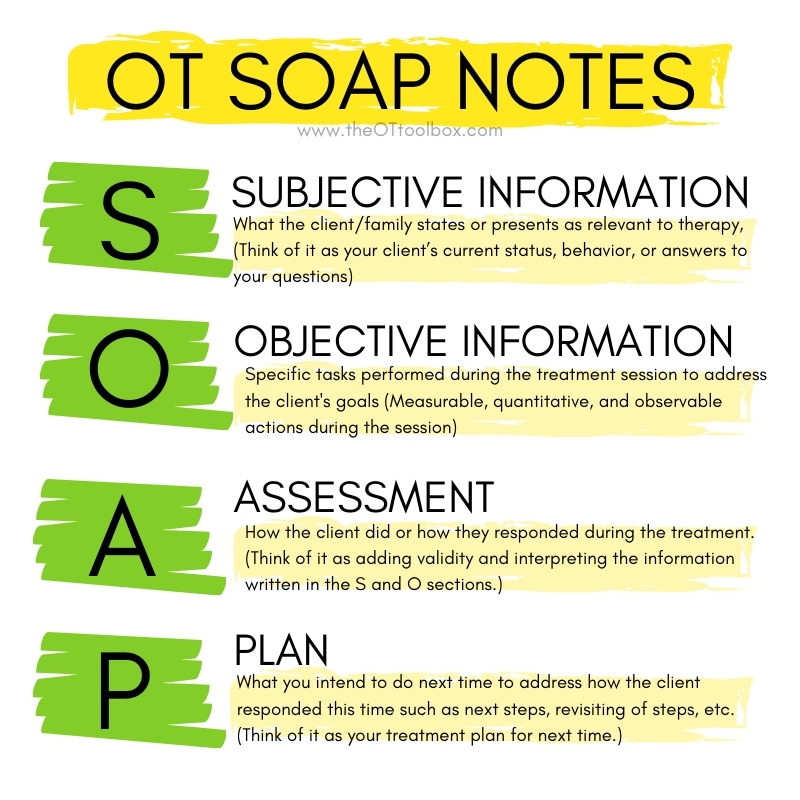
Here is a brief review of the S.O.A.P note format:
S is for subjective information which is what the client/family states or presents as relevant to therapy, (think of it as your client’s current status, behavior, or answers to your questions),
O is for objective which is what you and the client did together to address their goals, (think of it as measurable, quantitative, and observable actions during the session)
A is for assessment which is how the client did or how they responded during the treatment, (think of it as adding validity and interpreting the information written in the S and O section), and
P is for plan which is what you intend to do next time to address how the client responded this time such as next steps, revisiting of steps, etc., (think of it as your treatment plan for next time).

COAST Documentation
A new goal writing method called the C.O.A.S.T. method which was developed by Crystal A. Gateley, PhD, OTR/L and Sherry Borcherding, MA, OTR/L. Coast notes can also provide a solid approach for occupational therapy documentation within the a S.O.A.P. note format. In the COAST method of note-writing, documentation is client-centered, beginning with the task completed, based on occupations, and includes clear guidelines for documenting levels of assistance, conditions the client performs the tasks within, and time-centric.
When goals are written using the COAST format, it can be easy to stay on target with client-centric goals and interventions. Here is a brief review of the C.O.A.S.T. method for goal-writing:
C is for client. Identify the client being worked with in the treatment session.
O is for occupation. Identify the functional task or goal being addressed in the session.
A is for assist level. What level and type of of assistance is needed for the client to perform the task?
S is for specific condition. What conditions are necessary for the client to achieve the tasks.
T is for time. By when is the goal expected to be achieved?

SOAP NOTES + COAST NOTES
Joining these two acronym structures can generate a solid treatment note which can provide reimbursement agencies with the necessary information to justify your service while demonstrating the client’s needs and progress.
Following the SOAP note format while interjecting COAST note components will ensure you look at the whole client and provide client-centered documentation validating your service while pushing forward with the treatment to make sure your client achieves their goals so they may live their best life.
These acronym structures can also help you, as the practitioner, in your future paperwork needs for progress reporting, re-assessment, and goal writing that is specific to each of your clients.
What are definite attributes of writing therapy treatment notes? Let’s take a peek here:
1. Be client specific
2. Be legible and clear
3. Be consistent and organized
4. Be thorough
5. Be timely
6. Be value-based
7. Think positively about OT documentation (refer to acronym DOCUMENTATION above)
The next time you start to sit down and write your treatment notes, visit the DOCUMENTATION acronym above for achieving a positive frame of mind and remember that this is the time to let your skills shine, demonstrate OT’s value in your client’s life and show your client’s progress and needs for an occupation-based service that can help lead to health, well-being, and quality of life.
The use of SOAP notes in occupational therapy allows for organized and reliable documentation of the patient’s progress and treatment plan, ensuring effective and comprehensive care. Working on efficient SOAP notes for OT session documentation is a great strategy as a professional!
Occupational Therapy Documentation Software
One way to save time with documentation is to use an OT documentation software. There are many therapy documentation software tools out there specifically designed for Pediatric Speech and Language Pathology, Occupational Therapy and Physical Therapy documentation.
The software is essentially designed specifically for purchase by school districts, contract companies, and pediatric clinics, and it allows for the therapy providers to write their evaluation reports and progress notes quickly.
Therapy documentation software has different formats, including multiple choice, fill in the blank, and short answer responses that are individualized and uses strategies such as templates, word prediction, cutting and pasting.
One such tool is (affiliate link) Double Time Docs.
Double Time Docs is nice because it has various features designed to make life easier and save time for therapy providers:
- It has a questionnaire feature for caregiver and teacher questionnaires. This can save a significant amount of time because after the person responds, the therapy provider can log in and click the answers.
- DTD can be used by a therapy provider even if the clinic or school district uses a different documentation software. DTD generates an evaluation report by answering the questions, download their report, and cutting and pasting it directly into their district software such as IEP Direct, EASY IEP, SESIS, Frontline, etc.
- Reports done in a fraction of the time.
- A therapist can be more productive by focusing on planning, treatment, and consultations.
- Reports are written to the standards of the district.
- Consistency between therapists – new/old and district/contract
- Teaching tool for new grads
- Data collection
- One template for initials/triennials/observations
- Reduces common errors such as wrong name, pronouns, etc.
Have questions about trialing and using Double Time Docs to make documentation easier? Just click here.

Regina Parsons-Allen is a school-based certified occupational therapy assistant. She has a pediatrics practice area of emphasis from the NBCOT. She graduated from the OTA program at Caldwell Community College and Technical Institute in Hudson, North Carolina with an A.A.S degree in occupational therapy assistant. She has been practicing occupational therapy in the same school district for 20 years. She loves her children, husband, OT, working with children and teaching Sunday school. She is passionate about engaging, empowering, and enabling children to reach their maximum potential in ALL of their occupations as well assuring them that God loves them!