Fall Leaves Printable tic Tac Toe Game

Fall leaves printable tic tac toe activity for occupational therapy home programs

Getting this fall leaves bucket list has been on my to-do list for a few weeks now. Here in western Pennsylvania, fall leaves are just about at their peak colors. They are just starting to fall, and that means there are lots of colorful, crunchy leaves to explore and play in! As occupational therapists, we know the power of play. That means we know the power of using fall leaves as a tool to build strength, balance, sensory experiences, heavy work, and movement! Leaf activities are just part of Fall and all that the season brings in the way of fall fun! Use the free printable for occupational therapy home programs, or just a cheap fall bucket list of fall activities!

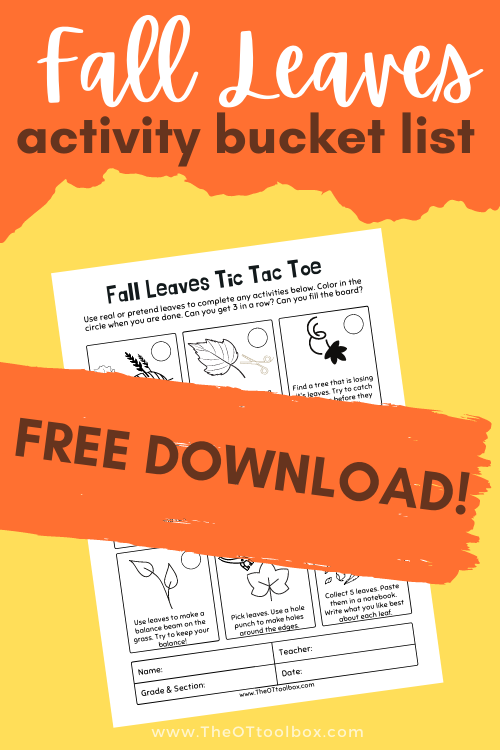
Fall Leaves Activities for a fall bucket list that builds skills! This fall leaves printable is a downloadable tic tac toe game that kids can use in occupational therapy activities.

Fall Leaves Printable

A lot of the leaf activities on this printable are activities that I’ve shared previously on this website. You can find the links to these ideas here, so you can read more about the “why” behind these activities and to understand the different ways to build development in kids.

This fall leaves printable is a tic tac toe printable page. Use it to encourage movement, sensory exploration, fine motor skills, and gross motor skills. The images are small and just outlines, so kids can color in the pictures as they complete each activity, making it a great way to build fine motor strength, coordination, and pencil control.

Each fall leaf activity uses just leaves from outside, but if fall leaves aren’t available in your area, colored paper leaves work just as well.

Fall leaf tic tac toe activities encourage movement, so use this as a great occupational therapy home program or even one to use in OT teletherapy.

Leaf activities for occupational therapy and to build skills in fine motor development, sensory play, gross motor skills. Use fall leaves in therapy activities!

Fall Leaf Activities

Here are the fall leaf activities described on on this leaf printable. If you need more descriptions or a better understanding of how these fall leaf activities help kids build skills, be sure to save this page so you can come back to it.

Leaves for Scissor Skills– Improves scissor accuracy, bilateral coordination, eye-hand coordintion, fine motor precision.

Leaf collage art– Use real leaves to make a craft that builds bilateral coordination, heavy work proprioceptive input, and scissor skills.

Fall Proprioception Activities– Jumping in piles of leaves, raking leaves, and carrying a load of leaves in a bucket, wheelbarrow, or arms adds calming heavy work for the proprioceptive sense!

Fall Vestibular Activities– Run, dive, jump, swoop! Catching fall leaves provides input to the vestibular sense. These activities can be organizing and help kids regulate behaviors, emotions, and their sensory system.

Leaf Balance Beam- Do you know the power of a balance beam? The best news is that you don’t need fancy expensive equipment to replicate those benefits! Use leaves to make a homemade balance beam with all of the skill-building!

Leaf Hole Punch Activity– Grab a hole puncher and a handful of leaves. Those fine motor skills are about to grow! This activity builds eye-hand coordination, hand strength, arch development, separation of the sides of the hand, visual motor skills, and more.

Leaf Matching Activity– There are a lot of ways to develop visual processing skills like matching leaves during the Fall season.

Leaf Activities For therapy

Pre-Writing Lines: Pre-writing activity with real leaves– Use real leaves to work on eye-hand coordination, visual motor skills, and pre-writing lines with hands on fine motor work.

Bilateral Coordination: Leaf Craft- Use real leaves to make a craft that builds bilateral coordination, heavy work proprioceptive input, and scissor skills.

Craft for Older Kids:  Sewing Skills Craft– Use a needle and thread, wire, lacing cord to thread around leaf shapes. We used plastic canvas, but you could use cardboard, cereal boxes, or even laminated paper.

Hand Strength- Leaf Ten Frames– Use a hole puncher with leaves to work on hand strength and hands-on math.

Sensory Play- Nature Water Table– Use a bin, water table, or bowl to explore Fall’s colors and textures and challenge the senses.

Tactile Sensory Activity- Sensory Painting– Use leaves, corn husks, and grasses for sensory painting. Then, practice handwashing!

Heavy Work Activity- Play Dough Press– Use natural materials and play dough to add heavy work for the hands. This is a great visual perception activity, too.

Eye-Hand Coordination and Problem SolvingFall Tree Crafts– build eye-hand coordination and problem solving with a sensory experience to make these fall trees.

Scissor Skills Activity- Fall leaves scissor activity– Use leaves to work on line awareness, bilateral coordination, and visual motor skills.

MORE Sensory Processing Activities for Fall

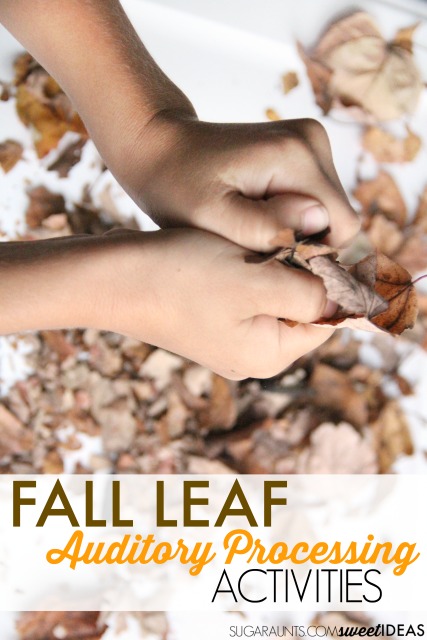
Leaf Auditory Processing Activity– Use leaves to work on listening skills, auditory discrimination, and auditory challenges.

Fall Fine Motor Activities

Fall Visual processing Activities

Fall Tactile Sensory Activities

Fall Vestibular Activities

Fall Proprioception Activities

Fall Leaf Printable

Enter your email address below and this fall printable will be sent to your inbox shortly!

Get a free Fall Leaves Activities Tic Tac Toe Page

    We respect your privacy. Unsubscribe at anytime.

    For more fall leaf activities, try some of these:

    Colleen Beck, OTR/L has been an occupational therapist since 2000, working in school-based, hand therapy, outpatient peds, EI, and SNF. Colleen created The OT Toolbox to inspire therapists, teachers, and parents with easy and fun tools to help children thrive. Read her story about going from an OT making $3/hour (after paying for kids’ childcare) to a full-time OT resource creator for millions of readers. Want to collaborate? Send an email to contact@theottoolbox.com.
    Mask Social Story Slide Deck

    wear a mask social story for sensory issues

    Here, you can get a mask social story for kids with sensory needs. Trying to help kids with the task of wearing a mask? Social stories are a great tool for explaining concepts using pictures and affirming words. This social story about face masks is an important one for kids. Whether face masks are needed for immunity needs, doctor or hospital visits, health or safety needs, or something else, it can be important concept to address with children and a social story about masks is a great visual tool.

    Social Story about Wearing Masks

    When our kids were moving from full virtual to hybrid learning, so that means kids that have been out of the classroom since March are now going to be back in the physical school location, wearing masks was a new and different thing!. And, getting kids to wear masks…and keep those masks on…can be a real concern, especially for kids with sensory needs!

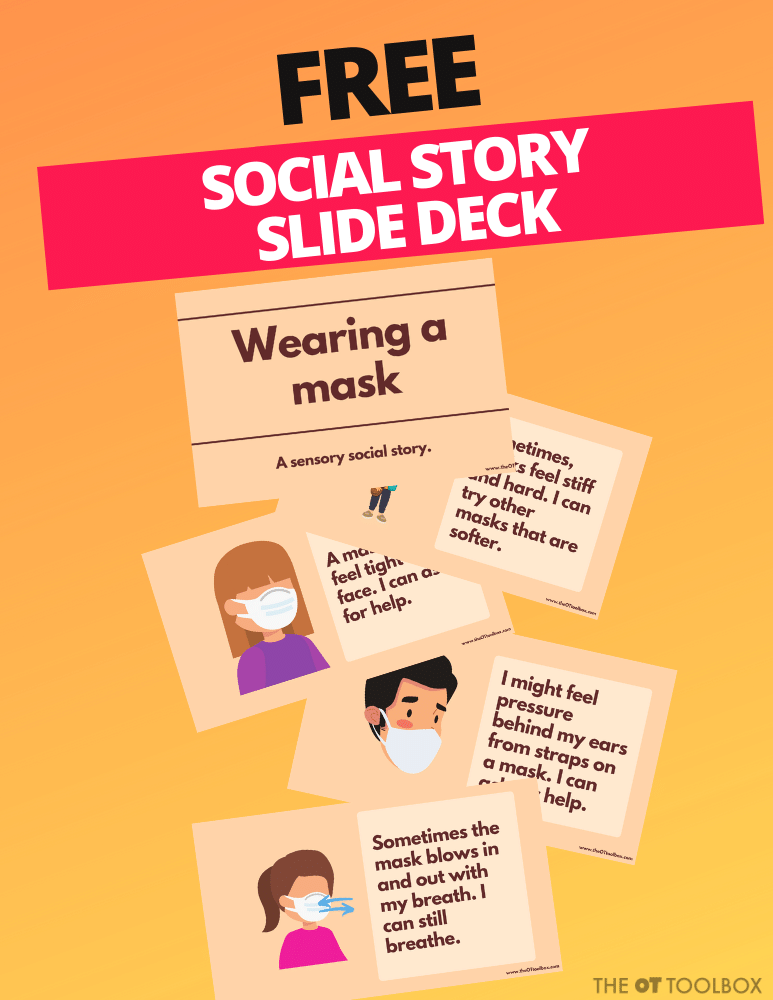
    Today, I’ve got a free teletherapy slide deck to help kids learn the importance of wearing a mask and it covers the sensory concerns that might come up with mask wearing. This slide deck is a social story for mask wearing with sensory issues, so it adds a story component while allowing kids to understand why they need to wear a mask when it feels itchy or scratchy. This slide deck is free, so grab it below.

    Get this free mask social story to help kids with sensory needs tolerate and accommodate for mask wearing.

    Wearing a mask with sensory needs

    For kids with sensory needs, wearing a mask can be a big problem. But some schools, businesses, and situations require a mask for entry. So how does the child with sensory needs deal with this situation? For some, the softest of face masks can feel scratchy or itchy. It can make others feel like they are contained. Still others are frustrated wtih the feel of mask straps behind their ears.

    Kids with sensory needs and masks don’t mix!

    That’s why I wanted to put this social story together and get it into your hands. Because some kids are truly struggling with wearing a mask and don’t understand why they need to have this itchy, scratchy fabric attached to their face!

    Help kids wear a mask when they have sensory preferences due to sensory processing disorder.

    Wearing a Mask Social Story

    Some kids respond really well to social stories, so this slide deck should be a good way to teach this concept. I’ve made the slide deck interactive, so kids can read through the slide, and move the checkmark to the “finished” square once they understand the concept on each slide.

    Kids with sensory needs can struggle with wearing a mask. This mask social story can help if the mask feels too tight.

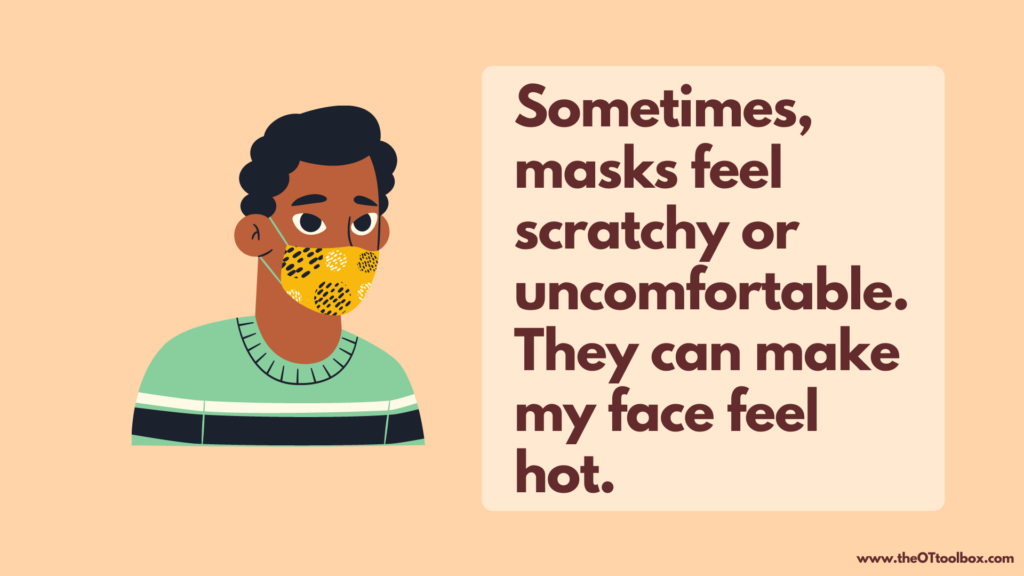
    The slides cover various aspects of masks for kids with sensory needs, including how masks feel on the skin, or how they may make a person feel hot.

    I’ve also included slides in this social story that tell the reader they can ask for help if they need it when wearing a mask.

    Some children may chew on their face mask to meet oral sensory needs as calming input when they attempt to self-regulate. However, another sensory tool could be used in place of the mask. This sensory social story helps kids to understand that by reading the words of the story and by matching those words to the image.

    Kids with sensory needs can feel a mask as too tight or scratchy. This mask social story can help.

    Kids with sensory needs or those with sensory processing disorder may feel the temperature difference between having a mask on or off. This mask sensory story covers those issues.

    You’ll find slides for kids that feel that mask move in and out with their breath, as well. All of these sensory sensitivities can be very apparent with the use of a face mask!

    use this free mask social story in teletherapy or to help kids with sensory needs adjust to wearing a mask by offering other alternatives that meet their sensory needs.

    Free slide deck for wearing a mask with sensory needs

    To get this slide deck, enter your email address below. By doing this, I am able to deliver the slides to your email inbox.

    Be sure to log into your Google drive first. You will get a pdf that you can save and use over and over again. Click the document to make a copy of the slide onto your drive.

    Use the slide deck in “edit” mode to allow students to move the check marks on each slide as the individual slide is read. You can also use this slide deck in “present” mode, but the movable piece won’t work.

    Get this Free “Wearing a Mask” Social Story slide deck

      We respect your privacy. Unsubscribe at anytime.

      Colleen Beck, OTR/L has been an occupational therapist since 2000, working in school-based, hand therapy, outpatient peds, EI, and SNF. Colleen created The OT Toolbox to inspire therapists, teachers, and parents with easy and fun tools to help children thrive. Read her story about going from an OT making $3/hour (after paying for kids’ childcare) to a full-time OT resource creator for millions of readers. Want to collaborate? Send an email to contact@theottoolbox.com.

      Clothes Pin Pinch Grasp Exercises

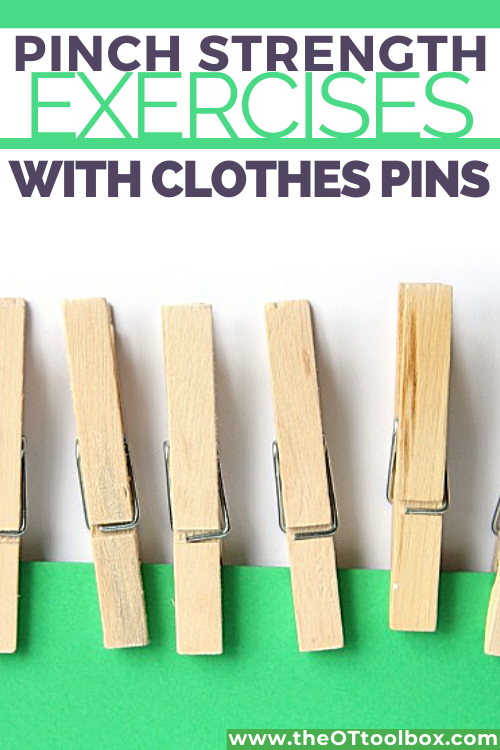
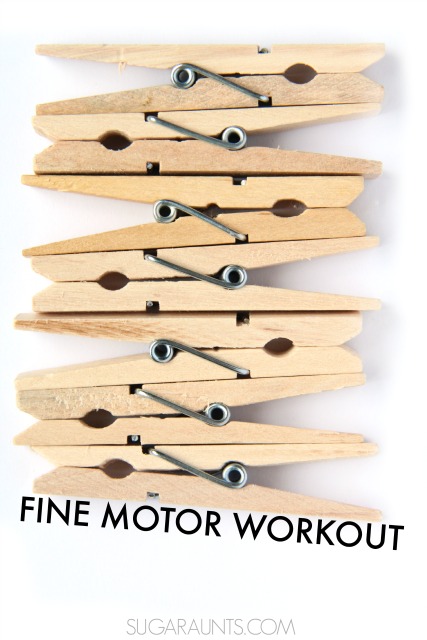
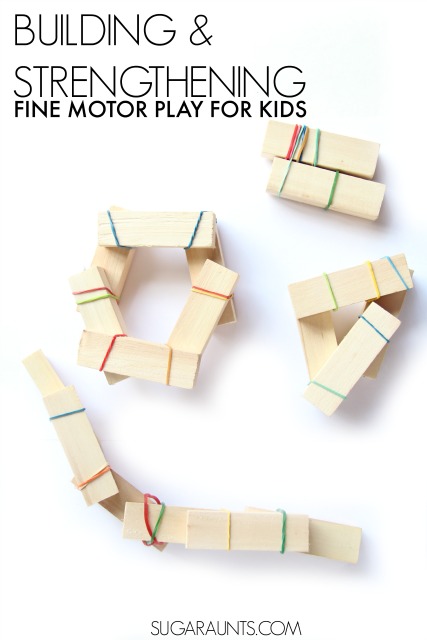
      Use clothes pins in a pinch strength exercise to improve lateral pinch prehension, and other grasp patterns.

      Wondering about lateral pinch strength? Hoping to help kids build tip to tip strength? Trying to build pinch strength in general? Here, I am sharing pinch exercises to strengthen pinch strength so that tasks that require strong hands (like coloring without fatigue, or holding the pencil and writing with endurance) can maneuver and manipulate objects. Check out the pinch strength exercises listed here and add these to your hand strengthening activities toolbox. All you need are clothes pins to build muscle strength and pinch patterns in occupational therapy sessions.

      Related, here are more fine motor activities using clothes pins, to use these in your therapy planning, too.

      Before we get into the pinch exercises below, be sure to bookmark the popular series about Occupational Therapy activities that can be done using free or almost free materials. This post is included in that series, and you will find other activities designed to build skills using everyday materials.  

      (Affiliate links are included in this post.)

      Pinch Exercises for Kids

      Today, I’m going back to the early days of my OT career and sharing fun ways to work on a few different hand pinch grasps.  For this fine motor activity, we’re using wooden clothes pins…something you probably have in your house or could get for a dollar at the dollar store.  There are many pinch grasp tools on the market designed to build pinch strength, but having an easily accessible (and inexpensive) option is key to carryover, use, and feasibility in building strength.

      Types of Pinch Grips

      Ok, the basics:  When you use your hand to do …anything… you’ll use one or more of the different types of pinch grips. These pinch patterns are developed through use. Les cover the types of pinch grips, as well as some common terms when we talk about pinch.

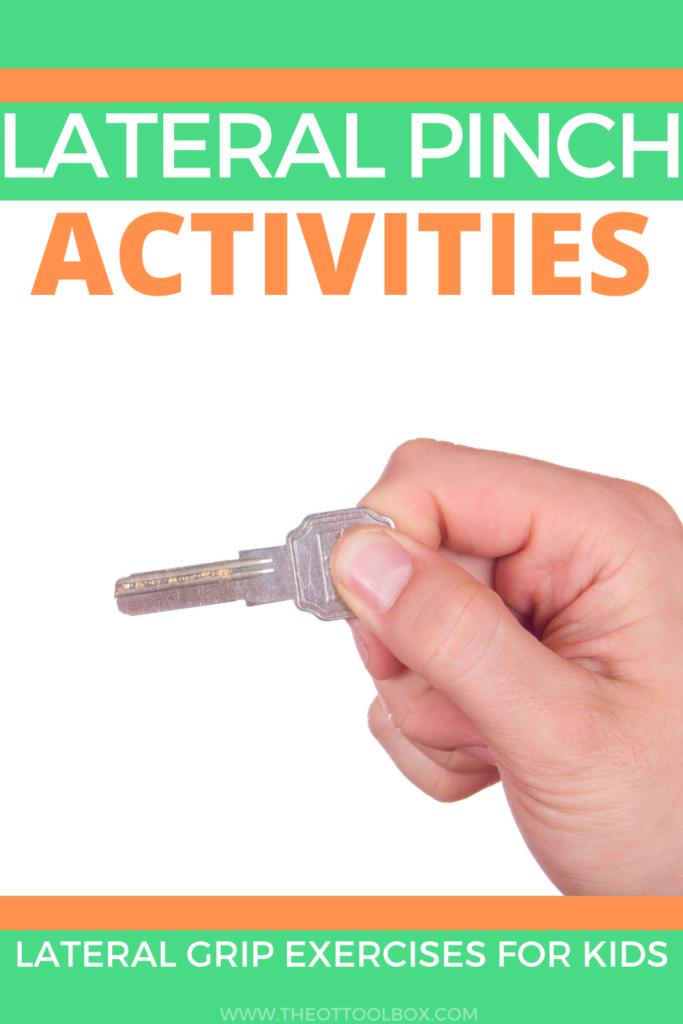
      Lateral Pinch Grip (aka Key Pinch Grip)- The thumb opposes the lateral side of the pointer finger.  This grasp is used when holding and using a key.

      Lateral Prehension Grip– A sub group of the lateral grip type of pinch is the Lateral Prehension Grip. In the lateral prehension grip, the thumb is flexed (bent) and it’s pad opposes the lateral side of the tip of the pointer finger. This grip is used to hold an index card or paper, sometimes.

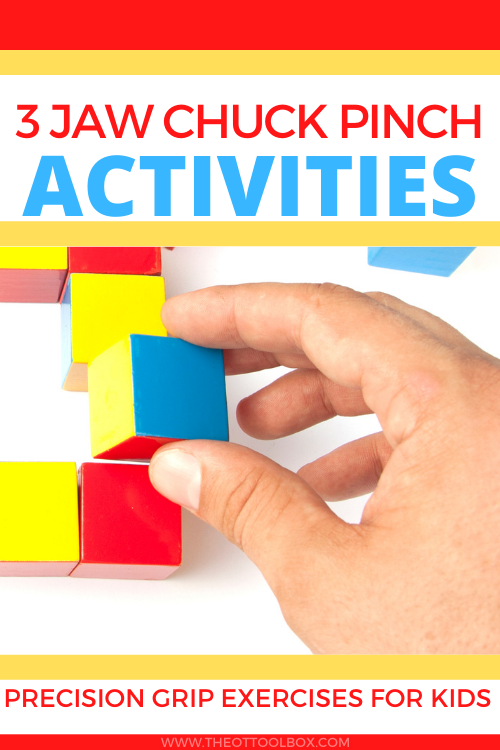
      Three jaw Chuck Pinch Grip– The thumb is flexed (bent) and opposes the pads of the pointer finger and middle finger. Holding a small cap like a toothpaste lid uses this grip. This is the grip used in holding a pencil.

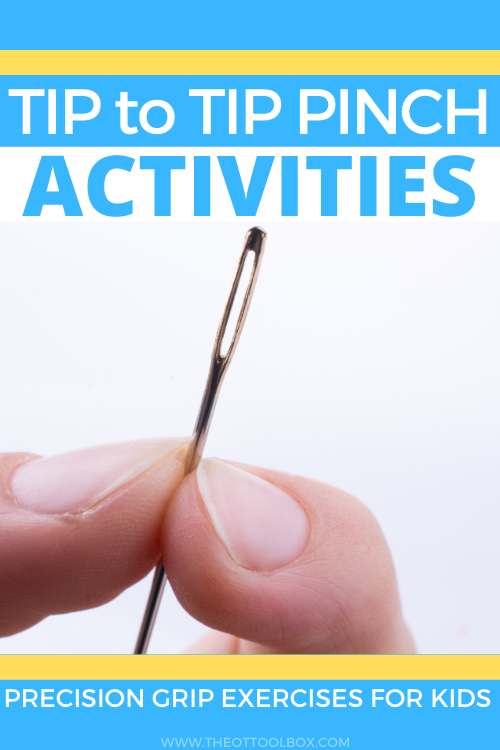
      Tip to Tip Grip– The tip of the thumb touches the tip of the pointer finger.  The thumb and pointer finger form an circle (or open thumb web space). This grasp is also called a pincer grasp.  It is used to pick up small items like cereal or beads.  If very small items are picked up (like a needle), a Neat Pincer Grasp is being used.

      Lateral Grip– Pinching an item between the pointer and middle fingers use this grip.  You would use this grip in holding a cigarette.  While this is not a functional grasp for kids (obviously), you might see kiddos fiddle with a pencil by holding it between two fingers.

      Prehension

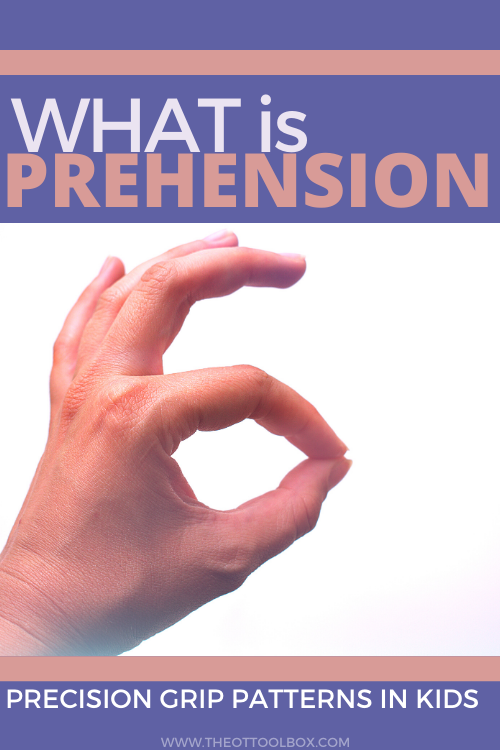
      Prehension is another common term that you may have heard mentioned. But what is prehension?

      The definition of prehension is the act of holding or grasping. The ability to hold and grasp an object in the hand requires prehension of the fingers. Prehension can also refer to the ability to hold a concept or idea in the brain to allow for understanding. Here, we are talking about prehension skills that allow us to manipulate items or objects. We are covering prehension patterns in the way of pinch grips.

      To break this down further, prehension can be identified in the different types of pinch grips.

      Tip prehension refers to the ability of the tip of the thumb, or the last joint of the thumb (known as the IP joint) to bend in isolation so that the rest of the thumb is stabile while just the last joint bends, or flexes. This tip prehension works in combination with opposition of the thumb as it rotates at the base, in order to oppose the tip of the index finger. Prehension can refer to the precision of grasp in the index finger as it bends at the PIP joint (proximal interphalangeal joint, or the middle joint of the finger), and the DIP joint (distal interphalangeal joint, or the end joint of the finger). This tip prehension is needed for small motor movements such as picking up a button or coin, threading a needle, etc.

      There are other types of prehension, like palmer prehension. This dexterity refers to in-hand manipulation, which we cover in other places on this website.

      Still other types of prehension are included in each of the pinch grasp patterns described above. Specific motions of the joints related to each pattern, and stability offered by related joints such as the wrist or metacarpophalangeal joints, and the arches of the hand allow for dexterity and precision of grasp…or prehension!

      We’ve created a video specifically showing how to target different grasp patterns using clothes pins. These clothes pin exercises are a great way to build hand and finger strength with a few repetitions. Simply clip the clothes pins onto the edge of a sheet of cardboard or cardstock paper for building pinch strength in the fingers.

      Watch this video for an example of how to position the fingers on the clothes pins for each pinch grasp: (If you can’t view the video due to blockers on your device, check out the video on The OT Toolbox YouTube channel.)

      Fine motor pinch grips and exercises to work on them using clothes pins, from an Occupational Therapist.

      Pinch Grip Exercises

      So, how can you work on these grips in a fun way?  Try using something you probably have in your home: Wooden clothes pins.  These are a therapy treatment bag staple.  You can work on each of the pinch grasps above to improve strength, arch development, open web space, and dexterity using clothes pins.   

      Lateral Pinch Exercises

      1. Hold the clothes pins between the thumb and the side of the pointer finger, like holding a key. Clip the clothes pins onto an index card.
      2. Hold the clothes pin between the thumb and the side of the pointer finger, like holding a key. Use the clothes pin to pick up an object like a craft pom pom to drop it into a color-coded bowl, cupcake liner, or onto a marked circle on a piece of paper.

      Tip to tip Grasp Exercises

      1. Hold the clothes pin between the thumb and the pointer finger. Be sure the tip of the thumb is doing the work. The IP joint of the thumb should be bent. Do several repetitions of this exercise to open and close the clothes pin.
      2. Holding the clothes pin between the tip of the thumb and the tip of the pointer finger, try to clip the clothes pin onto the single page of a book. Then, try to clip the clothes pin onto 10-20 pages of a book. Try to increase the increments and number of pages that are clipped between the clothes pin.

      3 Jaw Chuck Pinch Exercises

      1. Hold the clothes pin between the thumb and the pointer finger and middle finger. Clip the clothes pins onto a shirt or edge of clothing. Using both the index finger and the middle finger allows for more strength through the 3 jaw chuck grip pattern, so try clipping items of clothing together, like pairs of socks or two shirts. Clip several clothes pins around the edge of the clothing.
      2. Hold the clothespin between the thumb and the pointer finger/middle finger. Try to clip clothing to a string or clothes line.

      Prehension Exercises

      All of these exercises listed above can be completed in increasing repetitions. You might notice that the exercises listed include a functional component, like hanging clothes, or play. This is part of what makes occupational therapy, well, occupational! Try to include an aspect of function or daily tasks like painting, moving and manipulating objects with sorting for a learning aspect, or other aspect of independence.

      Fine motor pinch grips and exercises to work on them using clothes pins, from an Occupational Therapist.

      Here are more pinch activities clothes pins:

      Use the grips described above in the play and art activities below.  Try using different grips while completing the tasks, to work on the grips or skill areas appropriate for your child. Start with these fine motor activities using clothes pins.

      Like this activity?  Try some of these activities: 

      Colleen Beck, OTR/L has been an occupational therapist since 2000, working in school-based, hand therapy, outpatient peds, EI, and SNF. Colleen created The OT Toolbox to inspire therapists, teachers, and parents with easy and fun tools to help children thrive. Read her story about going from an OT making $3/hour (after paying for kids’ childcare) to a full-time OT resource creator for millions of readers. Want to collaborate? Send an email to contact@theottoolbox.com.


      Weekly Themes for Occupational Therapy

      Weekly theme activities for occupational therapy with kids.

      Looking for activity themes to make your OT planning easier? These weekly lesson plans are great for occupational therapy intervention activities because they are open-ended and can be used as a planning theme while meeting the needs of a whole caseload of students or OT clients. While curriculum planning in occupational therapy isn’t typically a “thing”, coming up with creative activities certainly is!

      My hope is to provide weekly themes for creating a set of activities that you can adjust to meet your needs, in the classroom, clinic, or home.

      And, if you like the idea of a printable PDF version of these OT intervention themes, be sure to sign up as a newsletter subscriber (enter your email in the “Subscribe” button at the top right side of this webpage. All email subscribers get access to the subscriber-only freebie library. Or, CLICK HERE to subscribe. These therapy themes are available in printable format with supply lists. These are great for home programs and therapy planning!

      Weekly themes for planning occupational therapy activities with kids.

      Weekly Themes

      Even if you aren’t seeking out specifically occupational therapy activities, these fun themes for children serve to offer strategies to build fine motor skills, gross motor skills, sensory challenges, brain breaks, interactive and hands-on learning activities, and so much more. Some of these themes have slide decks for distance learning/virtual therapy sessions. Others have book lists and activities related to the books. Still others have crafts and fun ways to build various skills all focused on one weekly theme.

      So, be sure to save this page…Pin it to Pinterest…email a link to yourself. This weekly theme page will be updated weekly as we go through this school year with A thematic curriculum that integrates basic skill development areas addressed in occupational therapy and the classroom or home through the exploration of a broad subject or topic, such as apples, community helpers, transportation, rain forests, STEM, etc.

      Thematic Instruction in OT

      Thematic instruction can be a powerful tool that is meaningful, motivating, and FUN for kids. Plus, while it can require a little prep on the side of the occupational therapist, parent, or teacher, it sort of flows throughout the week. Students can come back to activities that they enjoyed while working on specific or related skills. But, for the therapist working with a large caseload, thematic instruction can be much easier to plan and adapt to meet each client or student’s levels and goals. My mission is to make this planning simple for you and get you all of the ideas into one place, including materials you will need!

      Weekly Themes for Therapy

      Here it is! Let’s get those weekly themes into your hands:

      September Themes

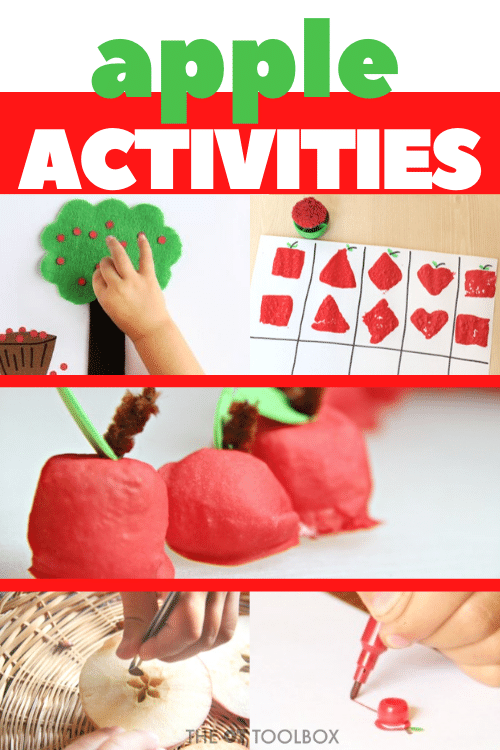
      Use these apple activities for an apple weekly theme in therapy or learning.

      Apple Theme- Use apple theme activities with fine motor, gross motor activities, apple brain breaks, and more.

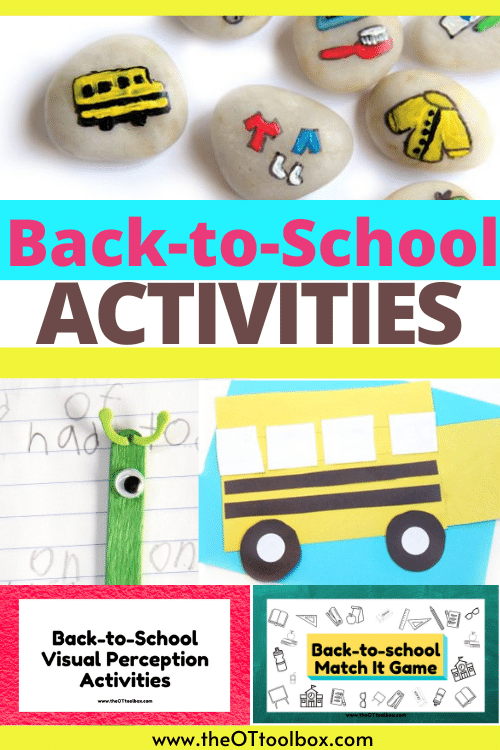
      These back to school activities can be used in weekly theme planning for occupational therapy activities.

      Back-to-School Theme- These back-to-school activities include crafts, writing activities, fine motor fun, gross motor activities, and back-to-school slide decks.

      October Themes for Therapy

      Pumpkin activities

      Pumpkin Theme– Use these pumpkin activities for a therapy theme.

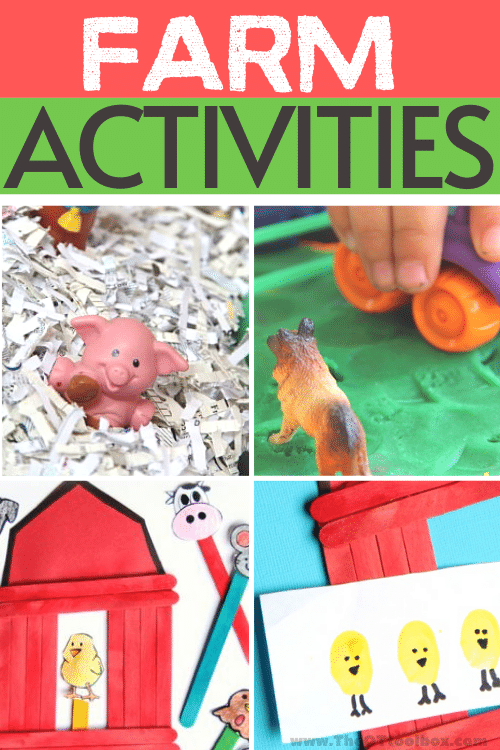
      Farm activities for occupational therapy activities with kids

      Farm Theme– Use these farm activities for a therapy theme.

      November Themes for Therapy

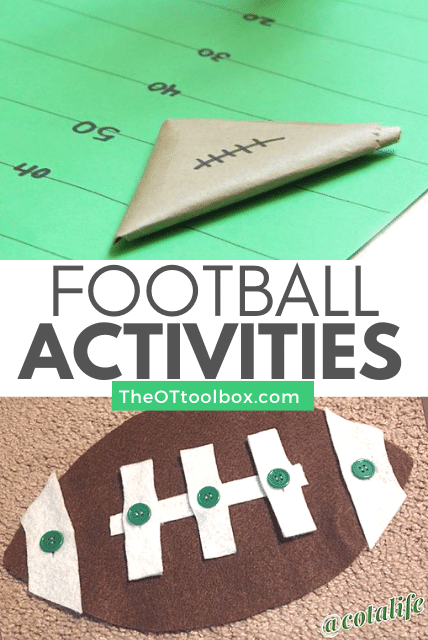
      Football activities for OT interventions

      Football Theme– Try these football activities for a themed week of therapy sessions.

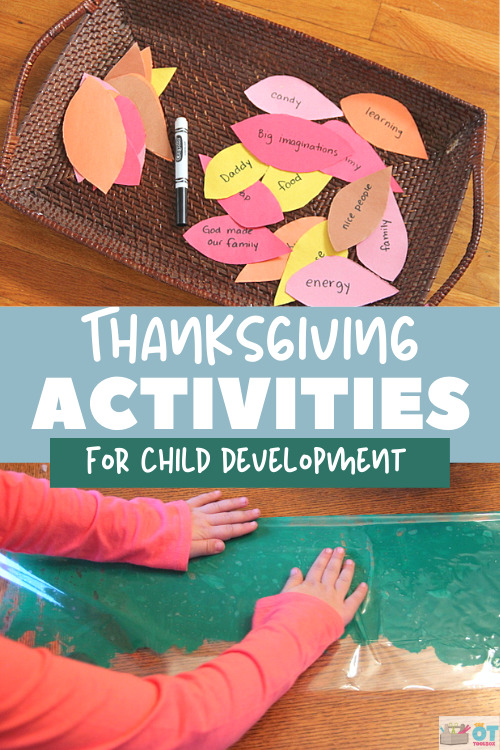
      Thanksgiving activities for kids

      Thanksgiving Theme– Try these thanksgiving activities for a themed week of therapy sessions.

      Turkey activities for children

      Turkey Theme– Try these turkey activities for a themed week of therapy sessions.

      December Themes for Therapy

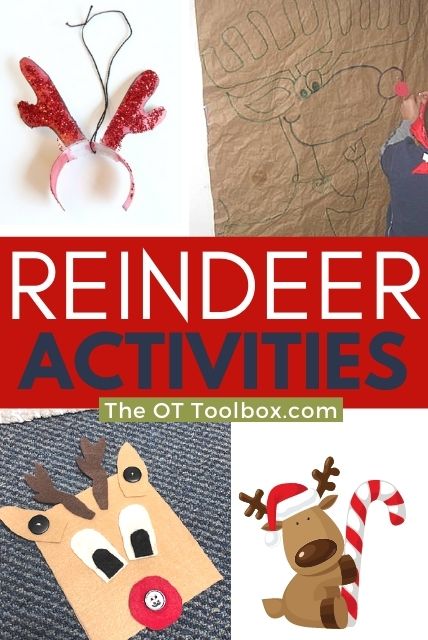
      reindeer activities for kids

      Reindeer Theme– Try these reindeer activities for a themed week of therapy sessions.

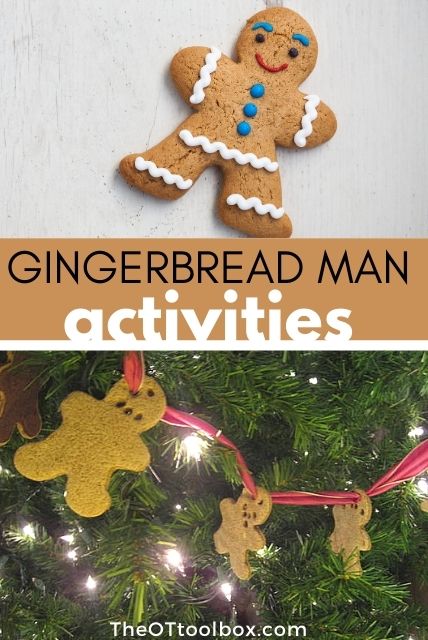
      gingerbread man activities

      Gingerbread Man Theme– Try these gingerbread man activities for a themed week of therapy sessions.

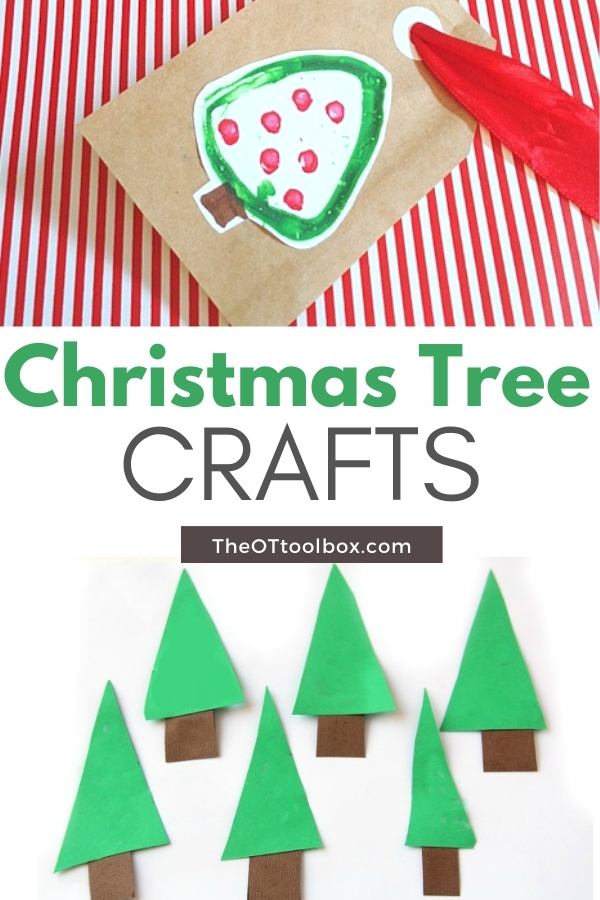
      Christmas tree activities

      Christmas Tree Theme– Try these Christmas Tree activities for a themed week of therapy sessions.

      January Themes for Therapy

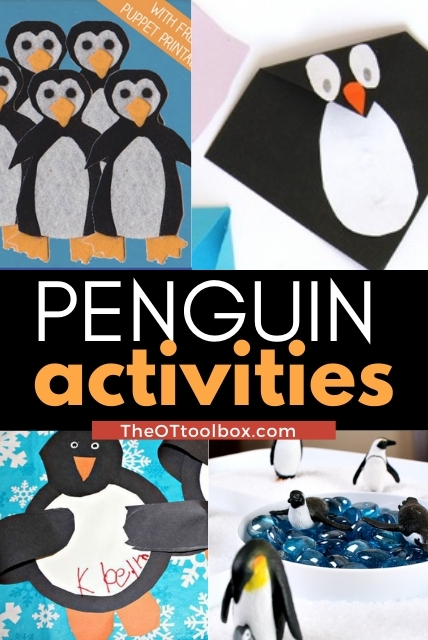
      Penguin activities

      Penguin Theme– Try these penguin activities for a themed week of therapy sessions.

      polar bear theme for therapy

      Polar Bear Theme– Try these polar bear activities for a themed week of therapy sessions.

      Stay tuned for more themed activities coming each week!

      Be sure to check out these skill-based activities:

      Teletherapy Activities

      Books in OT Activities

      Fine Motor Activities

      Executive Function Activities

      Sensory Activities

      Motor Skills Activities

      Back to School Activity-Writing Slide Deck

      back to school activity slide deck

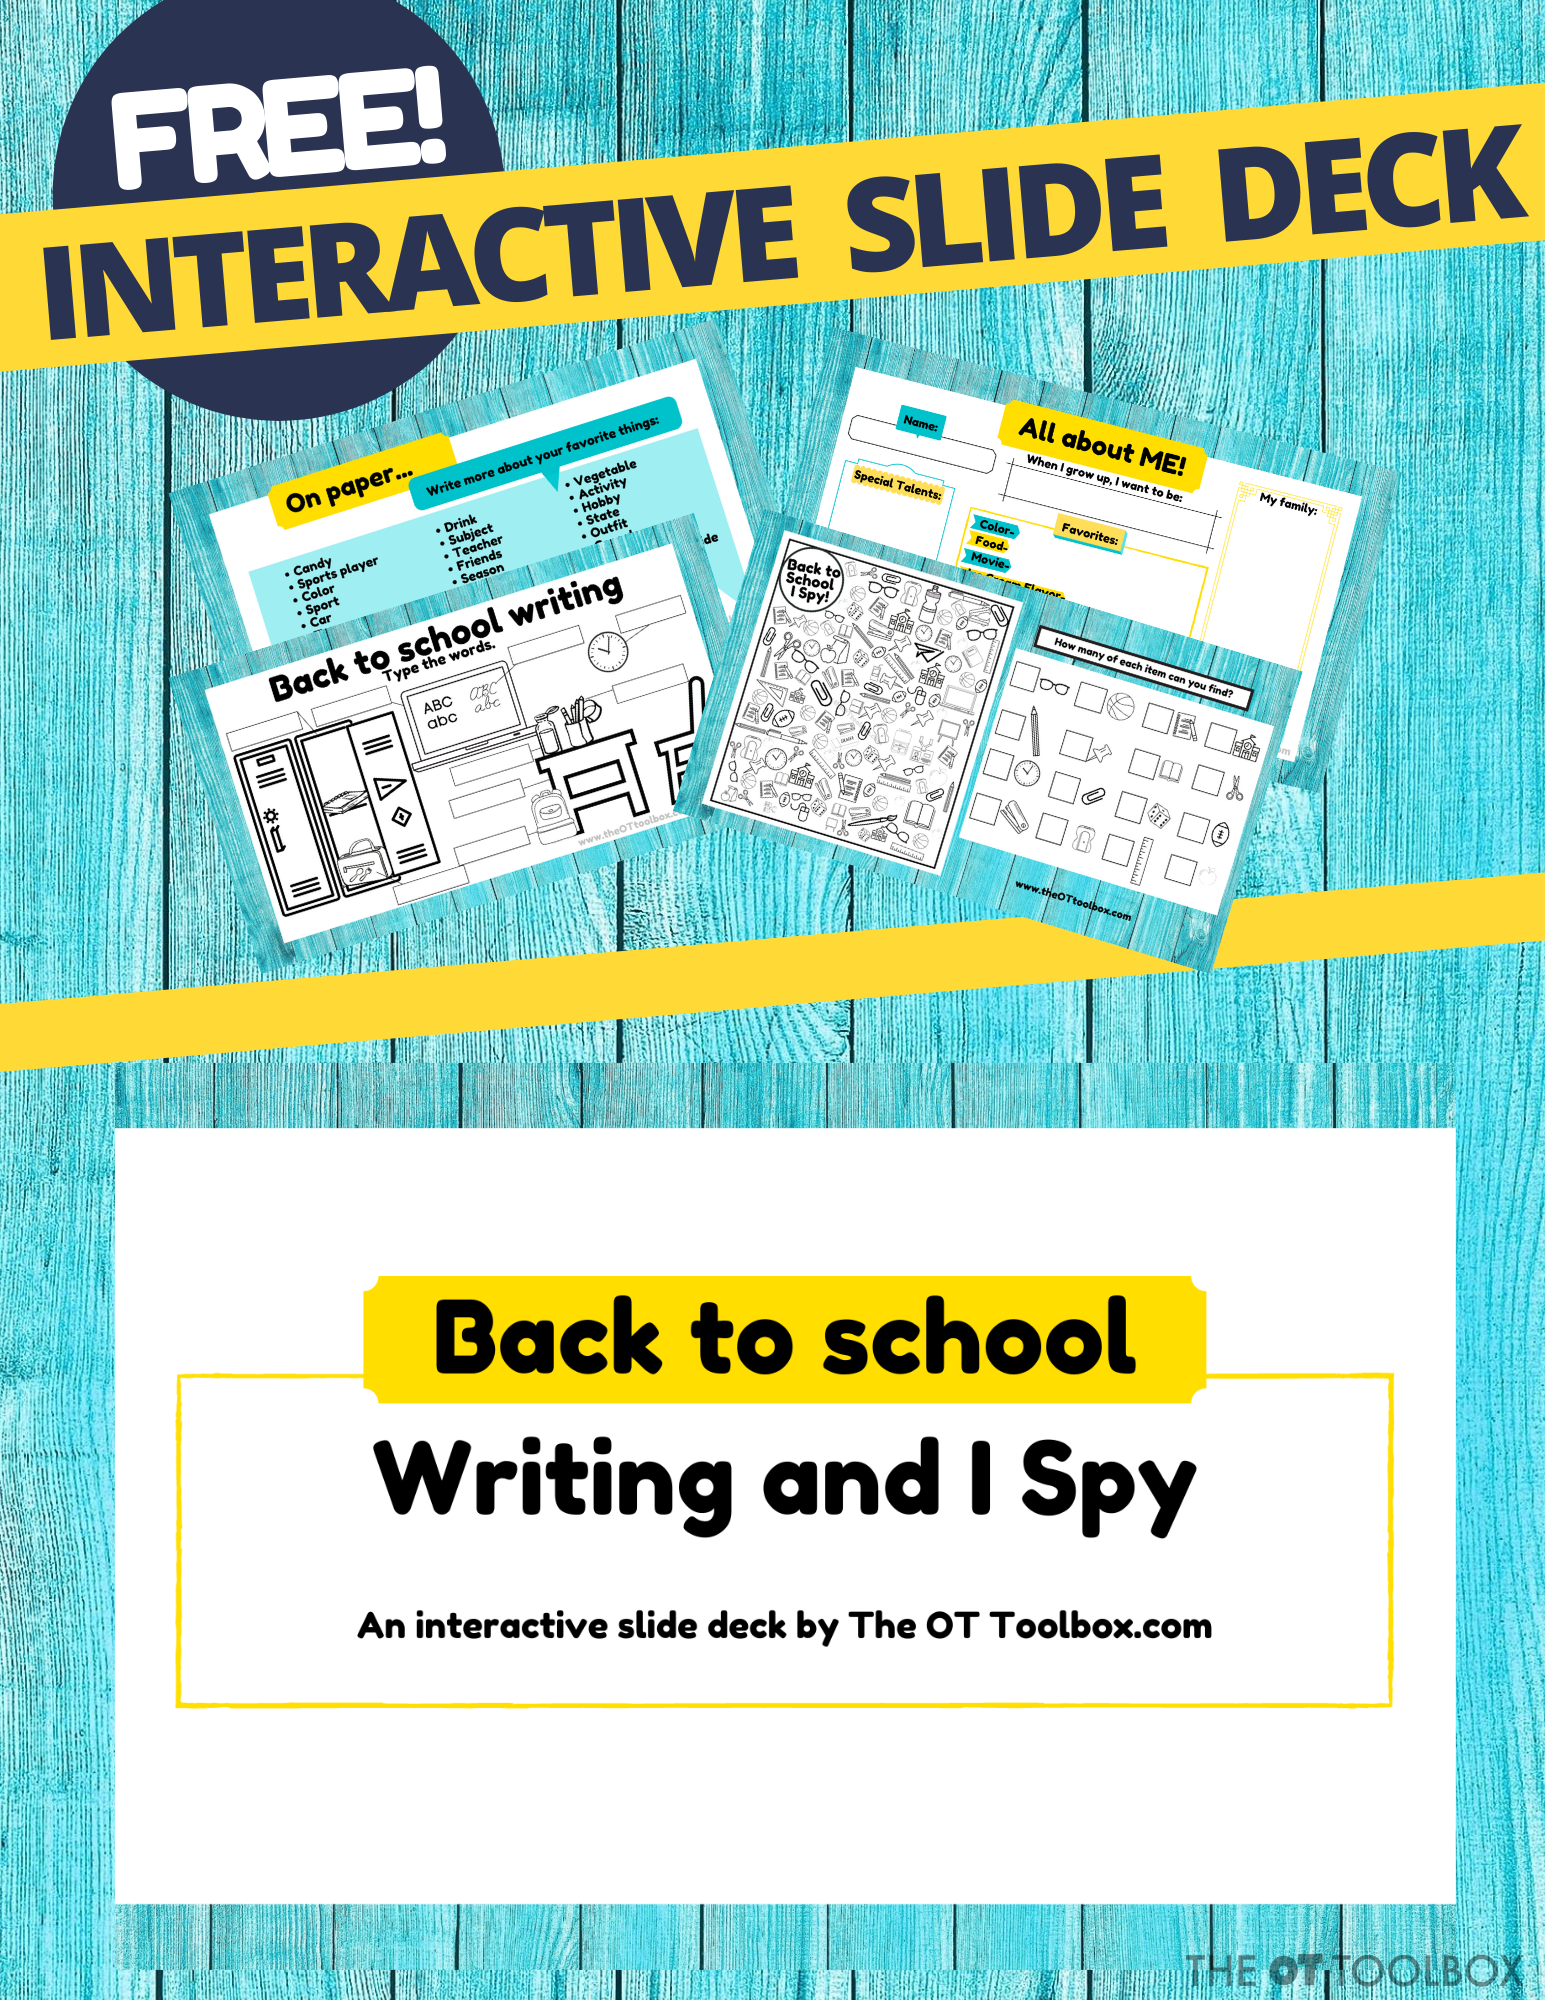
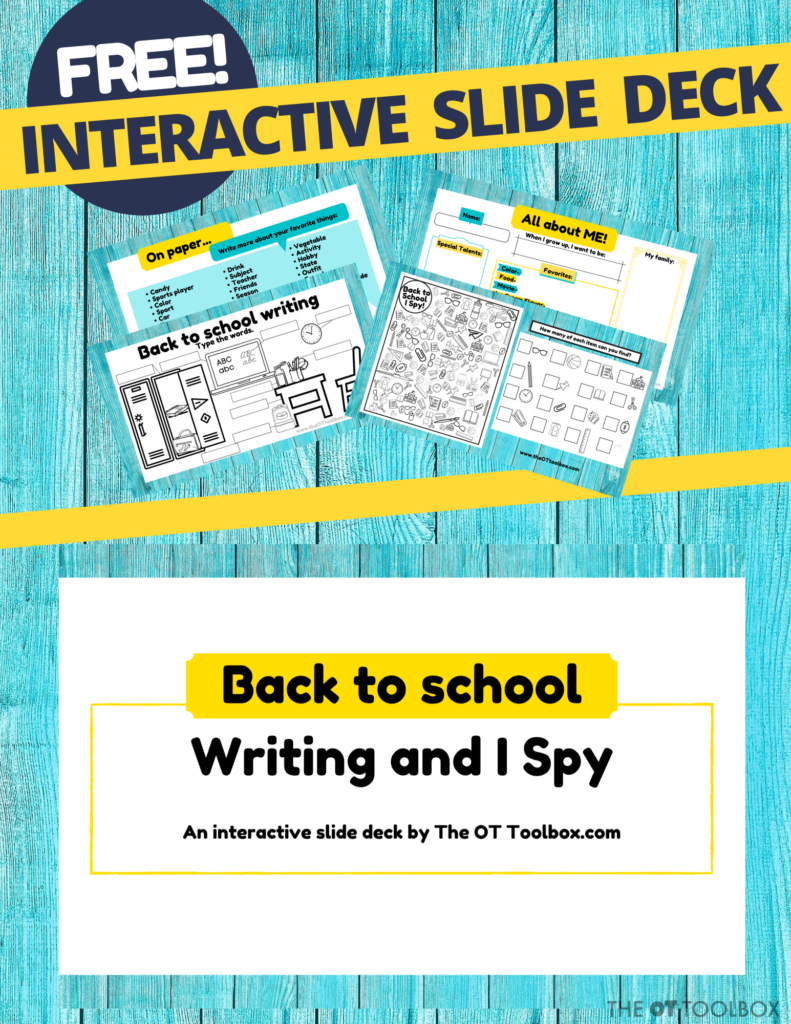
      Heading back to school? The return of school looks a lot different this year than any other. That’s why I wanted to create this Back to School activity to use in virtual therapy or teletherapy services, or distance learning. In most cases, kids haven’t been writing with a paper and pencil since around March. This back-to-school activity provides a means to get those pencils moving and little hands writing again! Use this free therapy slide deck to get a baseline of where kids are in regards to writing a short list of words, and sentences. The bonus is that this back to school idea has a school I Spy activity, too that boosts visual perceptual skills. Read on to grab this freebie! And, don’t forget to grab this other back to school slide deck to work on more visual perceptual skills.

      Back to School Activity

      This interactive activity is great for getting to know students during the firsts week of school. It’s a fun icebreaker activity for students to do with teachers or therapists.

      Students can complete these slide deck activities as part of distance learning, virtual days on hybrid learning options, and in teletherapy sessions.

      back to school activity slide deck

      When heading back into the school year, it’s a great idea to get a baseline snapshot of where a child is at with handwriting, especially after such a long break from school. In many cases, students have not been writing or putting pencil to paper during the last months.

      With this back to school activity, kids can write a short list of words on paper, as well as use the interactive technology portion of the slides.

      Back to school activity that is a great icebreaker for students returning to the classroom or online learning.

      Here are some of the slides you will find in this icebreaker activity for returning to school:

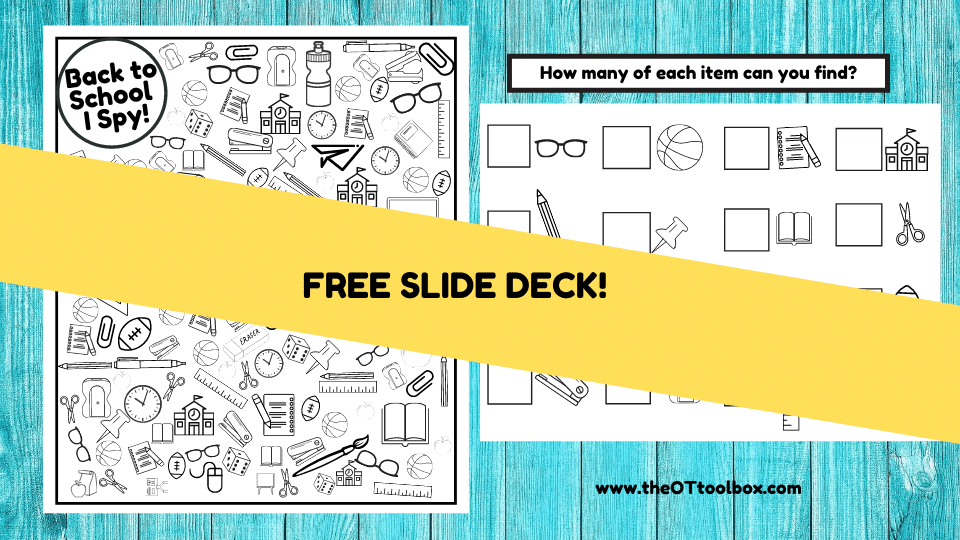
      Start with an interactive slide deck I Spy game. Kids can search for school items and then type the number of items that they found into the boxes right on the slide.

      Back to school I Spy game to use in an icebreaker activity for students.

      Back to school handwriting baseline

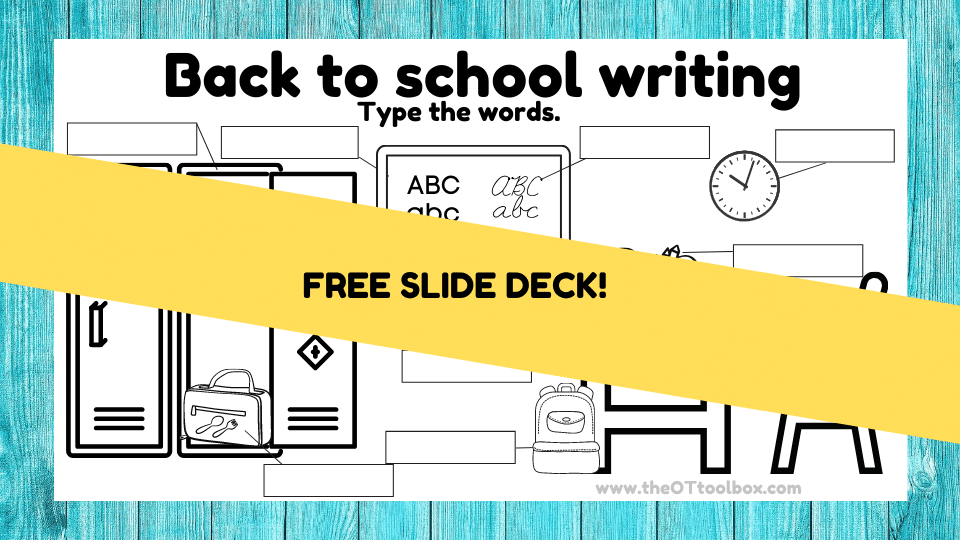
      Use the handwriting slides to get a baseline snapshot of handwriting. Kids can type the words into the spaces on the slides. Then in the next slide, they can check their answers and use the written words to copy a short list of school related terms.

      Use this list writing activity to check skills such as letter formation, letter size, line use, margins, accuracy, efficiency, and functional writing levels.

      Back to school writing activity for students

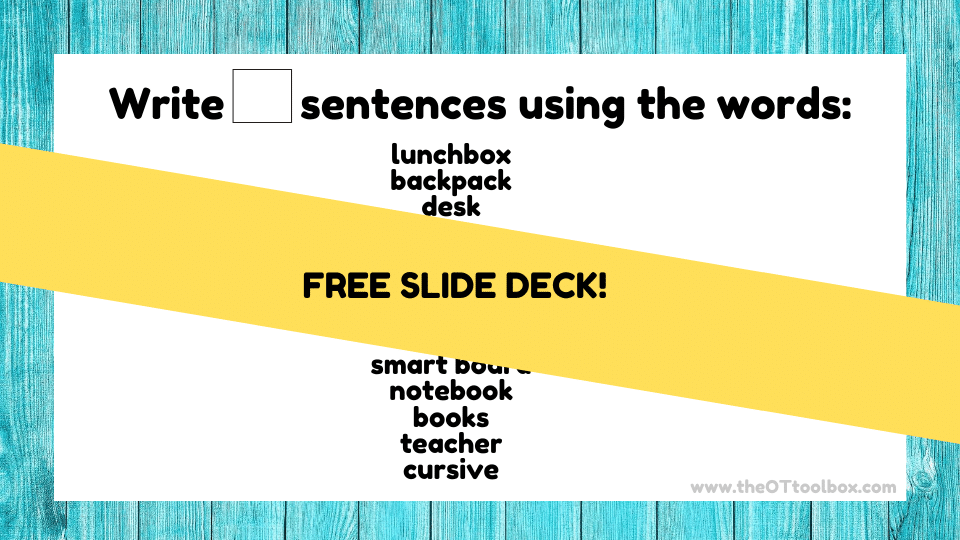
      The same words can be used for sentence writing. Fill in the space showing the number of sentences the student should write. Using this writing task, check the handwriting baseline for word and letter spacing, margin use, and legibility.

      Use this back to school activity to get a baseline snaphot of handwriting skills level in students returning to the classroom.

      All about Me Activity

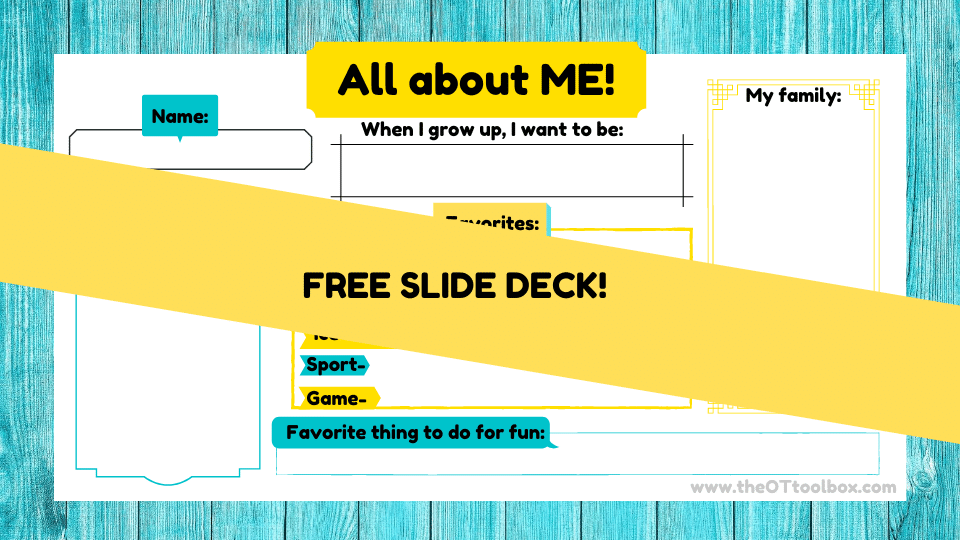
      Use the next slide as an icebreaker activity. Students can fill in the spaces on the slide and type in their responses.

      All about me back to school activity

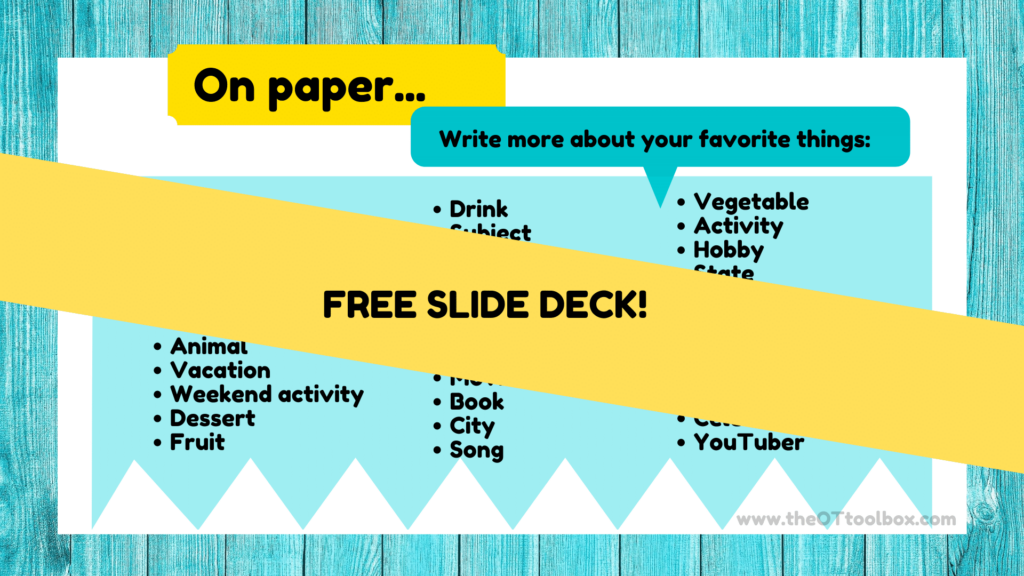
      Continue on with the all about me activity and ask students to write on paper, more about themselves. Use these responses as a quick screening for handwriting and writing abilities.

      Handwriting baseline screening for students returning to the classroom

      There you have it! Want to grab this free slide deck?

      Get this Back-to-School Writing and I Spy slide deck

        We respect your privacy. Unsubscribe at anytime.

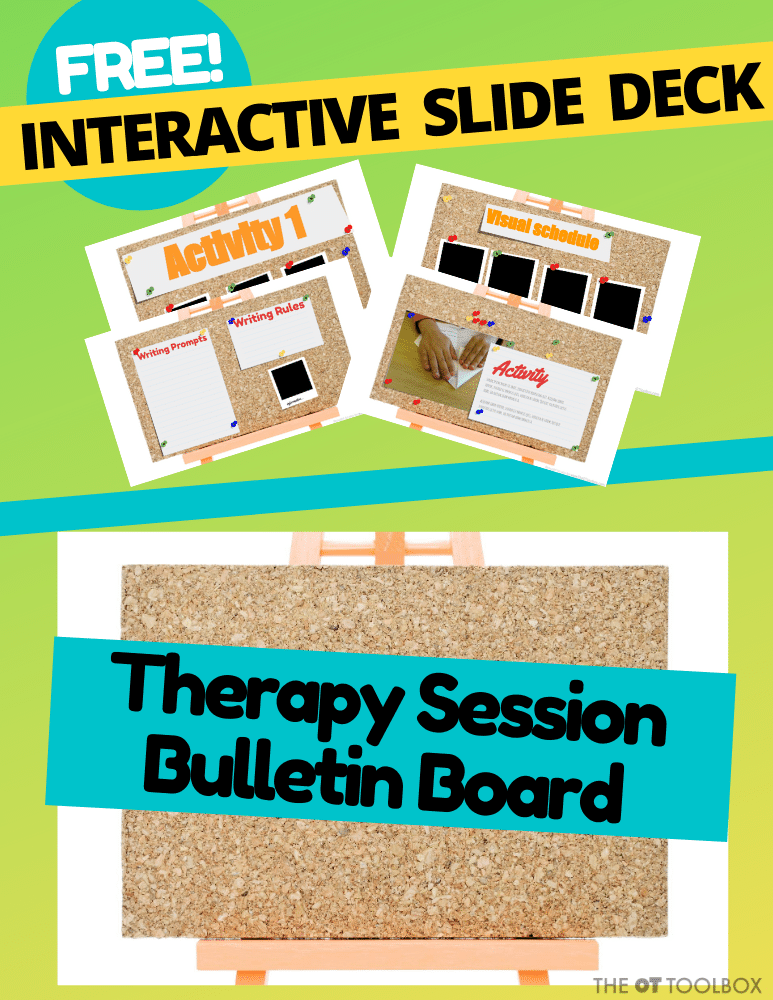
        Therapy Planning Bulletin Board Slide Deck

        Therapy planning slide deck for OT teletherapy

        Back to school looks a lot different this year, than any other year that you or I may have experienced. If there is one thing for certain it’s that occupational therapy professionals are experts at resilience and problem solving. That’s why I wanted to offer a few tools to make your pivot to hybrid schooling or distance interventions easy. Coming up with practical OT teletherapy activities may be new to you, but therapy planning is not. Today, I’ve got an interactive slide deck for you to make therapy planning easy, using an interactive bulletin board slide deck.

        Therapy planning for teletherapy with an interactive slide deck and therapy bulletin board.

        Therapy Planning Bulletin Board

        Ok…you might have seen some of my other interactive slide decks. But this one is pretty cool in it’s interactive features, and a little different than the others here on the site. Teletherapy resources include slide decks that offer kids a chance to move pieces, follow directions, and participate in virtual therapy.

        Here are some of those interactive slide decks that I’ve already shared with you:

        Back-to-School Activity Slide Deck (visual perceptual skills)

        Teach Letters Alphabet Move and Write Slide Deck

        Space Theme Slide Deck

        Movement Activities Monster Theme Slide Deck

        Letter Formation Slide Deck of Teletherapy

        Animal Theme Visual Perception Slide Deck

        Strait Line Letters Teletherapy Slide Deck

        Self-Awareness Activities Slide Deck

        Therapy Planning Slide Deck

        Today’s free slide deck is a little different, because it can be used by the treating occupational therapy practitioner to plan out a therapy session or to lead a session. Therapy professionals can create a slide deck for each client and share that single link that leads them through teletherapy sessions.

        This slide deck uses creative commons fonts and images and can be shared and modified. The deck has been modified from SlidesPPT to meet the needs of occupational therapists.

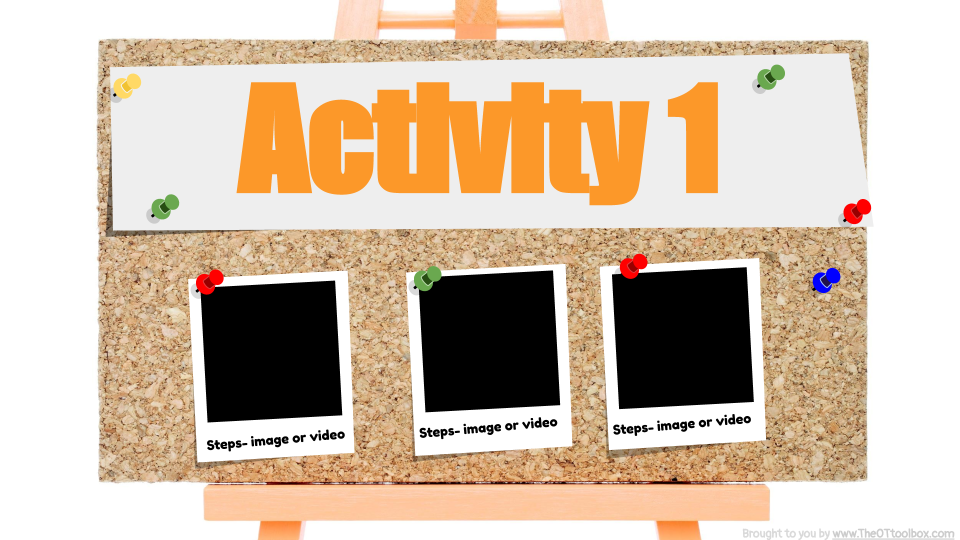
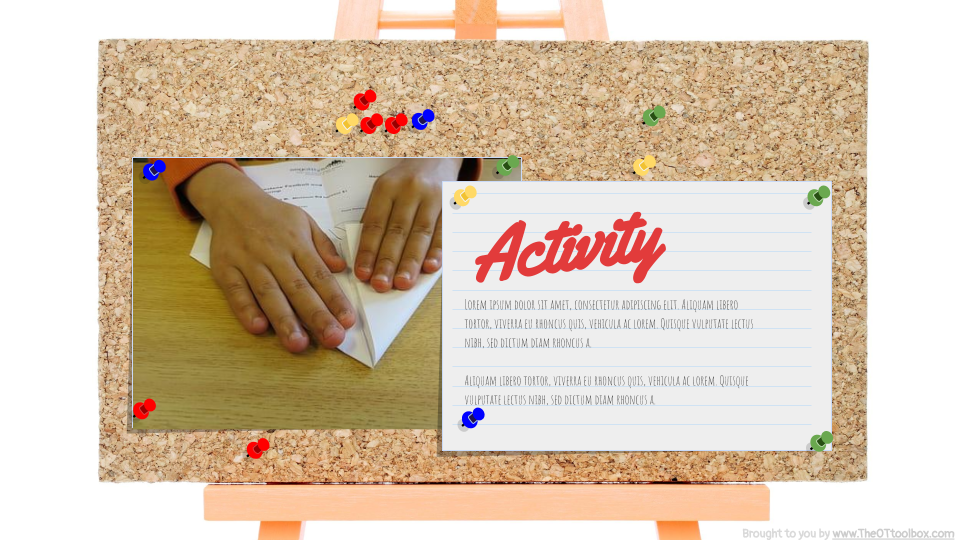
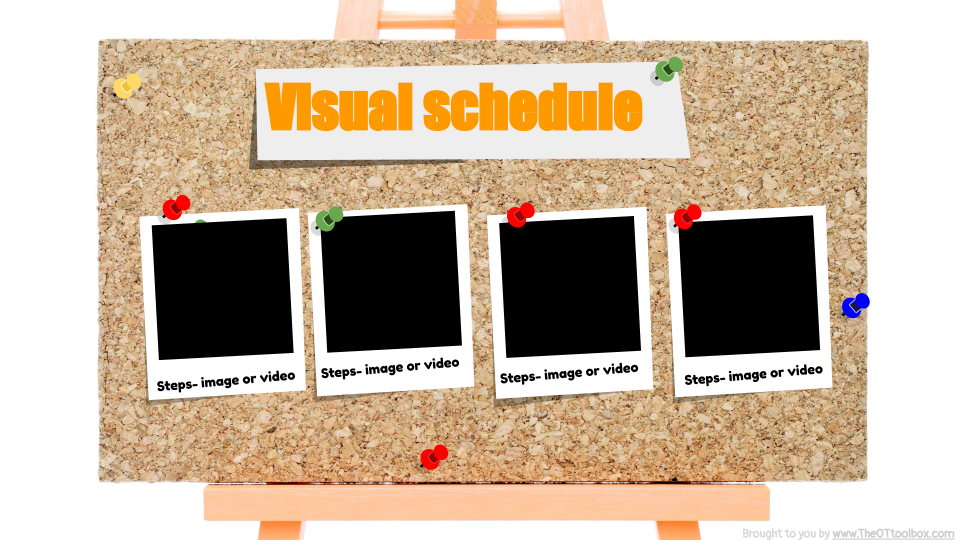
        Use the slide deck to explain activities, by adding step by step images or a video.

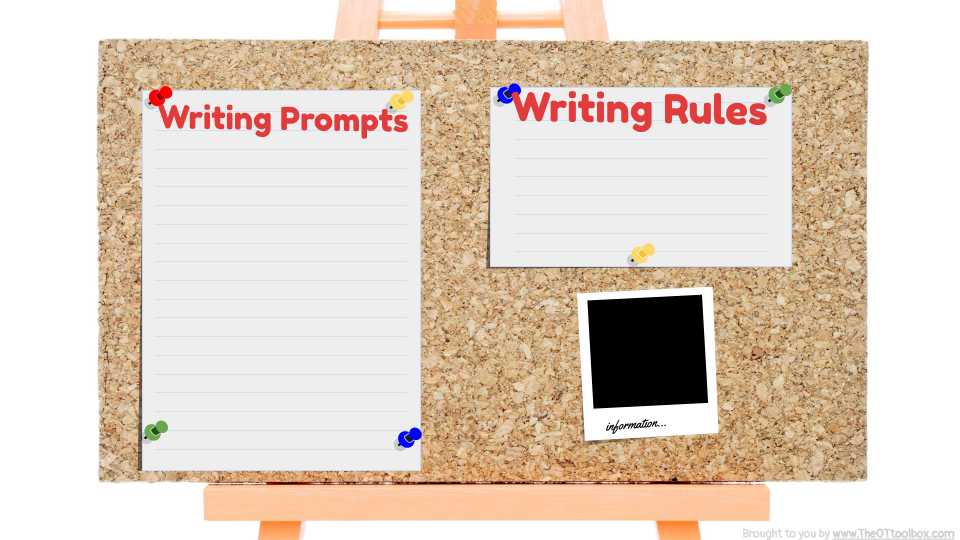
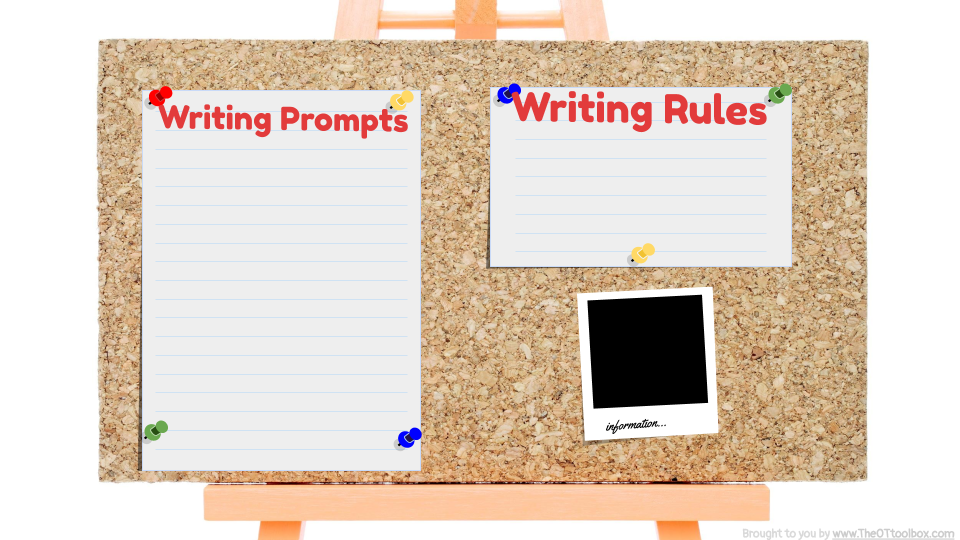
        Use the slide deck for writing prompts and self-check handwriting rule lists. The slide deck can be edited for different students to meet their needs.

        Include step by step images for activities for better understanding and participation in teletherapy sessions.

        I’ve tried to include various options in the slide deck to use in different scenarios:

        • Therapy activity lists
        • Writing prompts
        • Visual schedule
        • Step-by-step activity plan
        • Activity lists
        • Announcement slides
        • Written instruction slides
        • Visual instruction slides
        • More!

        The bulletin board slide deck is great because the slides can be edited by the practitioner based on their needs for that week or for each child. Slides can be deleted or duplicated.

        How to use this slide deck:

        You can use this interactive slide deck in Google classroom or on your Google Slides account. To use the slide deck, you will need to first open the slide using one of the following methods:

        • Click on the Gear Icon in the Google Slides Viewer, and select “Open in Editor”.
        • Click on the link below the Google Slides Presentation Viewer -> “Open slide”.

        Do not “request access” to use these slides. Instead, be sure you are logged into your Google account and then click on the link to “make a copy”.

        1) How to edit the slide deck in Google Slides

        Go to the File menu in your Google Slides interface and select “Make a copy”. You have to be logged into your Google Account.

        You will get a fresh copy of the presentation on your Google Drive and then you will be able to edit, add or delete slides.

        2) Edit the presentation in Microsoft PowerPoint®, OSX Keynote or other software

        Go to the File menu in the Google Slides user interface and select “As Microsoft PowerPoint”.

        Digital Therapy BULLETIN Board

        Enter your email address in the form below. Check your email and click on the button to grab your resource. Save that PDF so you can access these slide decks again.

        Sign into your Google account. Click on the big button in that PDF that you just accessed. It will prompt you to make a copy of the slide deck. That will be your master copy of this slide deck.

        Now the slide deck is on your Google account.

        Get a free OT Bulletin Board Planner Slide Deck

          We respect your privacy. Unsubscribe at anytime.
          Powered By ConvertKit

          Grab these other interactive slide decks:

          Colleen Beck, OTR/L has been an occupational therapist since 2000, working in school-based, hand therapy, outpatient peds, EI, and SNF. Colleen created The OT Toolbox to inspire therapists, teachers, and parents with easy and fun tools to help children thrive. Read her story about going from an OT making $3/hour (after paying for kids’ childcare) to a full-time OT resource creator for millions of readers. Want to collaborate? Send an email to contact@theottoolbox.com.
          Pen Grip for Handwriting Pressure

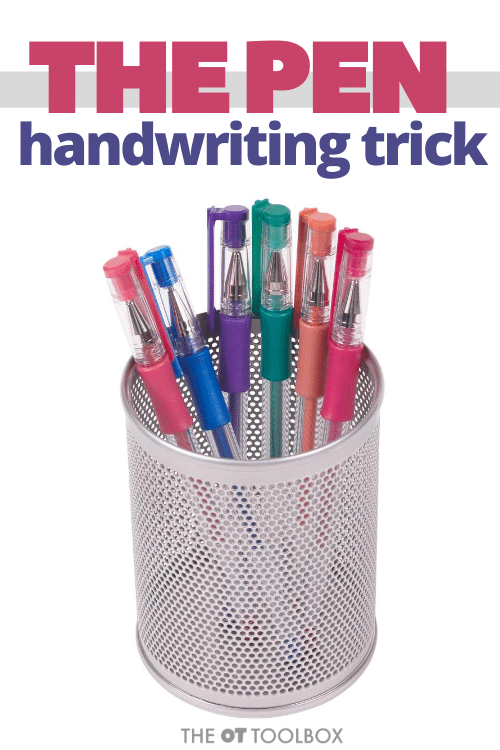
          Pen grip handwriting trick

          Today, I wanted to share a tip for addressing handwriting pressure…using a pen grip! Pencil pressure when writing is something that comes up a lot. You may have seen children who press so hard on the paper that the pencil tip breaks or smudges and mistakes don’t fully erase. You might have a child that writes so lightly that it is hard to read their writing or their written work is brushed away by their sleeve. Writing pressure is a hot topic in handwriting legibility. We have a previous resource on pencil pressure when writing. There are many tips and tricks for addressing handwriting and writing pressure there.

          For example, things like hand gripper exercises can show kids how much pressure is used to move a gripper to the full range of motion. Using that force to move the gripper helps them to visibly see the pressure and supports integration of force modulation during functional tasks.

          Today’s tip has more to do with the sensory benefits of writing with a pen to address heavy or light writing pressure.

          Related read- Here are 5 things therapists want parents to know about pencil grasp.

          Pen Grip

          Did you know that sometimes using a pen can help with handwriting? When a child presses so hard with their pencil, or writes so lightly that it’s hard to read their writing, there could be a sensory component. The child typically can’t regulate the amount of pressure that they need to use to press and hold the writing utensil.

          Pen trick for handwriting

          One strategy to help with writing pressure that is too dark or too light is to use a pen.

          The sensory concerns might be that the child can’t tell how hard they are pressing on the utensil and so press very hard. Their ability to register proprioceptive input may be off. Check out these proprioception sensory activities to help with this sensory input.

          Or, they might not notice that they care holding the writing utensil with a very loose grasp.

          Using a pen to write is one way to help the child get around these sensory issues. Using a pen that writes smoothly across the page can help with kids that write too lightly.

          When writing with the pen, they can use their normal grasp and clearly see the written work because the pen slides more smoothly across the writing surface and they don’t need to accommodate for the resistance of the paper.

          Other kids who write very dark can benefit from using a pen to practice ghost writing. The child can use the pen to write on a notebook with paper underneath. When they turn the page, if they can read their writing on the next paper, you can teach the child that they are pressing too hard. Keep trying to write without “ghost letters” left behind.

          The issue with using a pen to write is many times, the shaft of the pen is thinner, requiring more precision of grasp and more developed arches in the hand. The intrinsic hand strength that allows for developed arches is required so the child can write for an extended amount of time without hand fatigue.

          Having a pen grip is ideal to help in these situations.

          Triangle pencil grip

          One way to address the smaller shaft on a pen and the need for hand strength (which many of our kids lack), is using a triangle pencil grip on the pen, so that the child has placement for their fingers and a built up shaft for their fingers to grip.

          Benefit of a triangle pencil grip with the block portion that prevents the fingertips from moving too far up or down the writing utensil. Also, the triangle pencil grip is commonly known, so kids are familiar with this pencil gripper.

          Left handed writers and right handed writers both can use the triangle grip, making it easy to use for either writer.

          The triangle pencil grip promotes a tripod or modified tripod grasp. For more help on building a stronger grasp and a functional pencil grasp, try using these activities to develop pencil grasp through play.

          Pen Grip

          What if you had the chance to try a pen grip to work on handwriting, writing pressure, and grasp? Now you do! I’m so excited to partner with Two Sparrows Learning Systems to offer this Dex Pen Grip!

          Dex comes complete with our patent pending stopper to support your grip for all your writing and drawing needs.  

          The pen grip’s triangular shape provides comfort and ease for a functional grasp.  The pen comes already installed on a beautiful designer pen and comes with textured or soft grip options.  

          • Dex grip comes pre-installed on a beautiful pen which can be refilled with ink cartridges.
          • Dex pen grip is ergonomically designed for comfort.  The grip tapers at the end and the stopper is tapered in so that you can easily see over top of it and it sits comfortably in your hand. 
          • Using the Dex grip you do not have to press or grip as hard when writing, so your hand does not tire as easily. 
          • This is the perfect grip for teens to adults. 
          • The pen is sleek and stylish and when paired with the grip, this will quickly become your favorite, go-to pen.
          • Dex comes complete with our patent pending stopper to support your grip for all your writing and drawing needs. 

          Colleen Beck, OTR/L has been an occupational therapist since 2000, working in school-based, hand therapy, outpatient peds, EI, and SNF. Colleen created The OT Toolbox to inspire therapists, teachers, and parents with easy and fun tools to help children thrive. Read her story about going from an OT making $3/hour (after paying for kids’ childcare) to a full-time OT resource creator for millions of readers. Want to collaborate? Send an email to contact@theottoolbox.com.
          Developmental Checklist

          developmental checklist and milestones for kids from birth to 2 years old

          Parents and therapists alike often look for a developmental checklist. Having a list of developmental milestones in physical development, emotional, and social development would be handy, right? A printable resource that acts as a guideline to child development could be useful for parents to track the milestones of their child for the first two years of life. A pediatric developmental checklist can help to identify red flags or to reference a child’s growth and development.

          Also check out our blog post on ADLs as we cover each stage as it relates to daily functional tasks.

          developmental checklist and milestones for kids from birth to 2 years old

          Today, I wanted to share developmental checklists that are available here on The OT Toolbox, so you can have a one-stop spot for understanding growth and development stages in children.

          Be sure to read this resource on toddlerhood for specifics on birth-3.

          Developmental Checklist

          These blog posts listed below were created to serve as a guideline, and reference, for parents to track the milestones of their child for the first two years of life. Ideally, this milestone resources will be helpful to identify developmental progression in order to guide the conversation with your child’s provider in reference to their growth and development, and to any concerns which become apparent. 

          It is important to note that all children develop at their own pace; however, the guidelines provided in this book are the accepted steps in development by doctors, service providers and educators alike. 

          For ease of use, these childhood development milestones are broken down by the general developmental month span utilized in the medical community (i.e. 0-3 months, 3-6 months, etc.). This book covers the following:

          • Speech/language milestones
          • Feeding milestones
          • Fine motor milestones
          • Gross motor milestones 
          • Activities to address each of the above
          • Red flags to look for in each range
          • Pre-K readiness checklist
          • Kindergarten readiness checklist
          • Potty training tips
          • Expected stages of play
          • Pre-writing progression
          • Resources (websites and podcasts)

          In addition, many of these milestone resources provide printable checklists for increased ease in filing and long term record keeping for each of your children, as well as the ability for your child’s provider to make copies of, and keep the information for their own files. 

          Childhood developmental milestones

          It is important to note that all children develop at their own pace; however, there are a set of developmental guidelines that are accepted steps in development by doctors, service providers and educators alike. 

          Here are developmental milestone lists that we have here on The OT Toolbox. Use these to better identify any developmental concerns:

          Fine Motor Milestones

          Social Emotional Skills Developmental Milestones

          Visual Motor Integration Developmental Milestones

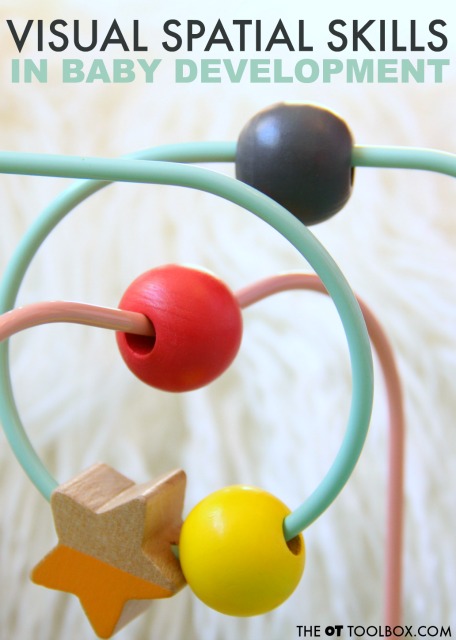
          Spatial Awareness Development in Babies

          Foster Development with Block Play

          Development of Oral Motor Skills

          Development of Eye-Hand Coordination

          Development of bilateral coordination and how this skill impacts feeding

          Executive Functioning Skill development

          Boost child development with rhyming games

          Scissor Skills development

          Grasp development

          Developmental progression of pre-writing lines

          Development of Play

          Developmental Milestones in Kids Getting Dressed

          Knowing all of this information on typical child development, it would be very handy to have a complete checklist of aspects of developmental progression from birth to two years.

          Colleen Beck, OTR/L has been an occupational therapist since 2000, working in school-based, hand therapy, outpatient peds, EI, and SNF. Colleen created The OT Toolbox to inspire therapists, teachers, and parents with easy and fun tools to help children thrive. Read her story about going from an OT making $3/hour (after paying for kids’ childcare) to a full-time OT resource creator for millions of readers. Want to collaborate? Send an email to contact@theottoolbox.com.
          Letter Sizing Activity

          letter sizing activities

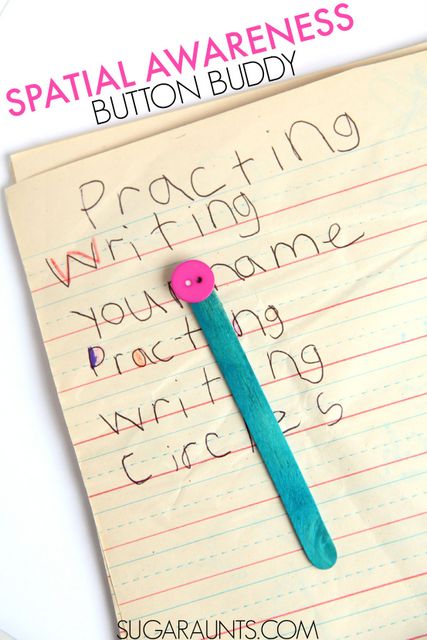
          Working to help a child write with correct letter sizing and placement on the lines? Are you trying to come up with letter sizing activities to help kids write smaller letters that fit between the lines on the paper? Are you struggling with a child that forms letters without regard to size or line awareness? Letter size awareness is a real struggle for some kids!

          This post is part of our Christmas in July giveaway series.

          Letter sizing activities to teach kids to write the correct size.

          Here, you will find suggestions to work on letter size awareness, along with a letter sizing activity that can be including into any handwriting curriculum. It’s one that focuses on how to form smaller letters, numbers so kids use a more precise pencil control that they can use when writing on any paper.
          Letter Sizing Strategies

          Do your students have trouble making their letters or numbers the right size? You might have seen kids that write without regard to the lines. Or, they may copy or independently write letters that take up the whole space, no matter what lined paper is used.

          Other kids form letters that are correctly sized on the lines…but only when they have boxes drawn for each individual letter. But, that accommodation simply isn’t a possible option all of the time, for consistency and carryover.

          During their earliest exposure to handwriting activities, young children at the preschooler and kindergarten ages may form large letters. Letters might fill the whole page or the whole available space. These forms are not always completed with a motor plan in place. the lines of the letters might be more of strait lines that intersect.

          As kids gain more experience with writing with a pencil and with writing letters, they gain a motor plan that they can use on any surface and without a visual model for the letter.

          Students then start to notice and use a letter size differentiation, or letters that are tall letters and reach the top line (e.g. b, d, f, h, k, l, t), letters that have tails that hang below the bottom line (g, j, p, q, y), and letters that rest in the bottom half of the writing space (a, c, e, i, m, n, o, r, s, u, v, w, x, y, z).

          Kids will notice the differences between these differently sized letters and the upper case letters which are all the same size.

          All of this letter size awareness occurs through experience and practice.

          However, when there isn’t experience or practice time…or there is a visual perceptual concern, or a visual motor issue, there may be trouble or inconsistencies with letter placement.

          That’s when interventions may be needed to help work on letter sizing.

          Try some of these letter sizing activities

          >> Using regular notebook paper, or bold lined, baseline paper, highlight the bottom half of the writing space. This is where the small letters are placed. Explain to the child that the tall/Capital letters start in the white, and the little letters start the grey(photocopied paper or yellow highlighted area). This writing paper is an easy fix for many writing situations.

          >> Use modified paper. Here are free adapted paper types for all handwriting ages.

          >> Try the box and dot strategy. This is a nice way to teach size awareness for kids who are just beginning to notice letter size.

          >> Re-teach letter size of the upper case letters. Allow the child to notice where each letter starts. Then work on tall letters which start at the same point on the writing area. Next, teach the letters that are located in the bottom half of the writing space (the small letters). Finally, re-teach the tail letters which hang below the baseline. In each set of letters, allow students to notice where each letter rests.

          >> Try any of these letter size activities.

          >>Reduce distractions on the page by using black paper with white forms in increasingly smaller form size, like in the BlackBack writing program. This writing program allows students to form the motor plan for upper case letters and lower case letters, as well as numbers.
          The BlackBack Writing Program depicts strokes, upper and lower case letters and numbers in white on a black background which helps the child see their strokes as they use the white space. Additionally, there is only one image on the page eliminating distraction from competing images and increasing attention to the single task on the page. Each letter, number and stroke has 6 sizes. The first size is very large and the last is the height of a wide-ruled notebook paper.  

          The BlackBack Writing Program can be customized to begin where the child is in his/her writing journey. The letters, numbers, and strokes can be used on its own or as a supplement to any writing program.  The BlackBack Strokes, Letters and Numbers programs can be combined or used separately. 

          Black Back Writing Program

          I’m so excited to partner with Two Sparrows Learning Systems to offer this Black Back Writing Program.

          It’s an awesome handwriting tool that addresses pencil control, motor planning, size awareness, visual motor skills, visual distraction, and more.