Some of our favorite ways to work on gross motor skills are with a simple balance beam, and having indoor balance beam ideas on hand is key to throwing together a therapy plan or movement activity on the go. With the start of cooler weather, the kids may not get a chance to be outdoors so this is when gross motor coordination tasks is a must for self-regulation and movement needs.
As an Amazon Influencer, I earn from qualifying purchases.
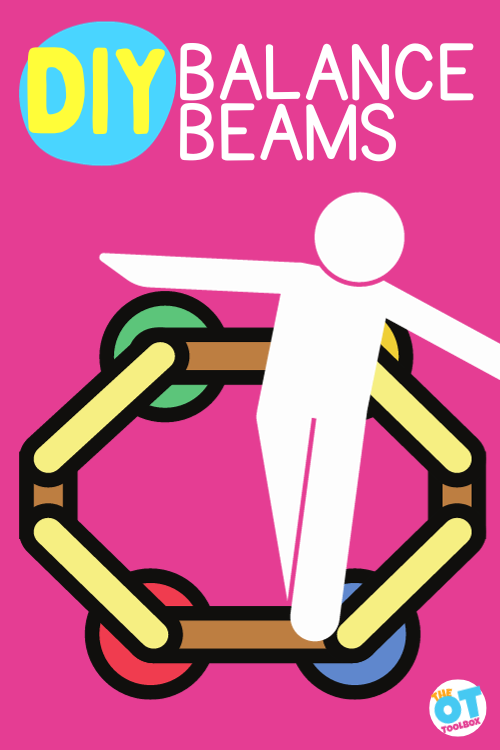
We have many balance activities here on The OT Toolbox, and one of our favorites is a DIY balance beam that targets interests to making things meaningful and motivating through play.
You’ll also want to check out our outdoor balance beam ideas for more information and inspiration.
However, sometimes, it’s impossible to get outside when the weather is rainy. Other times, kids need a break from very hot temperatures. It’s a great idea to work those core muscles as well as balance with sensory vestibular input through play with balance beam play weather the kids are playing indoors or out. These ideas would work for rainy indoor days, too!
You’ll want to check out our blog post on crossing midline for preschoolers because the balance beam can be a tool for supporting sensory motor needs and abilities such as maneuvering over a balance beam.
Indoor Balance Beam Ideas
Kids love balance beams! There is a good reason to promote them, too. Balance, core strength, and bilateral coordination are all addressed with just a simple balance beam. You can find out more about these areas in our How Balance Beams Help Kids.
One thing to be aware of is how balance develops. For younger children a balance beam may be more difficult than it is beneficial in building strength or coordination.
If you are looking for more information on how core strength helps with attention in kids, read this Core Strength and Attention activity that we did previously.
Related, this Brain Gym Bilateral Coordination activity is a great way to get both sides of the body moving in a coordinated manner through play.
Balance beams are a great activity for preschool because of the development happening at this age. You can start with a floor balance beam and then move on to a raised beam. A 2×4 wooden beam is all it takes. Read about indoor gross motor activities for preschool for more ideas and information.
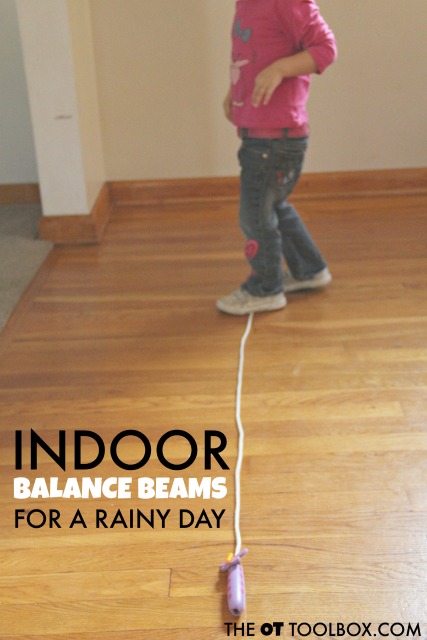
Indoor Balance Beam Ideas for a Rainy Day
Indoor balance beams are a great way to encourage vestibular and proprioceptive movement through play and gross motor work.
This post contains affiliate links.
Cut paper or cardboard into shapes. You could also use pieces of contact paper that sticks to the floor or shelf liner paper so the targets won’t slip when stepped on.
Kids can cut out these shapes and tape them to the floor to create an indoor balance beam on a rainy day.
Some of these ideas would work:
- Shamrocks Balance Beam
- Paper snowflakes
- Paper hearts
- Paper suns
- Paper flowers
Another idea is to use the theme of a playground balance beam in an indoor setting. Our playground balance beam therapy slide deck does just that and it’s great for indoor play or in a virtual therapy setting, too.

Let’s take a look at some DIY balance beams…these are great indoor balance beam ideas!
Some of our favorite DIY balance beams use items found around the home.
DIY balance beam ideas
There are so many DIY balance beam ideas that you can use indoors or even outdoors.
One tip is to consider the space between steps that a child has to make. You can move the surface that they are walking on closer together or further apart.
Mix up the surfaces. Use pillows or foam mixed with hard surfaces like cardboard or a wooden board.
Encourage students to bend, crouch, or swing their feet along the side of the balance beam to encourage the user to challenge more balance and gross motor work.
- Make a DIY balance beam using foam cutouts like these flowers.
- Stick painters’ tape to the floor in a balance beam, using zig zag lines.
- Rope balance beam- Use a jump rope on the floor. Balance along the jump rope. You can also use thread, twine, yarn, or other forms of string.
- Paper plates- Tape them down so they don’t slide, or use them on a carpet for a sliding balance beam challenge!
- Pillow Balance Beam- Place a line of pillows across the floor. You can easily grade this by using bigger pillows or smaller pillows. Even couch cushions would work.
- Use a Sheet- Make a path using a sheet for a wide balance beam. Fold a bed sheet into a long strip and use to to walk across the floor.
- Roll up a blanket or sheet as a balance beam like this Gross Motor Apple Tree Balance Beam.
- Use a 2 by 4 piece of wood. You can place this right on the ground for a low DIY balance beam, or raise it up by using two other small pieces of wood.
- Make a chalk balance beam outside on the driveway or on the sidewalk. Here are more ideas for an outdoor sensory diet using a driveway.
- Get creative and make a Wikki Stix obstacle course like we did with our wikki stix race car path. While this is not the traditional balance beam, it is a huge skill-builder because crawling on the floor on all fours or on three points (two knees and one arm as the child pushes a car along a path) develops core strength and stability.
- Pool Noodle Balance Beam:
- Cut pool noodles in half lengthwise.
- Place the pool noodle halves in a straight line on the ground.
- Duct tape them together to form a stable balance beam.
- Cardboard Box Balance Beam:
- Cut cardboard boxes into strips or squares.
- Tape the cardboard pieces together to make a path along the floor.
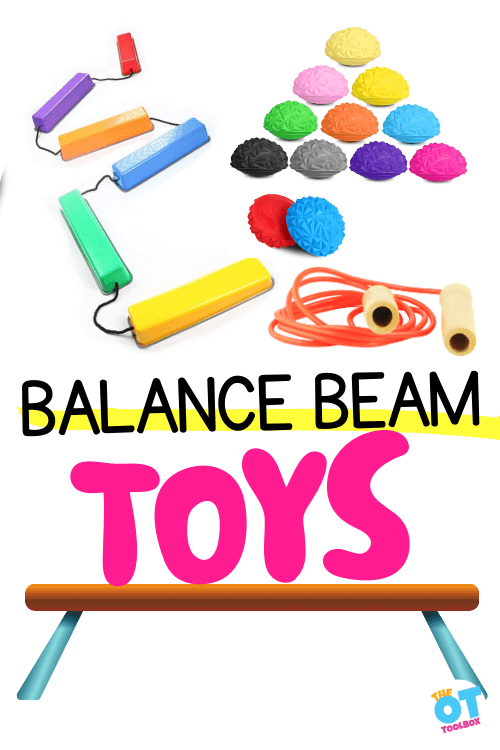
Balance beam toys are another way to develop core strength, stability, and balance, and they can be graded to meet the needs of each child.
Balance Beam Toys
Other balance beam toys are out there on the market, that are inexpensive tools for developing balance, coordination, visual convergence, body scheme, crossing midline, and more.
These skills can be challenged by changing the balance surface, encouraging stepping down and up from the balance beam toy, or using a variety of different balancing toys in a series.
Occupational therapy obstacle courses do this really well.
As an Amazon Influencer, I earn from qualifying purchases. The links below are Amazon affiliate links.
- This Folding Beam (affiliate link) is great for storage concerns. Add creative balance beam activities like transferring items from a bucket at one end to a bucket at the other end.
- Balance Pods (affiliate link) can be positioned in any room or activity. Encourage big and little steps by spacing them closely and further apart.
- Stepping Buckets Balance (affiliate link) challenge motor planning. Place obstacles in between the buckets for more visual tracking while working on vestibular sensory integration.
- The BSN Gymnastics Curve-A-Beam (affiliate link) can be reconfigured in many patterns and directions.
- Gonge Riverstones (affiliate link) are a great challenge to the vestibular system with various sloped sides.
- Connected Balance Beams– (affiliate link) This balance beam toy encourages different balance motor plans, including stepping across an open space.
- Balance Pods (affiliate link) can be used in many different ways. Position them close together to make a beam, or space them apart to challenge the child with a more difficult balance path.
Looking for more ways to move and play indoors? Try these ideas:

Colleen Beck, OTR/L has been an occupational therapist since 2000, working in school-based, hand therapy, outpatient peds, EI, and SNF. Colleen created The OT Toolbox to inspire therapists, teachers, and parents with easy and fun tools to help children thrive. Read her story about going from an OT making $3/hour (after paying for kids’ childcare) to a full-time OT resource creator for millions of readers. Want to collaborate? Send an email to contact@theottoolbox.com.