In this article, we’re discussing p and q reversals. Writing letters backwards can mean a letter p is mistaken for letter q, and in functional reading and writing, letter reversals can mean errors and lower confidence in kids. Let’s take a look at some strategies occupational therapy professionals use to work on letter p and q confusion.
Letter P and Q Reversals
I’m going to start by saying there really is no magical cure for children who reverse or invert their letters. I wish there were as that would ease a lot of the frustration a child must endure and alleviate the extra effort a child must exert to get to the end game of reading and writing letters and numbers accurately.
However, there are a few tips and tricks that might help a child as they go through the learning process whether you are addressing this issue in the classroom, in therapy sessions, or during at-home learning.
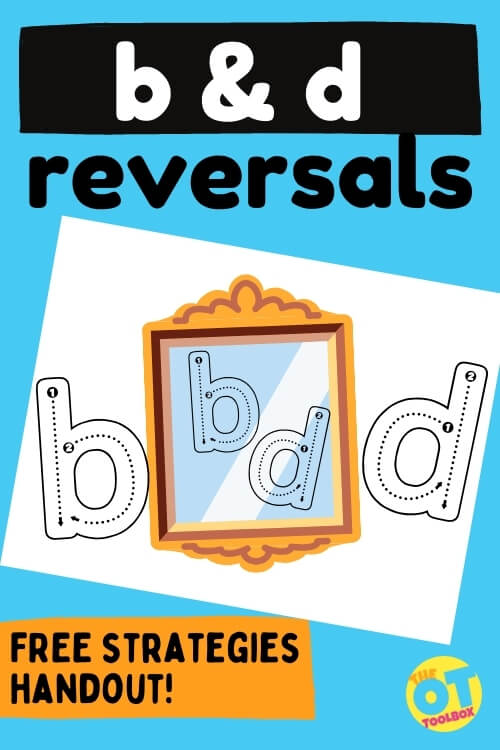
We’ve talked about Results with Multi-Sensory Strategies for B and D Reversals, let’s now talk about other frequent letter reversals that are common for children – letters ‘p’ and ‘q’. These letters look just as similar to one another like ‘b’ and ‘d’, which really makes it confusing for kids.
Mind your P’s and Q’s
Take a look at this image that gives a nice visual perspective of what b, d, p, and q might look like to a kiddo as a chair is still a chair. Working through this confusion can be tricky, but there are a few good tips and strategies that might help lessen the frustration and thus build a simple learning avenue as children work through and master the formation of these two letters.
Understanding Left and Right Directionality
First of all, we must begin by ensuring the child understands left and right directionality on their own bodies and has progressed to analyzing objects, symbols, letters and numbers. You should also check to see if they can identify the left and right sides of the paper as a precursor to emphasizing letter directionality.
Teach Letters in groups
Next, teach letters in identified groups so as to make the teaching of the letter forms easier and more simplistic thus making it less difficult for a child to reverse or invert letters. Letter order and multi-sensory teaching of letter formations is focused on in the Learning without Tears™ curriculum and First Strokes™ curriculum, both of which were developed by an occupational therapist.
In the Learning without Tears curriculum, the letter ‘p’ is a diver letter and the letter ‘q’ is a “magic c” letter therefore they are taught at different times.
hand dominance and letter reversal
Next, look at the child’s hand dominance patterning. Hand dominance can play a part in letter reversals in written expression.
Do they have a solid left- or right-hand dominance? If not, here are a few hand dominance activities that might help.
Do they demonstrate a cross or mixed dominance? If so, this could serve as an issue when learning letter formation strokes. Check to see if this is the case with the children you see.
Cues for P & Q reversal
Lastly, look at how you are verbally and physically guiding that child to form letters based on their hand dominance. If you are right-handed and they are left-handed, you need to be keen to knowing how to describe the letter formation patterns that are relevant to their hand dominance.
Why? If a child is left-handed and forming the letter ‘p’, they will stroke downward from top to bottom (if they were taught correctly), frog jump to the top, and then push their pencil outward to the right followed by curving around and pulling back inward to the downward stroke.
If a child is right-handed and forming the same letter, they will stroke downward from top to bottom, frog jump to the top, and then push their pencil outward to the right and then curve around pushing their pencil inward to the downward stroke.
How to Fix P and Q Reversals
Now three quick reminders for teaching remediation:
- Address only one letter at a time and ensure the child has a full understanding of that letter before moving to the next letter.
- When using visual aids, consider the hand dominance of a child whether it be in actual hands-on learning or how you are verbally describing the formation. Also, consider this when you explain how to identify and recognize the letters.
- Be understanding to the way a child might need to form a letter to recall the correct formation patterning as some left-handed children must form the letters more segmentally to keep on track, but they can still keep the same pace as their right-handed peers.
Multisensory Activities for P and Q reversals
Here is a list of fun tips for teaching the difference between targeted letters of ‘p’ and ‘q’ that might help some of the kiddos you know. If one tip or strategy doesn’t work, that’s o.k., try another. Multi-sensory strategies can always aid a child in learning letter and number formations and will further encourage the use of visual memory and kinesthetic or muscle memory.
- Create glitter glue or pipe cleaner stick ‘p’ and ‘q’ letters on index cards to finger trace with eyes open and then upgrade to doing so with eyes closed.
- Create ‘p’ and ‘q’ rubbing plates with the use of dried bottle glue letters on index cards.
- Create large ‘p’ and ‘q’ letters on the floor using painter’s or masking tape and have the child walk or pull themselves on a scooter board to go over the lines. Bump up this skill to include walking or driving on the lines with their eyes closed thus working on kinesthetic memory.
- Create sandpaper ‘p’ and ‘q’ letters on index cards to finger trace.
- Have child draw the letters in the air with whole arm movements and a pointer finger while verbalizing the stroke patterning otherwise known as air writing. Do this with eyes open and closed. Shift to doing so with elbow resting on table-top and using their wrist and pointer finger to form the letters in the air.
- Have child form letters on foam sheets in a repetitive fashion to further build motor memory.
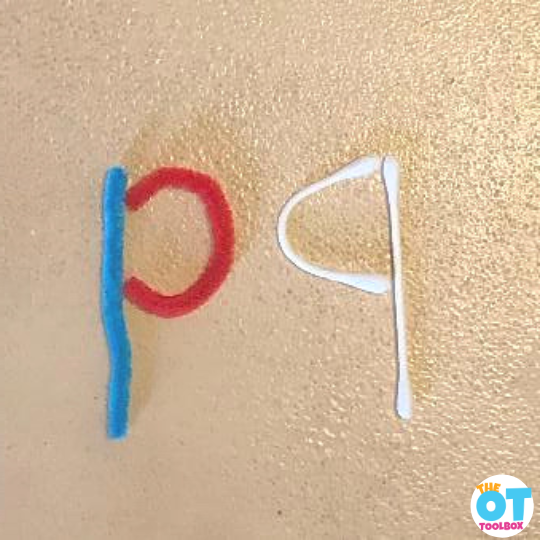
- Have child form the letter ‘p’ with pipe cleaner pieces and the letter ‘q’ with q-tips as the name of these materials begin with ‘p’ and ‘q’.
- Place letter models underneath screen or plastic canvas material for the child to trace over with their finger. Upgrade to have the child form letters on these materials with their eyes closed.
- Use letter play dough mats to form the letters and then use a golf tee or small pieces of straw to make dots (holes) on the letter lines to correctly form the letters.
- With the lights dimmed or turned off, have the child either trace over a large ‘p’ or ‘q’ wall letter using a flashlight or a laser light. An alternative would be to have the child roll a ball on the tape letter using correct formation. Try the use of a weighted ball to provide more muscle input while forming the letters.
- Write the letters ‘p’ and ‘q’ on 8 ½” x 11” paper, then have the child use ink stamps to stamp trace over the lines.
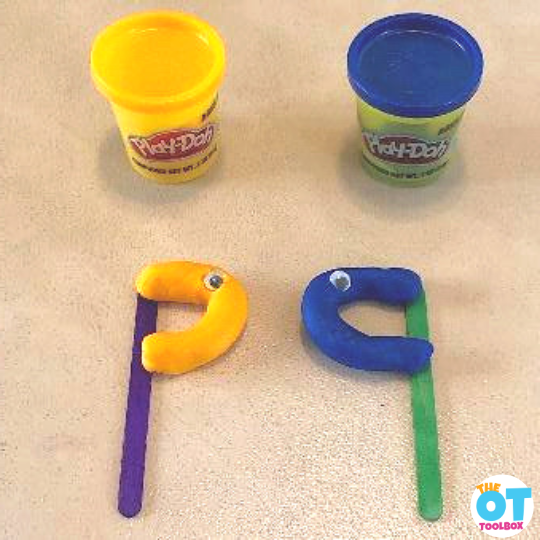
- Make the letters using craft sticks and play dough curved lines to create the letters using different colors to represent to the different letter lines.
- Form letters in a sand tray, shaving cream tray, sprinkles tray, finger paint tray, or rice tray.
- Draw letters on the back of the child’s hand while their eyes are closed or on their backs and have the child guess the letter that was formed.
- With straight lines drawn on paper, have the child place a circular dot sticker on the side of the line that represents the letter you call out such as b, d, p, or q. An alternative would be to have the child draw the curve on the side of the line for the letter being called out.
- Play tic-tac-toe with the ‘p’ or ‘q’ letter that they are working on learning.
- Create small straight lines on paper using pretzel sticks and have the child place a circular food item such as M & M’s, Skittles, Froot Loops, or Cheerios to create the letter they are working on or that you call out. To check their own work, they compare a correctly formed letter model and compare to the ones that they created. If they are right, they get to eat the food items they placed to form the letter accurately.
Visual Cues for Fixing P and Q Reversals
Visual strategies can assist a child with the learning process if using visual means is an avenue that provides a good outcome for the child. Some children learn best with this system, while others use it more as a supplement to support their learning.
In this list you will find a variety of ideas using the visual system and have access to a few free visuals that might trigger the ‘just right’ clue a child needs to identify and form the letter they need. They are created with the adult and the child in mind as they include wall posters and quick reference cards that are small enough to post on a desk-top or in a notebook.
These activities could be separated into letter p activities and Letter q activities as well. Use them in isolation when working on individual letter formation.
- Thumbs-down images to self as a ‘p’ and ‘q’ visual depiction.
- Palms to self with fingers pointing down and thumbs pointing outward with the space between the thumb and the fingers serving as ‘p’ and ‘q’ representation.
- Form circles with the fingers (such as looking through binoculars) with forearms pointing down and inward toward torso providing a visual representation of ‘p’ and ‘q’.
- Create a mask that looks like eyeglasses which is made using paper letters of ‘p’ and ‘q’.
- A bed image with the letters ‘p’ and ‘q’ being the bed frame in two ways: 1) being legs of the bed and 2) use of the words ‘peace’ and ‘quiet’ because the story goes, “With sleep comes peace and quiet”.
- Picture of a prince and queen facing each other with emphasis placed on the heads being the curved lines and the bodies serving as the straight lines and then the train of the queen’s dress could further represent a tail on the letter ‘q’, if desired.
- Simple visual and verbalization that ‘p’ sees or looks at ‘q’.
- Use different colors to form the letters such as a green straight line and a red curved line for ‘p’ and then different colors for ‘q’ such as a blue straight line and a yellow curved line. The different colors can be more easily recalled by some child rather than using the same colors for each letter. On the other hand, some children can do well with the same colors being used. It may take some exploration on your behalf as the instructor.
As you review and explore all of the multi-sensory strategies and visual supports in this post to give a child what they may need to master ‘p’ and ‘q’ letter formation, take the time to also consider the basic elements that might be impacting letter reversals as these are important foundational factors to fully understand and consider.

Regina Parsons-Allen is a school-based certified occupational therapy assistant. She has a pediatrics practice area of emphasis from the NBCOT. She graduated from the OTA program at Caldwell Community College and Technical Institute in Hudson, North Carolina with an A.A.S degree in occupational therapy assistant. She has been practicing occupational therapy in the same school district for 20 years. She loves her children, husband, OT, working with children and teaching Sunday school. She is passionate about engaging, empowering, and enabling children to reach their maximum potential in ALL of their occupations as well assuring them that God loves them!