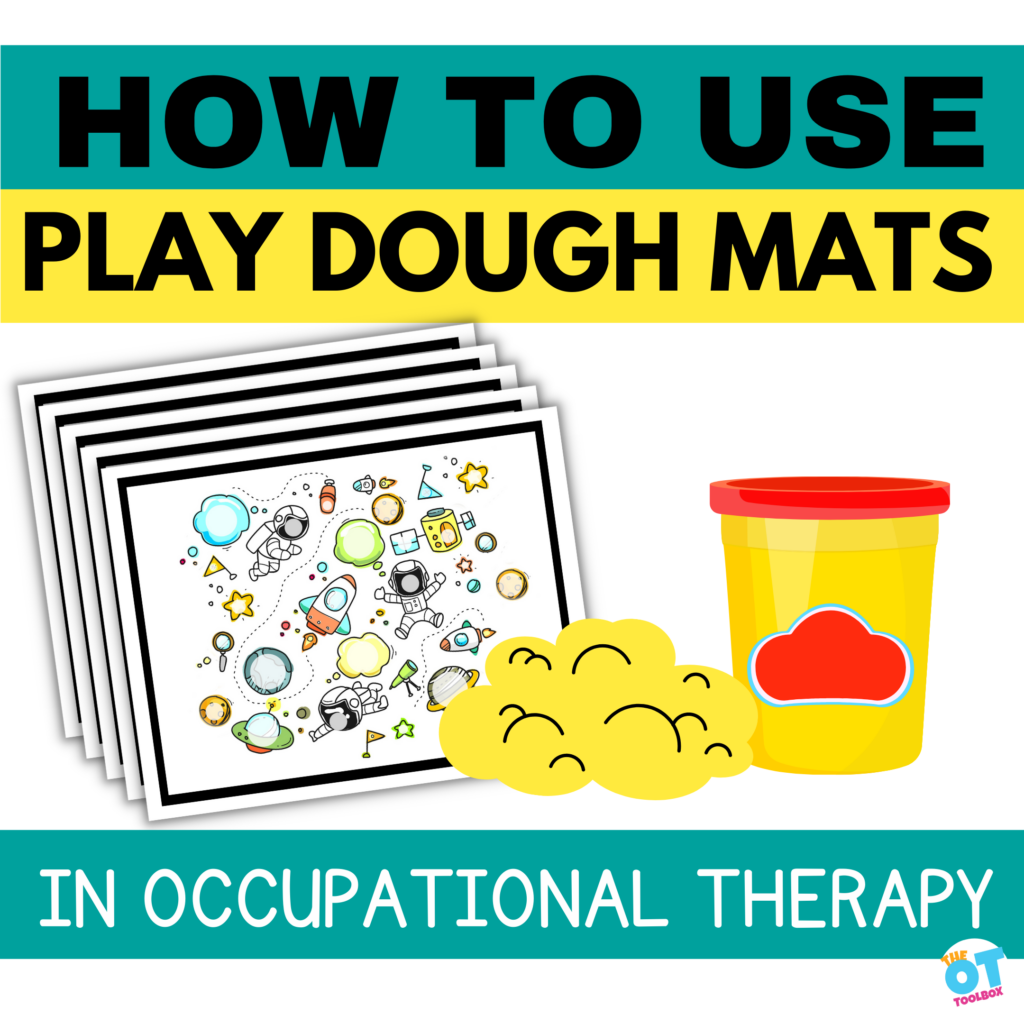
After reading below about the benefits of playing with play dough mats, go grab some of them for FREE. When using these fun play dough mats, you will start helping children work on important developmental skills. In addition to all the fun children will have while using these mats (which is a win), they will be developing the necessary fine motor hand skills needed for everyday functional tasks such as; fastener manipulation, classroom tool use, grasp patterns, and overall dexterity/manipulation used in multiple fine motor tasks. Be sure to check out our resource on playdough activities for fine motor skills to support this area.
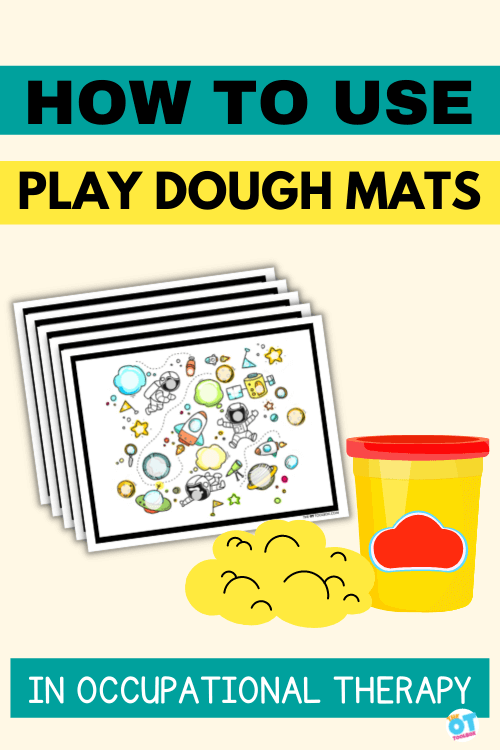
The benefits of using play dough mats
Play dough is an AWESOME tool in itself! We know that in itself, there are so many benefits of play dough in building skills in kids.
With all of the attractive colors, and the sensory feel of it, playdough can be very enticing to children. With a little preparation and care, play dough mats can be almost mess-free! If pieces fall off, just tap with another blob of dough, and it blends back in with little need for clean-up. (Just avoid the carpet!) While engaging with these super fun play dough mats, children can stay occupied for a lengthy time in either independent play, or cooperative play with a partner.
You can easily use play dough mats during an OT session, as part of a home program, or as a fine motor station in the classroom. Each mat provides a theme to compliment any learning or skill building you might be looking for. After you read about all of the benefits, you’ll want to get all of these mats and start right away, but first let’s look at those specific skills they help develop.
Play dough can easily be made or purchased, and used with play dough mats to focus on developing so many skills.
Many Benefits of play dough mats:
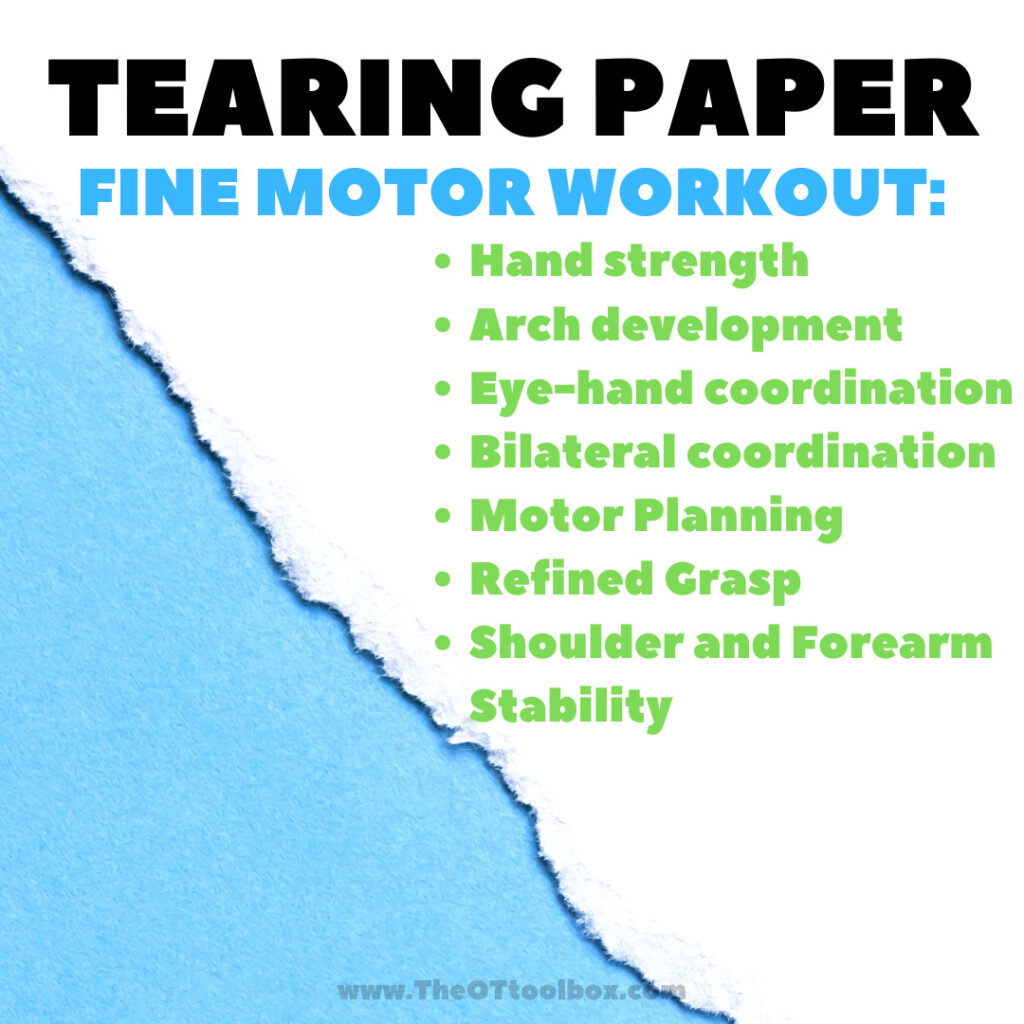
- Hand and finger strengthening skills – squeeze, press, poke, and pinch the play dough while manipulating. Hand strength is a skill needed for most functional tasks. This helps build intrinsic hand musculature, and improves fine motor endurance.
- Grasp skills – Tools such as plastic knives, scissors, cookie cutters, pizza cutters, and rolling pins, provide the opportunity to work on varied grasp patterns.
- Bilateral integration skills – use both hands together in a coordinated manner to manipulate the play dough, therefore building bilateral coordination. They adjust the dough’s size, shape, and weight as needed for mat play. Bilateral coordination skills are needed for functional tasks like writing, dressing, cooking, and essentially all functional participation.
- Manual dexterity skills – manipulate the putty to shape and pinch the dough to match the theme the of each mat. This gives them the opportunity to develop precise finger movements and thumb opposition.
- Self-regulation skills – When children squeeze, press, poke, pinch and roll out the dough, they get deep proprioceptive input, which can be soothing and calming to a child. As an added benefit, these emotions play dough mats support the social learning and identifying emotions names to help with emotional self regulation.
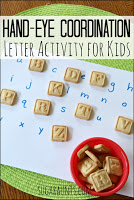
- Eye-hand coordination skills – While creating and placing the shapes on the play dough mats to match the theme, learners are coordinating their hand and eye movements, working on important visual motor coordination skills. Eye hand coordination skills can impact functional participation.
- Gross motor skills – Engaging with play dough works the larger muscles of the upper extremity (shoulder and arm) in order to push, pull, press, and roll the dough. Don’t forget, development occurs proximally to distally, so those larger muscles need engagement!
- Creativity and play skills – Learners use their play dough creativity and imagination to add their own details to the mats, with their own play dough creations. They can add small beads, sequins, buttons, or pegs in addition to their playdough shapes.
- Social skills – If mats are used with a partner, children will have the opportunity for cooperative and collaborative play They will be learning self-control and communication, coupled with pretend play, as they work to build items together on a single mat, or by trading mats and sharing details. These would make a great tool for social skill groups!
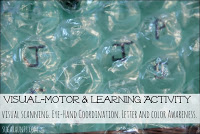
- Visual perceptual skills – Play dough mats work on visual figure ground skills, as learners visually scan the boards to locate the circles for play dough ball size, location, and placement. Visual discrimination skills are needed to identify any size differences in the circles, and make the play dough balls larger or smaller as indicated.
- Olfactory skills – Adding a little scent, such as an essential oil to the play dough will provide children some olfactory input, making the experience more multi-sensory.
- Tactile skills – The addition of a little glitter, rice, or sand to the play dough, will provide children further tactile input. For some learners with tactile aversion, working with playdough may be difficult at first.
Play dough does not need to be store bought. Go to our link here for some of the Best Dough Recipes.
How to Use Play Dough Mats
Using play dough mats is pretty self explanatory. Kids love using the fun and engaging play activities and often times don’t realize they are developing skills at the same time. You can definitely pair these play dough mats with theraputty exercises for more strengthening!
These steps will help with using your play dough mats in therapy, the classroom for a fine motor brain break, or in the home for a play activity:
1. You’ll need to print off the play dough mat that works for your needs. You can find different printable playdough mats for different themes.
2. Laminate the page, or slide it into a page protector sheet.
2. Select play dough, either home made or store bought. Select play dough consistency and resistance based on the individual’s needs.
3. Consider how to adapt the activity based on the needs of the individual. Some considerations include thinking about fine motor skills, bilateral coordination needs, visual motor needs, or sensory needs.
4. Position play dough mats and play dough to meet the needs and areas of development for the individual.
5. Work on opening and closing the play dough container if this is an area of concern (it’s a great functional activity!)

Adapting Play Dough Mats
Play dough mats can be used in occupational therapy to develop skills and work on goal areas through play. They can also be used to support needs and integrate adaptations in play for practice.
Play dough mats are a fun way to play and build skills at home, too. They can be used in the classroom for a brain break, a sensory break, or a tool to build fine motor skills with a classroom theme.
How can you adapt playdough mats for specific skill adaptations in OT sessions? There are so many ways…
Motor Skill Needs- For individuals struggling with motor skills, you can tape the page protector sheet to the table surface. Another idea is to use sticky tack on the back of the page protector. This can secure the play dough mat to the table and limit it’s movement during play.
Another motor skill strategy is to use a play dough mat with larger areas or smaller areas for the play dough. This can require more or less small motor movements, and can offer more or less opportunities for precision work.
Bilateral coordination needs- Encourage bilateral coordination by asking the user to hold the play dough mat on the table. This is a great way to encourage paper positioning during writing tasks, too.
Sensory needs- Play dough consistency will provide a varied tactile experience such as, sticky, slippery, firm, and partially dry. Much like different grades of thera-putty, different play dough recipes can be used to build fine motor skills or offer more or less heavy work through the hands.
Some play dough to meet tactile preferences and tactile challenges include:
- Salt Dough Made with Glitter Glue– This play dough recipe has a gritty texture.
- Orange Zest Salt Dough– This dough recipe has bits of orange zest, giving it a texture and scent.
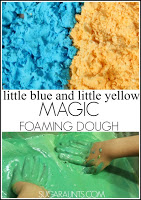
- Blue/Yellow Foaming Dough– This is a moldable dough with a dry texture, but when you add the secret ingredient, you get a very foamy, wet texture that can be a great transition tool for messy tactile resistance.
Some play dough to meet tactile preferences and tactile challenges include:
- Play dough made without cream of tartar– This can be a more resistant play dough texture
- Crayon play dough recipe– This recipe is very smooth and depending on the amount of oil or crayons added, can be very silky in texture.
- Baking Soda Dough– This dough recipe is very soft and offers a lower resistance
- Marshmallow Play Dough– This play dough recipe has a tough texture and adds a lot of heavy work input. Think black theraputty for this grade of resistance.
Regulation needs- Building on the sensory aspect, you can offer movement-based heavy work through the hands and upper body by offering less resistant play dough (more of a silky and fluid feel to the play dough consistency) or you can offer more heavy work using a heavier grade to the resistance.
Visual needs- For users with visual processing needs, there are ways to adapt the play dough mats. Try outlining the areas where play dough is placed for a darker visual cue by using a dark marker. You can then slide the sheet into a sheet protector and play from there.
Core strength/Stability/Visual Gaze- For some, maintaining an upright posture is difficult. You can easily position play dough mats on a slant board, easel, or vertical surface using sticky tack, tape, magnets, etc. This positioning strategy can be used to either support positioning and visual gaze needs to to challenge these areas to reach a “just right” level in therapy sessions.
Free Printable Play Dough Mats
Each of the free play dough mats below can be printed off and used over and over again. A few tips for using play dough mats in therapy or in the home or classroom:
Space Play Dough Mat | gives learners the opportunity to strengthen their hands while developing essential skills that are needed for pencil writing, as well as the dexterity and precision skills that are needed for many daily, fine motor tasks. The simple thing about this outer space mat, is that it works on a specific set of muscles in the hand.
Astronaut Play Dough Mat | can be used as part of space theme, or a solo activity. Ask your learner to pull off a small piece of play dough and roll it between the fingers and thumb of one hand. It’s important to use just that one hand as it’s part of the challenge! Doing this hand activity will help build hand strength, dexterity, coordination, and endurance of the smaller muscles of the hand and fingers.
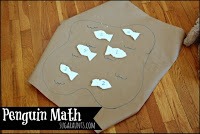
Play Dough City | complements any geography lesson as children fill in the circles of the city sky, while helping them to build their fine motor skills and endurance, which are needed for tasks like writing/coloring, pencil control for forming letters, functional pencil grasp, manipulation of clothing fasteners, opening/closing containers, and so much more. This cute mat can be used along with any other city activities including books, travel, and anything about city life.
Ice Cream Play Dough Mat | create small balls of play dough that fit on ice cream images, while working on hand strength and other motoric skills needed for pencil grasp, endurance for coloring, accuracy with scissors, and dexterity for manipulation of buttons, zippers, and coins. This mat can be a great take home mat for use over the summer break. Be sure to include instructions on what you want the child to do!
Toy Theme Play Dough Mat | helps children use their fingertip and thumb to roll a small ball of play dough, placing and pressing the dough onto the circles on the mat. They need just a small piece of dough to make the ball small enough to fit into the circles. This is a great activity for developing and defining the arches of the hand, strengthening the intrinsic musculature, and boosting visual perceptual skills too! This toy theme mat builds on the fundamental “job” that kids have, which is play! Use this themed mat during down time, or a rainy day, to add a little productive playtime.
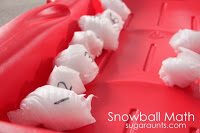
Play Dough Bird Mat | gives kiddos a hand workout, while they create small balls of dough rolled with their fingers, to match the circle sizes on the mat. There are various sizes to challenge the child’s precision and dexterity. Children can count the birds and match the colors of the birds too. Another way to use this mat is to write numbers or letters in the circles in random order and then have the child scan the mat to challenge their visual perceptual skills.
Roll and Write Play Dough Mat Bundle | all about helping kids warm-up their hands prior to handwriting. It makes handwriting more fun when using one of these 7 themed play dough mats. Children warm-up using dough, then work on letter formation, words, and sentences.
These printable play dough mats include a themed play dough area plus a writing area. Use the play dough as a fine motor warm up and then move to the handwriting aspect.
Numbers 1-20 Sky/Ground Play Mats | helps children to work on 1-20 number formation, provides sensory input, encourages motor planning, and spatial relations.
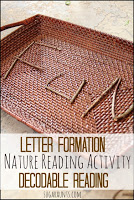
A-Z Sky/Ground Play Mats | work on upper case and lower case A-Z letter formation, provides sensory input, encourages motor planning, and spatial relations.
Intrinsic Muscle Strengthening Play Dough Mat– This simple play dough mat limits the visual background and offers different sizes of circles. Users can create small balls of play dough to build intrinsic hand strength.
All of the free play dough mats are available in our Member’s Club. There, you can just click and download the play dough mats!
Want to add this resource to your therapy toolbox so you can help kids thrive? Enter your email into the form below to access this printable tool.
This resource is just one of the many tools available in The OT Toolbox Member’s Club. Each month, members get instant access to downloadable activities, handouts, worksheets, and printable tools to support development. Members can log into their dashboard and access all of our free downloads in one place. Plus, you’ll find exclusive materials and premium level materials.
Level 1 members gain instant access to all of the downloads available on the site, without enter your email each time PLUS exclusive new resources each month.
Level 2 members get access to all of our downloads, exclusive new resources each month, PLUS additional, premium content each month: therapy kits, screening tools, games, therapy packets, and much more. AND, level 2 members get ad-free content across the entire OT Toolbox website.
Join the Member’s Club today!
A final note on play dough mats:
Do you want to use any of the play dough mats multiple times? Simply laminate them, or place in a sheet protector so children can use them repeatedly, any time they want. Play dough mats are a fun and engaging way for young children to work on problem-solving, pretend play, pre-academic skills, and other developmental functions. They don’t even know they are doing it, as they are having so much FUN!

Regina Parsons-Allen is a school-based certified occupational therapy assistant. She has a pediatrics practice area of emphasis from the NBCOT. She graduated from the OTA program at Caldwell Community College and Technical Institute in Hudson, North Carolina with an A.A.S degree in occupational therapy assistant. She has been practicing occupational therapy in the same school district for 20 years. She loves her children, husband, OT, working with children and teaching Sunday school. She is passionate about engaging, empowering, and enabling children to reach their maximum potential in ALL of their occupations as well assuring them that God loves them!


.jpg)